
The best ethernet cable for a home network. When moving to a new house, most families are likely to choose Wi-Fi over cable network connections because they are comparatively difficult to set up and might make rooms look messy.
However, there is no doubt that cable connections are faster and more secure regarding file sharing over the Internet. Furthermore, they provide top-notch speed for media streaming and online gaming.
As a result, a strong internet connection is deemed equally necessary for every household. However, internet connections vary based on the speed and complexity involved during their setup. Keep reading to learn the best ethernet cable for a home network.
Table of Contents
- Things to Know Before Home Ethernet Wiring
- Cat 6 is the Best Ethernet Cable For Your Home Network Wiring
- How To Wire Your House With Cat 6 for Ethernet Networking
- Conclusion
Things to Know Before Home Ethernet Wiring
Ethernet is the main source of 99% of the computer connection within the network. Every computer connects to the main Ethernet cable via an Ethernet adapter, a squarish hole at the back or sides of the Laptops and CPU.
The broadband connection, DSL, or cable, is made to pass through the device called a modem to establish the Ethernet wiring within the house.
This sophisticated signal converter converts the given broadband signals into Ethernet. Afterward, the Ethernet links to the router; as the name indicates, it routes the information between the connected computers and the broadband.
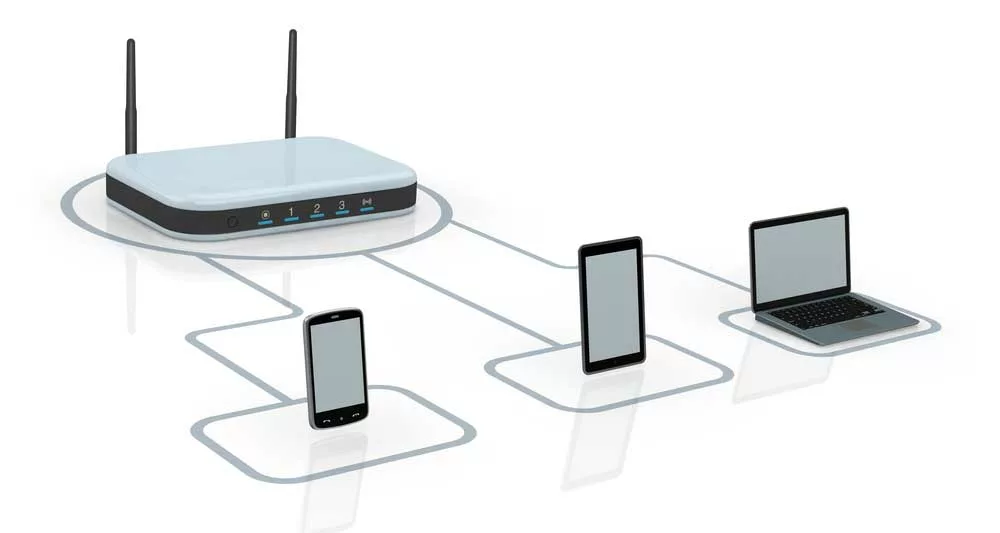
Home ethernet wiring
Cat 6 is the Best Ethernet Cable For Your Home Network Wiring
Following are some of the categories of Ethernet cables you can find in every Ethernet connection today, Cat 5e, Cat 6, and Cat 7 Ethernet cables. Among these, Cat 6 cable is preferable because of its faster speed and lower price than the other categories.
Further, when choosing the Ethernet cable for a house, its speed and quality are the two most important aspects you should keep in mind.
Cat6 vs. Cat6a
Today, Cat 6 is the popular UTP cable that is also considered a minimal standard. However, when it comes to choosing between Cat 6 and Cat 6a, there is a lot of confusion between them.
Given below are the major differences between the two cables.
Cat 6a is 2x more expensive than Cat 6 with one distinctive quality, i.e., it doesn’t fail to transfer data up to 10 Gbps even over long distances.
Furthermore, Cat 6a has double the capacity (500 Mhz) compared to Cat 6, which is only 250 Mhz. On the contrary, Cat 6 transmits data up to 55 meters. However, the speed drops to 1 Gbps if the distance exceeds the baseline.
But for a home network, Cat 6 is often more than enough. Generally speaking, the cable lengths won’t exceed 37 meters, so that you will get 10 Gbps easily. And the 250 Mhz is more than enough bandwidth for your home network.
Solid vs. Stranded
There is one solid metal strand in the solid UTP (Unshielded Twisted Pair) cable. Each solid wire has 8 thinner conductors, leading to 8 solid wires in the solid UTP. Stranded UTP wire consists of several wires wrapped around one another.
Experts prefer to use Solid UTP for home connection because of its solid nature. As a result, you can punch these cables into the patch panels and wall jacks. Furthermore, you can buy solid UTP in large rollers, starting from 250ft up to 1000 ft.
Plenum Cat 6 cables vs. Cat 6 Riser Cable
When choosing to establish your Ethernet cable connection via the HVAC duct or various air circulation systems, Plenum Cat 6 cables are highly recommended.
These are extraordinary Ethernet cables with a special jacket that does not allow the fire to travel more than 5 feet and are more expensive than the regular Cat 6 cable.
Cat6 Riser cable (CMR) is similar to Plenum Cat 6 cable with the only exception that you will use them between floors and dry wells as it’s the requirement of some countries.
These cables are highly fire resistant and prevent fire from spreading between the floors. Compared to Plenum Cat6 cables, CMR is cheaper and popular in several countries for residential areas.
Best Ethernet Cable for a Home Network: Conductors
It is highly recommended to avoid wasting money on copper-clad aluminum (CCA) cables because of their highly resistant nature and low transfer rate.
Furthermore, it would be best if you didn’t use PoE (power over Ethernet) with CCA cables, as the high resistance causes the wire to heat up over extended lengths, which leads to the wires breaking down within the cable.
Best Ethernet Cable for a Home Network: UTP vs. STP Ethernet Cable
Once you decide which cable to go with, you’ll need to choose between UTP & STP. The only difference between them is that one has an extra layer of protection while the other doesn’t. However, for regular home use, STP is fine.
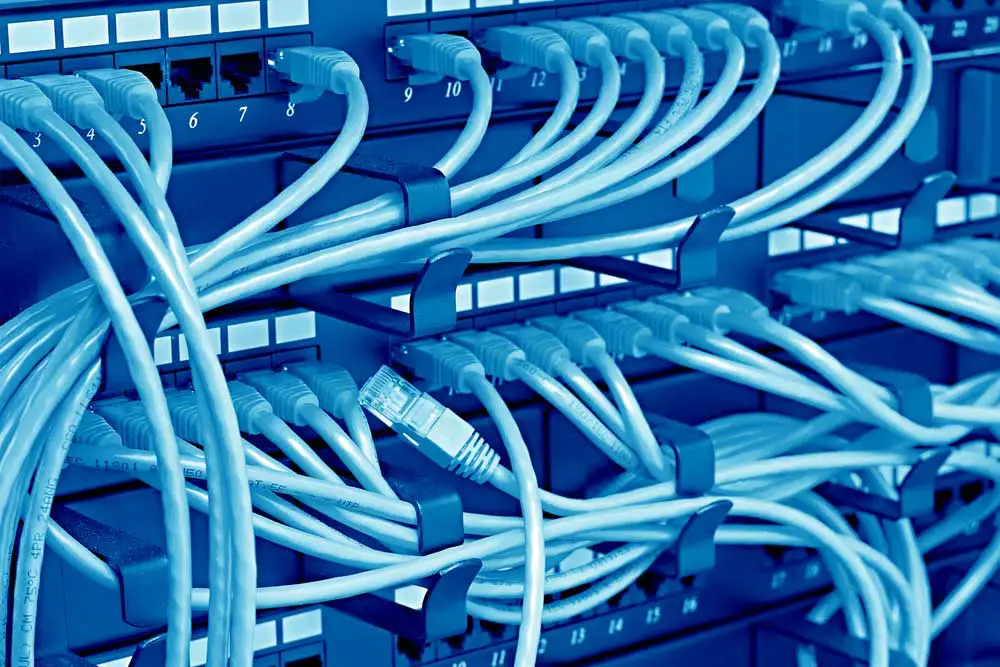
Caption: Inside a network
How To Wire Your House With Cat 6 for Ethernet Networking
Here are the seven steps you’ll need to follow to set wire your house with Cat6.
Step 1:
You need to address certain considerations in this initial step, like how many rooms would need the Ethernet wiring and the number of ports.
Furthermore, you’ll also need to analyze and consider a good distribution point where the Internet gets distributed throughout the house. Finally, decide the best cable and network speed path that suits your needs.
Step 2:
Once you have sorted out the initial phase, you’ll need to review the required materials and tools for the installation process.
The number of items will vary according to your need, but some important tools include Drill, Paddle bit, Ethernet crimping tool, Pointed hand saw, Pencil, Ruler, and Laptop or cable tester.
Similarly, materials include Ethernet switches, RJ-45 plugs, RJ-45 jacks, plates, 1000’spool Cat-6, and Gang Retrofit boxes.
Step 3:
It’ll help you decide where you need to mount the box. Drill holes into rooms where you need your wired Ethernet connection. Repeat this step for every other location.
Step 4:
Once you decide in which room you’ll need the Ethernet cables, it’s time to start measuring the length of each cable from the main router box to those rooms. We highly recommend always keeping the extra length for the cables in case of stripping and crimping accidents.
Step 5:
Once you have drilled the cable into the desired rooms, it’s time to fit them into the patch panel. Of course, you can take the raw cable directly out of the wall, put an RJ-45 plug on it, and plug it directly into the switch. But we recommend using the panel for permanent installation and a complete fix.
Step 6:
Now that the setup is completed, it’s time to test the network. Before connecting every component to the network, it’s crucial to check that the setup is working; in case of failure, you might need to unplug almost every component to diagnose the problem. You can do this via a network tester to verify the link. If the link is verified, the physical layer is established in every room with an Ethernet cable connection.
Step 7:
Once the network shows that it’s responsive, it’s time to connect your systems to the Internet. For that, a modem is fit into the desired location. Also, using a wire splitter, split the cable according to the number of connections in each room.
Furthermore, you might also want to plug in the wireless access point to establish a Wi-Fi connection throughout the house.
Congratulations on setting up the internet connection in your home.
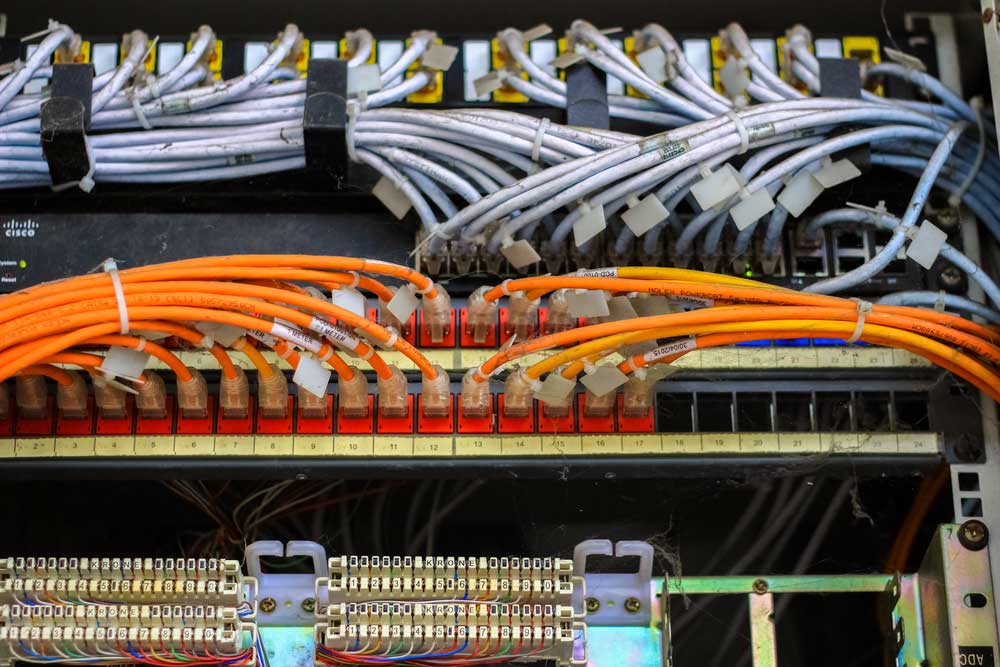
Caption: LAN circuit box
Conclusion
Although the Wi-Fi setup is less complex, many homes prefer wire setups for speed setups. For this reason, we recommend CAT 6. Do you need help? We offer wiring harness solutions, so you don’t have to worry about perfection.