
So you’ve positioned your speakers and are ready to connect them to the sound system, only to realize the cable needs longer. And while the ideal way to go about it is to use a single length of wire, for convenience and cost, you might consider taking a different route; extending your cable wire. If you’re wondering how to go about it, here’s everything you need to know about extending audio cables.
Table of Contents
- Can You Join Speaker Cable Together?
- Preparation for Extending Your Audio Cables: Cutting and Stripping
- 3 Methods of Extending Audio Cable
- Conclusion
Can You Join Speaker Cable Together?
Audio input and output experts may discourage you from mixing wires to extend your audio cable, primarily because it may be difficult to establish the impedance throughout the lengths of the combined wires. However, mixing wire is not a big issue unless you aim to get a perfectly balanced sound system.
Preparation for Extending Your Audio Cables: Cutting and Stripping
Stripping the wire is necessary, irrespective of the splice method you use. Stripping enables you to expose the bare part of the wire you need to extend the cable. However, this process is more efficient if you have a wire stripper.
Confirm That Your Speaker is Disconnected
The first thing to do is remove your speaker’s power cable and disconnect the speaker wire. Doing so ensures you don’t shock yourself by starting to work on wires while there’s power running.
Ensure Your Replacement Wire Matches the Existing One
It’s important to use wire that’s the same gauge as the one you’re trying to extend. Also, use stranded speaker wire instead of solid. To know the wire size, check the wire. The gauge should be printed there.
If there’s nothing printed, don’t worry. Insert your wire into a wire cutter and see which hole fits best. The number next to the hole is the wire gauge. Alternatively, cut a portion of the wire to show it to the attendant.
Note that the gauges of the existing and replacement wires don’t have to be the same. A slight variation of 1 to 2AWG is okay. For example, you can splice wires of size 16AWG and 18AWG.
Cut Extra Speaker Wire
Not leaving extra speaker wire can result in tension buildup, which could damage the connection on your speakers and lead to pulling out. However, you only need 1 to 2 feet of extra wire to reduce this tension. So using wire cutters or wire strippers, cut off the extra wire.
Also, it’s a good idea to offset the cuts on the positive and negative wires rather than cutting across the wire. That way, the wires appear tidier; more importantly, the positive and negative won’t touch. For example, you could make the existing wire 1.5 inches longer on the positive end. Then make the wire you’re using to extend 1.5 inches shorter on the positive end.
How to Extend Audio Cables: Strip the Ends of Both Wire Pieces
So far, your speaker wire appears as two tubes. Form a Y shape by pulling the two apart. Then clamp the wire. Do this on the positive and negative sides of the extension wire.
While you must apply some force to clamp the wire, ensure you don’t squeeze too tightly and cause damage to the wire. Using your free hand, pull out the cable to expose the bare wire.
Sometimes, the wires in the existing cable are already exposed. Thus no stripping is necessary. However, if they look frayed, you should cut them shorter and strip them as close to the frayed pieces as possible. That way, you have a close to a new piece of wire to work with.
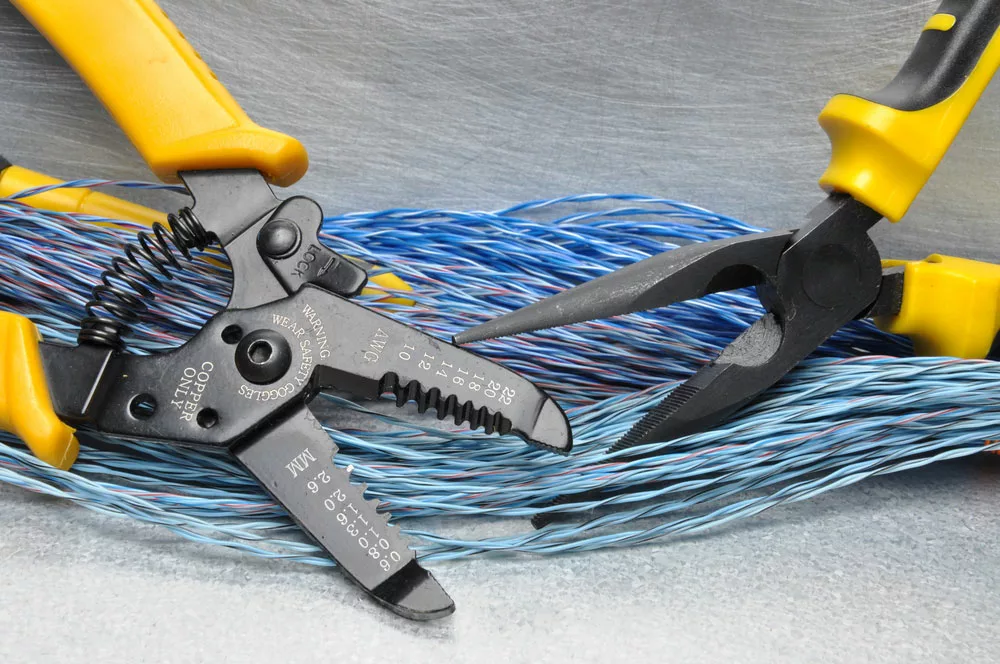
(Caption: Image of wire strippers)
3 Methods of Extending Audio Cable
The following are methods you can use to extend your audio cable.
How to Extend Audio Cables: Twisting and Taping
Here’s how to extend the audio cable using the method.
- First, you will need to Identify the positive side of the extension.
- Then, twist each end of the wire until it forms a strand before spreading them gently to create more space for contact.
- Next, interlace the bare ends of twisted ends to form a V-shape.
- Then, twist the wires to form a tight twist. Follow the same procedure for the negative end extension.
- Now you can wrap the wire sets in electrical tape. Wrap the positive wires first, starting with the insulation part on one side of the connection.
- Continue wrapping until you have covered the entire wire. Then, follow the same procedure for the negative end of the extension. Ensure you leave no bare wires, so you don’t risk being shocked when you touch the exposed wires.
- Lastly, pull on the wrapped wires to confirm they’re tight enough.
How to Extend Audio Cables: Crimping the Connector
To crimp the connector, follow these steps:
- First, twist each bare end of the wire extension tightly using your fingers. Twist each extension until it forms an individual strand.
- Next, identify the positive and negative ends of the wires.
- Check your audio source’s wires and identify the positive side, usually painted gold or red. The positive end could also bear some stamp or print. Keep track of the wires to avoid short-circuiting, as it may cause irreversible damage to the speaker.
- Next, join the extension wires using these two ways.
A Butt Splice
A butt splice allows you to connect the wires indirectly through a conduit. This method requires a wire crimper and the following steps:
- Place one wire into the butt splice and crimp it.
- Next, insert the wire and butt splice through a heat-shrink tube.
- Lastly, connect the butt end to the other wire.
Remember, it’s essential to heat the tubing after crimping the second wire to enable the tubing to cover the butt splice. A simple way to do this is by using a dryer.
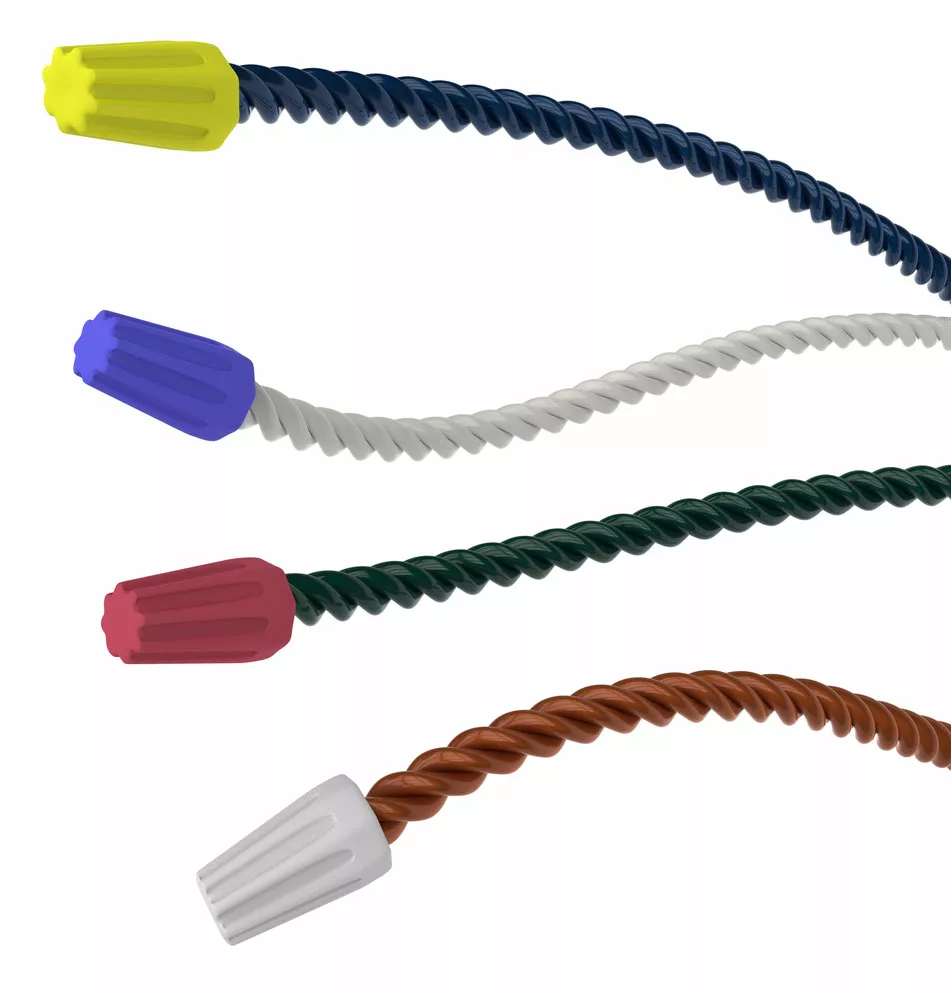
A Wire Cap
A wire cap is one of the best approaches to splicing a wire. For this method of splicing, follow these steps:
- First, put the cables you need to splice side by side, ensuring they face the same direction.
- Next, place the wire caps at the end of the cables before tightening them together with a clockwise twist.
- Then use tape to attach the wires to the cap.
- Lastly, twist the cap anticlockwise to disconnect.
How to Extend Audio Cables: Soldering the Wire
The low-melt solder offers one of the most secure and direct wire splicing connection options. For this method of splicing, follow these steps:
- First, place one wire end through heat shrink tubing before firmly twisting the wire’s ends.
- Next, apply dip soldering onto the point connecting the twisted wires.
- Then, pull the tubing over the soldered connection before exposing it to heat.
A Soldering Iron
(Caption: Image of a soldering iron)
How Far Can You Extend Audio Cable?
Because of the lower gauge wire’s ability to produce quality sound, you can extend it over long distances. However, the recommended maximum distance for a speaker audio cable extension is 50 feet. Therefore, for example, using a cable wire size of 12 gauges or less is not advisable if your audio cable extension exceeds 50 feet.
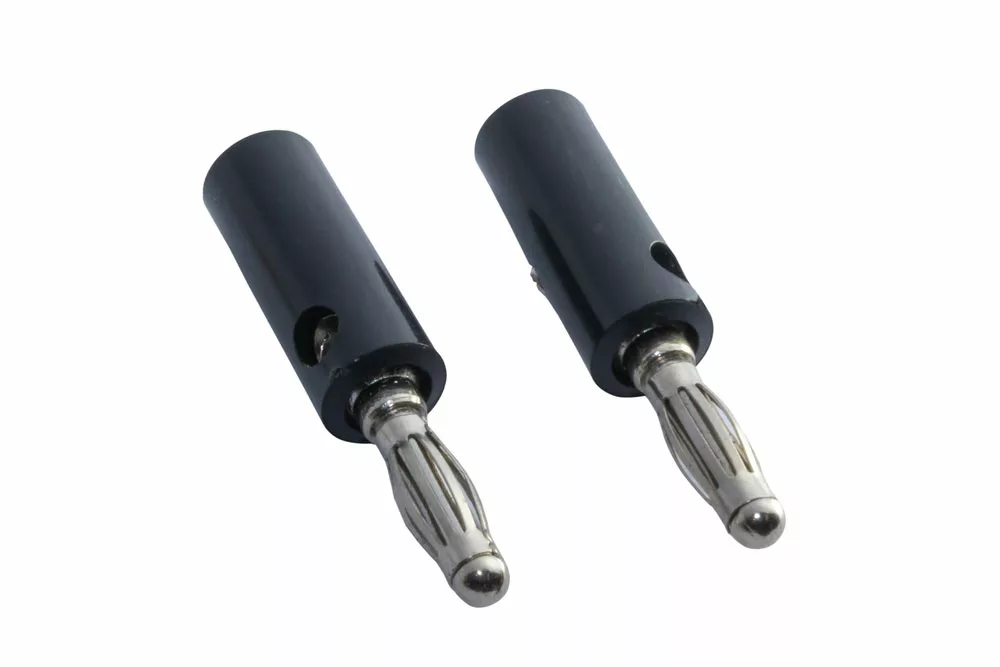
(Caption: Image of banana plugs)
Conclusion
Whatever the reason you’re wondering how to extend the audio cable, now you know it’s possible and not hard to do. So whether you want to increase the distance between your speakers or need to run the cable around a room, you can employ any of the methods mentioned above. And cable length plays a significant role in influencing sound quality. However, the impact of the cable depends on the situation. Want to know more? Contact us.