
Sega Genesis is a 16-bit 1988s video game console loved by many. Although it is one of the oldest consoles available, it still has hardcore fans who use it. To make it work, it was crucial to have a special cable that came with it, the special Sega Genesis RF cable. However, there are also coaxial and HDMI connections that allow you to connect old consoles on all kinds of TVs. If you want to find out how the Sega Genesis RF cable and other connections work, continue reading.
Table of Contents
1. Understanding Sega Genesis
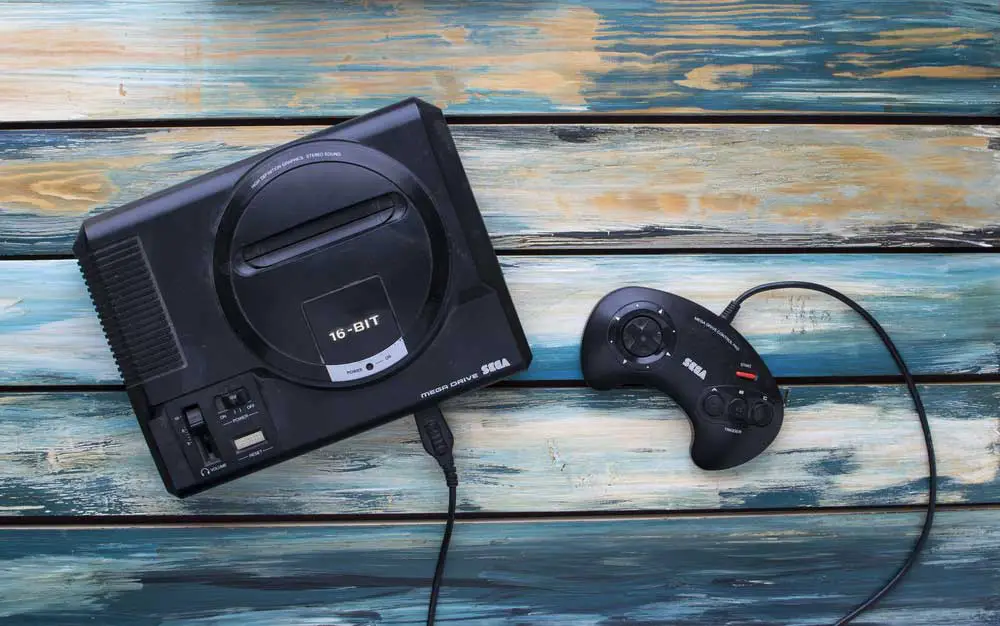
Sega Genesis consoles sold out everywhere in the late 80s and early 90s. This led the company to evolve and come up with different models as time went by. It was a way to keep up with the technology, offering users different consoles to choose from. However, this evolution translated into the console’s many ports, making it really important to know how each one worked.
Sega Genesis Model 1
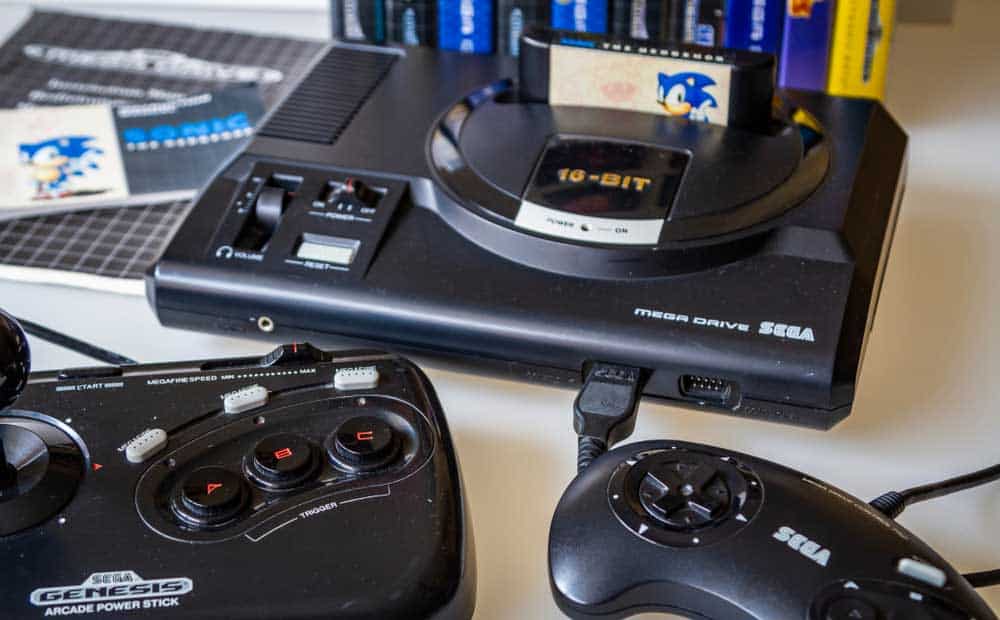
Sega Genesis model 1 allows users to play all kinds of 16-bit video games but comes with lots of ports and connectors. The company even included an external port that people never used.
*CH3-CH4
When paired with the Sega Genesis RF cable, this switch lets you change the channel where the game will display. Choose a channel without a TV station to avoid glitches and interference of any kind. However, you’ll notice there’s usually not much of a difference between the two channels when in use.
*RF Out
The Sega Genesis RF cable connects the console to the TV via the antenna/cable IN connection at the back of the TV. A coaxial cable screw to the TV and an RCA jack plugs to the console. Also, the RF switch box has an extra IN port that allows you to connect the TV cable wire to it.
*A/V Out
On the other hand, the A/V out cable allows you to connect the console using a composite RCA cable. This type of cable has a 1/4-inch jack on one end and two colored jacks on the other end. The 1/4-inch jack goes to the console while the colored jacks go to the back of the TV. The yellow jack carries video signals and the red jack carries audio signals.
*AC Adapter
The AC adapter connects the console to the electricity plug on the wall, serving as a power supply for the Sega Genesis model 1.
*1/8-inch Headphone Jack to Stereo RCA Cable
This port allows you to connect a headphone to play video games without disturbing anyone around. It also outputs stereo sound from the console to the TV or sound system. It comes with a 1/8-inch headphone jack on one end and white and red jacks on the other end.
Sega Genesis Model 2
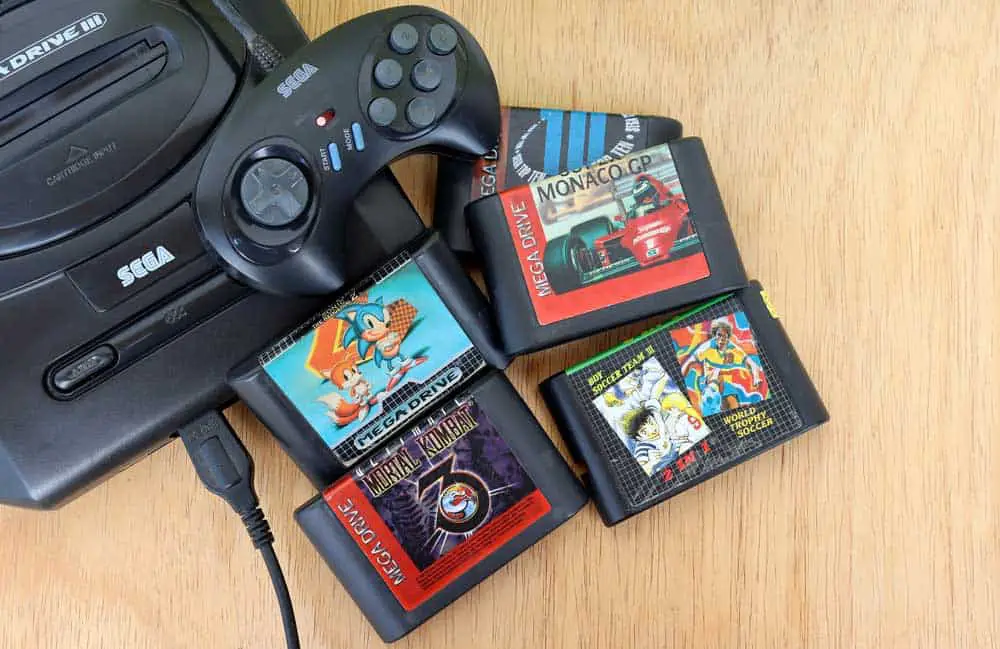
The Sega Genesis model 2 was more straightforward and has only two main ports, an A/V Out and the AC adapter.
* A/V Out
To change things up, model 2 comes with a three-jack A/V out cable, unlike the model 1 cable. Instead of featuring a headphone jack to stereo port and cables, the model 2 cable had it all. One end connects directly to the console while the other jacks connect the video and stereo sound to the TV.
* AC Adapter
The AC adapter connects the console to the electricity plug on the wall, serving as a power supply for the Sega Genesis model 2.
2. How to hook up sega genesis to your TV
Connecting the Sega Genesis to your TV is as easy as plugging some cables in and out of the console. However, it’s nice to follow the proper order to avoid interference and malfunctions of any kind.
RF connection
The RF connection provides a standard image quality. However, it is the original and most basic connection by the time the company released the console. To hook your console up, grab your Sega Genesis RF cable and plug it in. The RCA jack goes to the console and the coaxial portion of the cable screws directly where your TV cable connection goes.
Technicians and avid users recommend using a free channel among channels 3 and 4 to ensure proper functioning. Once the console is connected to the power supply and the TV, it’s time to turn both on. Then, select the channel, change the TV settings to AIR, and hit INPUT or SOURCE on your remote. If everything works the right way, the game should appear on the screen.
RCA connection
The RCA connection provides a good quality image and is the most common connection used by video gamers. This type of connection is a lot more intuitive and provides faster, easier, and better results. The 1/4-inch jack connects to the console while the yellow and red jacks connect to the composite video panel. The yellow one goes to the yellow plug and the red plug goes to the red plug.
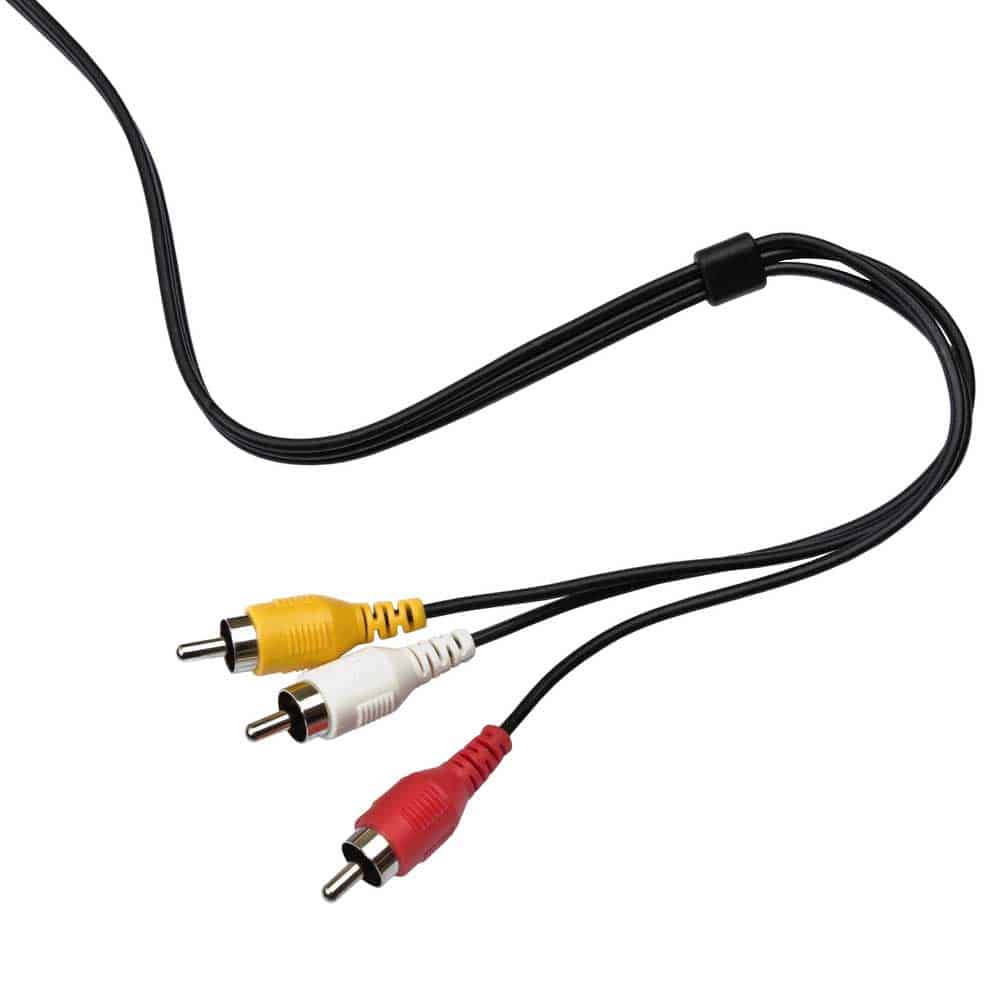
However, this red plug only carries the right side of the audio. If you own model 1, plug the red jack into the white plug in the panel on the TV. This will play the audio on both ends of the TV by using the stereo port. If on the contrary, you own model 2, simply plug each jack on its matching color.
Once this connection is set, check the AC adapter, turn the console and the TV on, and select the correct video channel. If everything works the right way, the game should appear on the screen.
HDMI connection
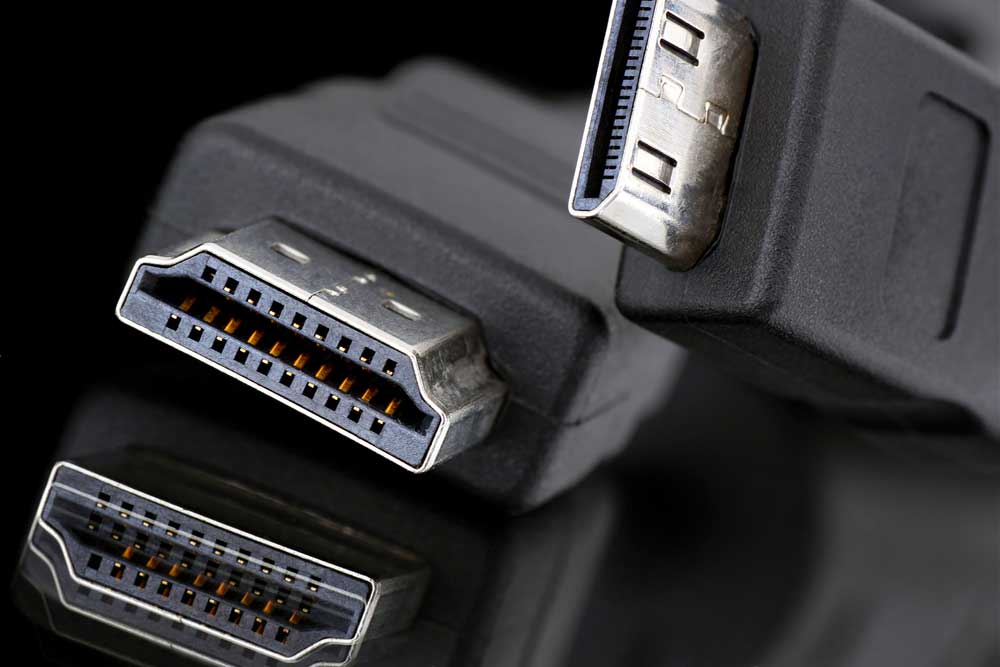
The HDMI connection provides the best quality of the image. To use an HDMI connection, get an HDMI Sega adapter and plug one end to the console and the other end to the TV. The cable has a small box that may need an external power supply to work. If so, connect the micro USB cable to the AC adapter, and then the adapter to the wall.
Select the desired ratio, whether 4:3 or 16:9 before you turn anything on. Then plug a game into the console, turn everything on, and change the TV settings to HDMI. If everything goes as it should, the game will appear on the screen.
Going coax solves the problem
Despite having 3 useful and different options to connect your Sega Genesis to any TV, going coax is the best. The reason is simple. Unless you own a new generation smart TV screen, your device must surely have an RCA port at the back. This means that regardless of the console you own, especially if it’s an old one, you can still use it.
Summary:
Using the Sega Genesis RF cable has its pros and cons. However, although using this type of connection fills everyone with nostalgia, it has more cons than using newer ones. Going coax solves everyone’s problems, allowing people to indulge in nostalgia while enjoying a good quality image. If looking for options, we are here to help.