
Building a wiring harness is undoubtedly a tough and time-consuming task. Whether you want to customize your engine harness or enhance its appearance, there is no detailed guide. Every wiring harness is different, so you must follow a different approach for each case. However, the basic construction and procedures are the same. Today, in this article, we will learn how to build your wiring harness.
Table of Contents
- Round up the Right Tools
- Gauge your Wiring It Needs
- Making the Connection
- Choose the Correct Wiring Harness Components
- Map Out a Plan
- Conclusion
Round up the Right Tools
The very thing you require in this wiring job is to arrange the proper tools, making your work much more manageable.
First, pick the good quality wire strippers. Wire strippers have several holes so that you can fit different wire gauges. You can cut the wire insulation safely without damaging the wire conductors.
Second, on the list is a wire crimper you need during solderless connections. Most of the crimpers have 2-3 sections on their nose to allow them to fit into various lug sizes.
Next, pick a soldering iron which you will need to splice wires and secure connectors that cannot crimp. A soldering iron must have a design suitable for wiring and electronics. Also, it has a mildly active resin core with which you can clean the wire during heating and remove oxidation and corrosion, if any. As a result, you can make strong connections using lesser heat and electrical resistance.
Other tools you may require are:
- Wire brush: to remove heavy corrosion, grease, or oil before soldering
- Ohm/Volt meter: to measure resistance or voltage levels of your circuits
- Test light: to test the presence of power in a course.
- Shrink tubing: insulating wire connections from outer elements. You can slide this tube to a connector or a solder joint, which shrinks permanently on applying a heat gun.
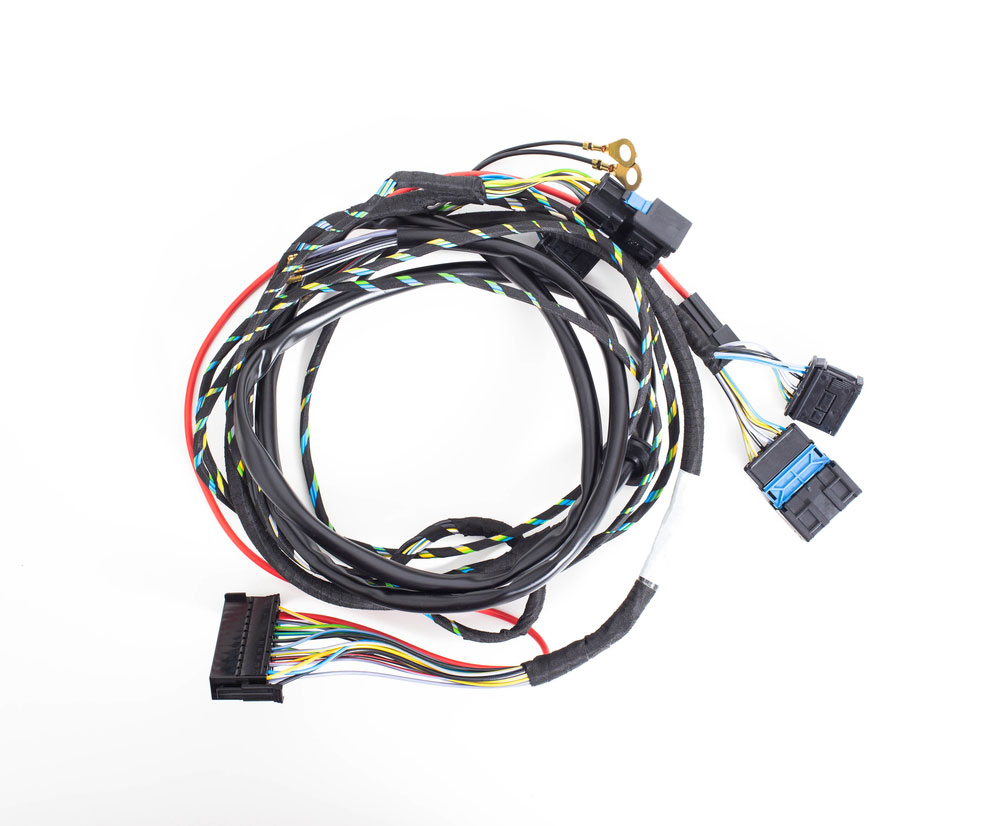
Image: powered wiring harness
Gauge your Wiring It Needs
A factory harness has all the wiring for all standard electric components such as headlights, horns, windshield wipers, music systems, etc. However, if you add advanced electrical or electronic components to your vehicle, you must look for a suitable wire.
Wire size: You measure a wire by its gauge. As the gauge number decreases, the wire becomes larger. You can decide the wire gauge you need based on the current drawn from the wire and the length of wire between the accessory and the power source. If the current drawn is more extensive, you need a wire of a larger gauge to draw power from the source correctly.
Remember one thing; as the length of the wire increases, you will notice a higher voltage drop. You can offset this voltage drop in long wire lengths by increasing the wire of larger size. The basic thumb rule says to keep the voltage drop to as low as 0.5% to ensure maximum performance.
| Wire gauge (AWG) | Wire diameter (Inches) |
| 4-0 | 0.460 |
| 3-0 | 0.409 |
| 2-0 | 0.364 |
| 0 | 0.329 |
| 1 | 0.289 |
| 6 | 0.162 |
| 8 | 0.128 |
| 10 | 0.101 |
| 12 | 0.081 |
| 14 | 0.064 |
| 16 | 0.054 |
Caption: Wire gauge to wire diameter chart
Wire material: Wire usually comprises aluminum or copper. If you are building the wiring harness for automobiles, you should pick stranded copper wire for higher conductivity and flexibility.
Wire color: Though the color of the wire may not look significant, it becomes essential when tracing a faulty wire in the circuit. Color code in wiring helps you trace the faulty wire without any difficulty.
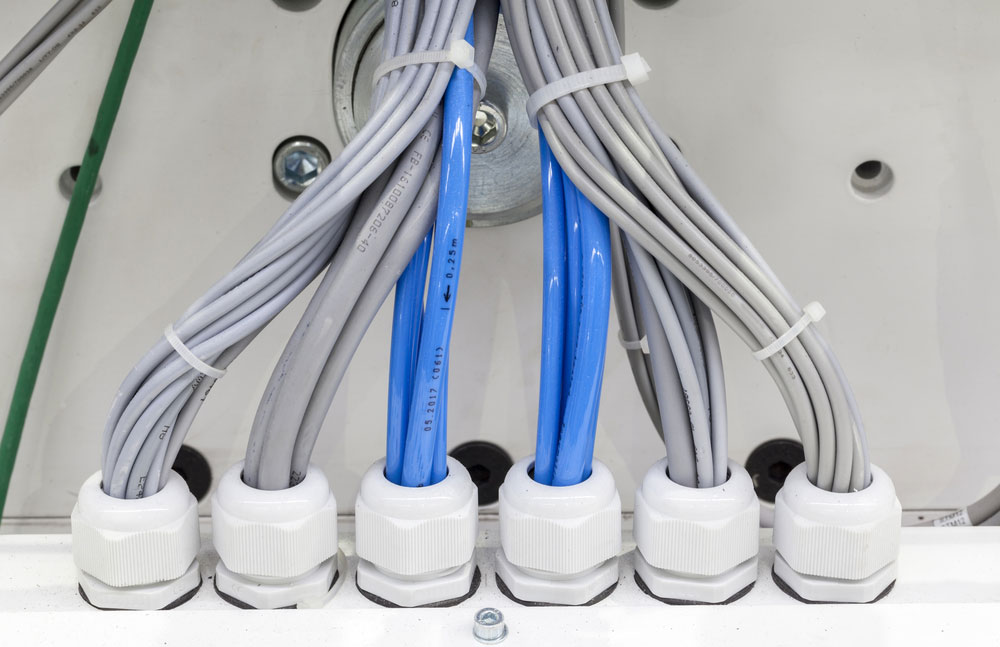
Image: car wiring for connecting auxiliary electronic systems
Making the Connection
You can use two types of connectors, i.e., solderless and soldered. Soldered connectors are helpful in big wires and when you are splicing wires. On the other hand, you can use solderless or crimp connectors in all other wirings as they are easy to use and provide a strong connection. Solderless connectors come with specific color coding so that you can identify which gauge wire they are suitable for.
You can find solderless connections in various configurations, such as
Butt connectors: These cylinder-shaped connectors are ideal for joining two wires together. In this, you insert wires into both ends of the connector and then crimp them to complete the connection.
Spade connectors: When you need to remove or service the wire components frequently, use space connectors. Here, the male and female connectors fit either end of the wire and form the connection. To remove the link, pull the connectors apart.
Ring connectors: In this, you use screw-type terminals to secure the wire.
After the splicing, it is always a good idea to use heat shrink tubing. Shrink tubing offers extra protection to the wire connections against short circuits and outer elements. Further, it is also effortless to install.
Choose the Correct Wiring Harness Components
Wiring a vehicle requires unique components to protect your expensive electric components. Mainly, there is three leading overload protection equipment that you can use in wiring.
Fuses: Fuses blow themselves whenever more power flows from them than their rating. Generally, fuses have ratings in amperage like 3, 4, 5, 6, 7.5, 10, 12.5, 15, 20, 25, and 30 amperes. Pick a fuse with a slightly higher power rating than your electronic accessory.
Fusible links: You can also use special wires called fusible links. These wires are made from an alloy having a lower melting point than standard copper wire. You can splice this fusible link in line with the power line of the accessory. Whenever there is a current load in the circuit, this link will melt and prevent power flow to the addition.
Circuit breaker:
Circuit breakers do the same job as the above two. They switch off the power flow to the electronic accessory in the case of a power load. However, unlike fuse or fusible links, which need to be replaced, you can reset the circuit breaker after restoring the bag. There are circuit breakers with manual and automatic reset options. Also, you can find them in similar amperage ratings as fuses.
Apart from these protective components, you can also install relays. Relays are helpful when your electronic accessories need a higher current than the rating of a standard power switch. Mostly, switches have ratings of limited currents. So, if you want to install any aftermarket accessory like a fuel pump, electric fan, or HID headlight, you will need a relay. A relay activates through an electric coil, and a switch controls it. When you close the relay, no current flows to the accessory.
Some other products that can make your wiring tasks easier are toggle, remote-mount switches, switch panels, and multi-circuit auxiliary and main fuse blocks.
Map Out a Plan
When starting your wiring project, it is always good to map a plan first. First, lay out all the wires, and wiring harnesses so you know the path of every wire. The wiring diagrams also help you to see if you have enough wires for the assembly. Always put the fuse blocks within your reach, such as the center console and glove compartment. Also, place all the relays, fusible links, fuses, and circuit breakers between the power source and the accessories.
Next, label all the wires with the names of the components they will reach, if not marked already. If some wires need to go through the firewall, don’t secure the connectors until you pass the wires through the firewall.
Then, pick a point near or on the firewall for a common grounding point of the wiring harness. Choose one particular for the chassis ground on the negative side of the vehicle. Always use a ten or higher gauge wire to connect the chassis ground to the common ground.
Conclusion
The key to building a wiring harness is to stay calm and organized during the assembly process. If you cannot understand the technicalities of harness building, come to us. Cloom is a leading provider of high-quality wiring harnesses and cable assemblies. Our team experts have in-depth knowledge about the technical and functional aspects of the wire assemblies. We can also provide you with custom harnesses that perfectly suit your requirements. Please feel free to reach us anytime.