
Personalizing your motorcycle involves many ways, from installing new accessories to confronting problems. Many individuals find motorcycle wiring to be the most significant obstacle. This article will share some crucial points to consider while rewiring the bike.
Table of Contents
- Why do You Need to Rewire Your Motorcycle?
- Custom Motorcycle Wiring Harness
- How to Rewire Your Motorcycle?
- Motorcycle Wiring and Electrical Repair Tips
- Conclusion
Why do You Need to Rewire Your Motorcycle?
There can be two reasons that drive you to take the rewiring decision.
Downtime
Even though power devices are usually durable, age affects wires in areas where they often move, like where the wiring loom goes from the starter motor to the lights. Over time, the wires’ connections usually rust, making them less reliable and causing them to break. Vibration can also break wires, particularly when connecting to a plug.
You can solve some problems by replacing just one wire or connector. However, you may have to rewire the whole bike if this happens to many things. Also, during the bike restoration, you can easily replace the entire wiring system as you can access all the different parts.
Updates
The ignition system has seen the most radical transformation among bikes, moving from a motor-driven set of contact points to an electronic capacitor discharge. There has also been a great deal of advancement in the generation and correction systems.
There has also been a great deal of advancement in the generation and correction systems. Manufacturers regulated the alternator output voltage by a Zener Diode. Also, they used the rectifier to convert AC to DC in previous systems.
Modern designs used a rotor with coils and a rectifier inside. With time, changing the wiring is necessary if the mechanic intends to add any of the following electrical upgrades:
- solid rectifiers,
- capacitor ignition,
- high power alternators,
- and the voltage converters from 6 to 12 volts when applicable.
Custom Motorcycle Wiring Harness
Corrosion, damaged wires, and poor connectivity in old cable harnesses can lead to many electrical issues. To resolve them, you may be able to obtain aftermarket or OEM new circuits to work, but these can be expensive. However, this is the chance to design your bike wiring from scratch.
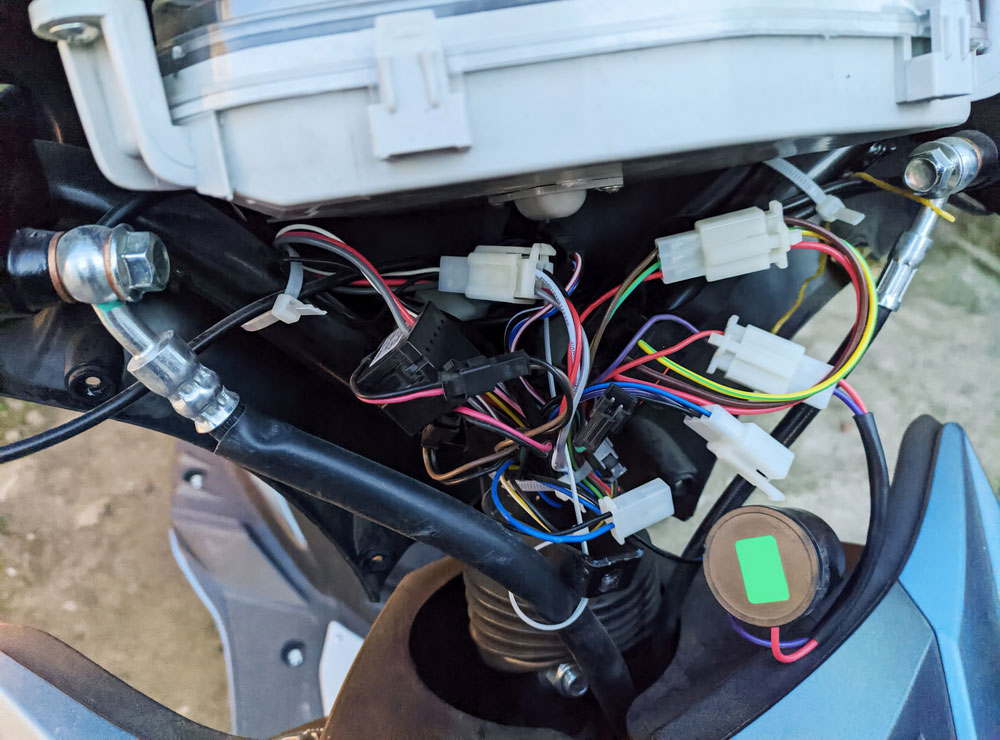
Caption: Simplifying your motorcycle wiring
How to Rewire Your Motorcycle?
For the wiring of your computer, you need the following components.
- Modern rectifier or regulator
- Electrical Ignitions
- New battery
- Suitable quality connectors and wires
- New ignition coils (Optional)
- Upgraded Stator and other accessories (Optional)
Here is the basic procedure to do the wiring
- Connect the negative side of the battery to the engine mounting point or any other bare metal. Through this, you will make the entire frame a grounding point.
- Now, connect the positive terminal to the fuse holder. Preferably, it should be a 20 to 30 Amp fuse holder with old glass tubes.
- Then, take the wire to the ignition switch from the fuse holder. Remember to use a sound control that can handle maximum power since it is the main current route in the wiring.
- As the power system establishes, you must run one power wire from the front to the bike’s backbone. Then, you can connect all other accessories to this cable.
- Next, connect the hot wire to the backbone wire from the live wire and neutralize it with the frame. Also, attach the wires of the rear and front brake while connecting the third remaining wire to the brake lighting wire.
- Then connect the coils to the electronic ignition point. Also, fix the lugs of the solenoid inside the system.
- See the rectifier; it will have three yellow wires. Now, attach them to the wires of the stator. Also, connect the red wire of the reg/rec system to the positive and green to the negative side of the battery.
And there, you have proper bike wiring done.
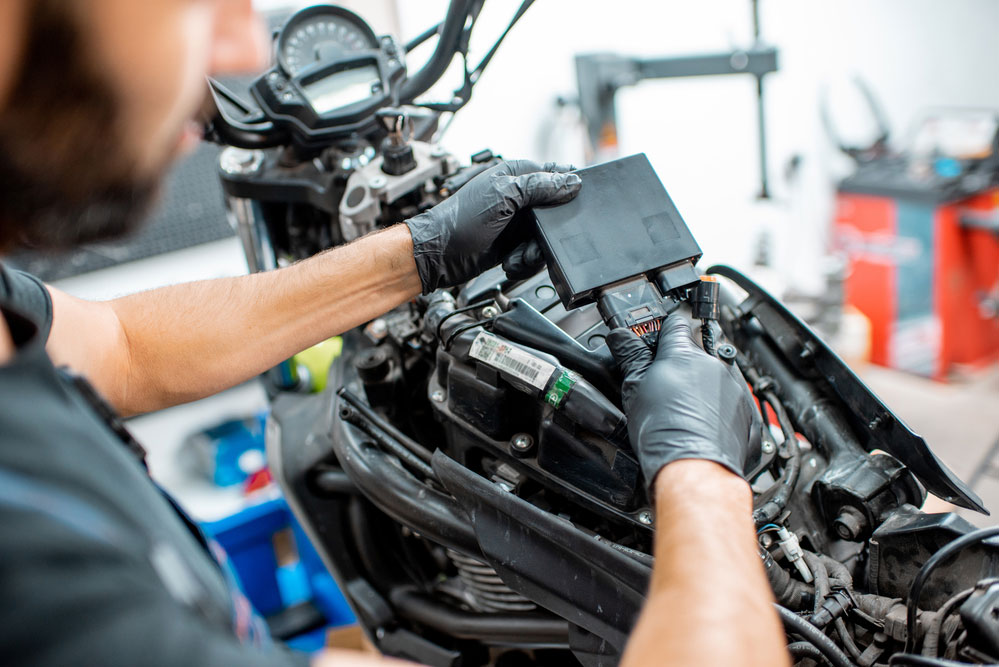
Caption: Electrician repairing motorcycle wiring
Motorcycle Wiring and Electrical Repair Tips
To do the motorcycle wiring properly, You must consider these points.
Always Start with the Right Wiring Diagram
If you think you can follow the wires and figure out how to connect them, fixing a motorcycle is much easier if you start with a design. A wiring diagram for a bike to help someone who wants to do their electrical work.
Additionally, when using a wiring diagram for a motorcycle, see whether it is for the suitable model and year. It is because wiring can be very different between models that are only slightly different. Also, even one year can make a big difference in wiring. Moreover, as you are working with the old bike, it might have been rewired previously. So, having a circuit diagram can help you see the changes.
Have the Right Tools and Supplies
Any task is easier with the right tools. Therefore, you will only need a multimeter and a cable cutter or stripper. Also, you will need soldering and crimping tools, terminals, and wires.
Use the correct wire gauge for your motorcycle’s electrical components. There is a hazard in using little wires, yet it is tough to thread large cables. Moreover, you can use the power output to estimate the amperage drain of an unlisted component. To calculate the minimum amp draw, divide the watts by 12 and multiply by the voltage. Component power loss should be considered when multiplying this amount by 2.
Additionally, heat shrink tubes and a heating gun are necessary. These can save time and money in the future when repairing or replacing your wire. Moreover, it helps in organizing the cables and labels them for later use by using heat shrink tubing.
Label All the Wires
Again, labeling all the wires at the repair time will help you in future changes. You can do it with written tags or colored heat shrink tubes. In popular opinion, heat shrink tubes work best since the colors stay on the wires for a long time.
Using a heat shrink tube, you can buy different tubing colors and place them on the wire using the heat gun. Moreover, you can write the cable color and the function it performs for future reference.
Electrical Grounding
As you remove the bike frame and paint it, it can cover the grounding points. However, it can lead to making a bad connection. Due to difficulty connecting, the batteries will not charge, instruments and lights won’t work right, and the car won’t start.
Thus, when you face an electric issue in your car, check if the bad part is correctly connected to the ground. For that, you can do this by putting a multi-meter between the opposing end of your battery of bikes and any metal part. As a general rule, the reading between these parts of the cycle and the battery shouldn’t be higher than 1.5 ohms.
Edge protection
Edge shielding protects cables from sharp edges and mechanical damage. Bikes prone to vibrations like single-cylinder bikes and big v-twins can experience edge wear and tear. It is because some complex points can damage the cable insulation. Common sense and knowing where assembly difficulties may arise might prevent this.
Hence, be critical in the points you run the cable and use a solid cable sleeve or “snakeskin” to avoid the problem on your custom motorbike project. Snakeskin is a flexible braided plastic sleeve that protects the cables with more durability than the simple sleeve.
Over complicating
Most of the time, bad planning is to blame when an electric circuit is too complicated. Thus, placing all the links on a motorcycle in a single place is the simplest way to wire it. It means that you will not have additional wires swaying the bike and extra connections. Moreover, in case of any problem, you will only have one place to inspect and repair it.
Wire size & fusing
When a fuse blows, there is usually something else going on, and it is the result of the above-stated issues. While doing the motorcycle wiring, you may use more oversized fuses, thinking it will protect the bike more. However, it can be a temporary fix for years, or it could destroy your bike. It’s essential to pick the correct size wire for the job and, even more crucial, to employ the appropriate fuse size.
Affixing Terminals
Most industries no longer believe soldering is the best way to connect terminals. Instead, they use specialized crimp-on connectors. Ultimately, it’s up to the owner to decide since each type of attachment has pros and cons. But no matter how the wires are attached, the engineer should use heat shrink upon each terminal. It does not matter whether it is positive or negative. Moreover, the tube will insulate and give it more support where the wire goes into the terminal.
Stress Points
As already said, it is necessary when a wire goes into a terminal. Because of vibration, you need to support the cables wherever possible. Even though heat-shrinking the joint will help, adding a small pigtail right before the terminal and then zip-tying it will take almost all the load off the joint.
Electrical Noise
Most of the time, electromagnetic interference on motorcycles only affects systems that are run by computers. So, the control units and wires for electrical ignition coils should not be connected to any other electrical parts. When shielding electric ignition units, keeping them safe from elements that give off a strong magnetic field or wires that carry large voltages is especially important.
Sheaving and Wrapping the Harness
Manufacturers frequently use insulating tape to join wire bundles traveling from one side of the bike to the other to prevent short circuits. It is to shield the wires from wear and strain and an extra insulation layer. Moreover, some producers also utilize plastic sheaving for the same reasons. Split plastic flexible tubing, for example, is readily accessible in an auto or electric supply company and can be used as a replacement.
Routing
Motorcycle cable and electrical wire routing are extremely careful to handle by the manufacturers. For example, they must direct a line away from any heat source, such as a radiator. Thus, when routing one wire or the entire harness, you need to know its location at the headstock. Moreover, wires mustn’t be caught in the forks while they are operating or squeezed.
Hence, it is essential to remember that high-performance bikes can reach speeds of more than 100 mph, and any unsecured cable could blow off. So, make sure to route the wires accordingly in such motorbikes.
Zip Ties
Mechanics must use zip ties to fasten single wires and the harnesses as they are routed. As long as the links are good quality, they won’t hurt the cables and will help. Zip ties with quality (stainless, usually) barbs are more expensive, but they break less frequently and are less likely to cut through the plastic shielding of electrical lines.
Electrical Connectors
All wires have connectors at both ends except the bare one with the receptacle. As you are rewiring the bike, it is not necessary to use the type and style of connector previously used. However, you have to stick to the design of the connector to fit onto a particular switch or plug.
Mostly, engineers use generic connectors for most rewiring projects to make the design simple. Also, for short wires, mechanics peel the insulation from the connectors, solder it with wire, and then cover them with a heat shrink tube.
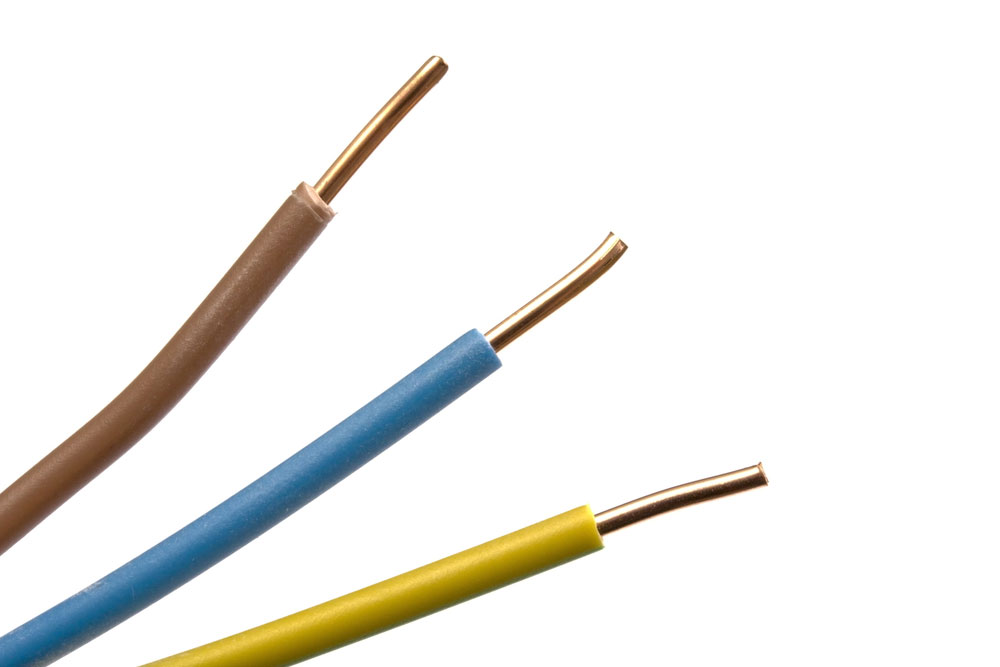
Caption: Electrical Wires with shielding
Conclusion
Motorcycle wiring can be intimidating since it requires effort and precision. However, if you choose the quality material, design the circuit first, take care of insulation, and do not overcomplicate it, there are no issues left. Doing the custom Yamaha, Harley Davidson, or Honda bike but facing issues? Cloom is here to help! We take your burden off by providing you the custom harness solutions and saving you time for wire prep. Moreover, we use quality material with OEM-style connectors for easy plug-and-play.