
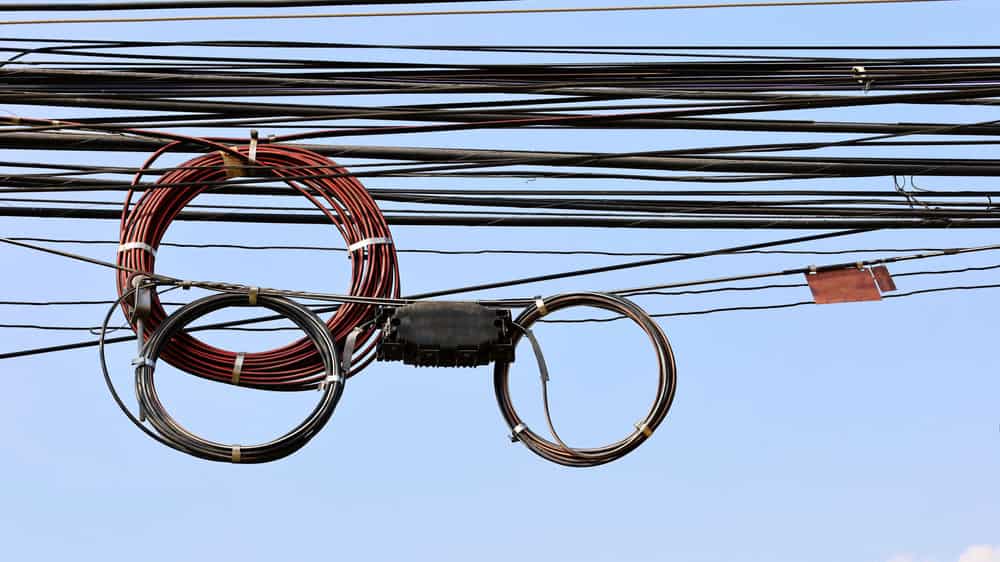
About aerial installation, Next time you walk past an electricity or telephone pole about aerial installation, take a look at the number of cables hanging on it. You may notice that not all are power, telephone, or coaxial cables. Fiber optic cables are there too.
The cables ride on existing infrastructure and are lighter in the amount of disruptive construction work they need. But the installation of aerial cables is not automatically smooth sailing unless you do it the right way.
Table of Contents
- 1. Aerial Installation–Precautions
- 2. Aerial Installation–Preparation for Cable Placing
- 3. Tools and Materials
- 4. Types of Aerial Plant
- Conclusion
1. Aerial Installation–Precautions
Fiber optic cables are sensitive to tensile force, crushing force, and tight bends. So it is vital that you take appropriate precautions. Also, personal safety comes first.
Aerial Installation–Cable Handling
You could damage fiber optic cables during handling. It is therefore important that you pay attention to the cable ratings as defined by the cable manufacturer. Loads that exceed the manufacturer’s ratings may increase attenuation, create micro-fissures and eventually cause fiber breaks.
Fiber optic cables have a minimum bending radius. Therefore, you should never bend fiber cables past their minimum bending radius. Doing so may lead to bending losses and breaks in the constituent fibers. Usually, a cable’s minimum bending radius under load is 20 times the cable’s diameter. Under no load, the minimum bending radius is 15 times the cable diameter.
Also, fiber cables have maximum tensile strength. Thus, a cable’s load should never exceed this value as this may alter its performance and shorten its lifetime. Check the cable’s feature specification or datasheet for the cable’s maximum tensile strength.
Other cable parameters you must consider include minimum installation temperature and the cable’s crush strength.
Aerial Installation–Safety
Use approved personal safety wear during cable installation. This includes gloves, safety glasses, hard hats, safety shoes, and reflective traffic vests. When working near vehicle traffic, you need traffic safety equipment as well such as cones, barricades, and warning signs.
Fibers broken during splicing and termination can be dangerous. The sharp ends easily puncture the skin and break off. When that happens, they can be difficult to find and remove. Furthermore, fiber optic termination and splicing use various chemical cleaners. Therefore, follow the manufacturer’s instructions to the letter. If there is anything unclear, request the manufacturer for the Material Safety Data Sheet (MSDS).
You will test fiber optic systems using lasers and LEDs. While the beams they emit are not visible to the naked eye, they could cause serious eye damage. For this reason, you should not directly look into a fiber end. Especially one that has a LED or laser coupled to it. If you suspect you have accidentally exposed your eye to a LED or laser beam, seek medical attention immediately.
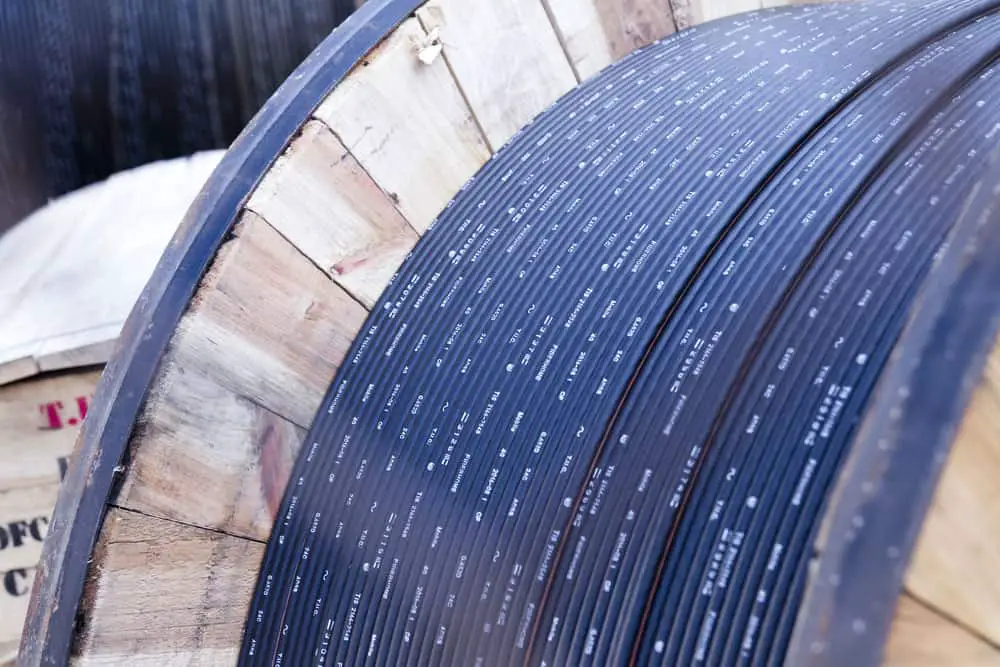
Never drop the reel. While unloading or loading cable reels, take necessary preventative measures that prevent collision or damage to reels or cables. Do not roll reels over a long distance. Instead, roll it on both flanges in accordance with the direction on the flange’s arrow. Never store the reel on its side. Rather, store it on a flat surface. Place blocks under each flange to prevent rolling.
2. Aerial Installation–Preparation for Cable Placing
Installing fiber cables underground comes with the risk of puncturing gas lines, water mains, power cables, and sewer pipes. Thus, aerial fiber cables do have a distinct advantage in this regard. Then, how to prepare?
Pre-Construction Survey
Plan the route you intend to install your cables. Investigate the conditions of the preferred route, including clearance challenges over trees, driveways, roadways, and other obstructions. The placing route should have a safe and spacious staging where cable reels can be loaded, unloaded, and stored. Evaluate the condition of support structures in addition to the opportunity to position cables safely.
Determine the most suitable method of installation as well as the material and equipment requirements. Identify splice locations in line with transmission design to ensure the right cable order lengths. Make sure that splice locations are not in hazardous or inconvenient sites.
Aerial Installation–‘Make-Ready’
Aerial cable installation must comply with the safety procedures of the pole owner. The pole owner could be a power utility, telecommunications company, or both. Once you have the permit, the pole owner ought to participate in preparing the pole for the installation. The industry refers to this process as ‘make-ready.’
It involves analyzing pole loading, adding guy wires, and, if necessary, upgrading poles. You may have to move other cables on the pole to make room for the new hardware. ‘Make-ready’ can be a tedious, delicate activity. You risk damaging poles, cables, and wires. It, therefore, represents a significant proportion of the overall costs of aerial cable installation.
3. Tools and Materials
The same mounting accessories used with copper cables may apply to fiber cables as well. Tools and materials you need will typically include the following. Note though that actual tools needed will vary from one set up to the next.
- Messenger wire
- Lashing wire
- Synthetic pulling rope
- Suspension clamps
- Suspension hooks
- Cable blocks
- Ring bolts
- Ring nuts
- Strandvises
- Cable guides
- Wire grippers
Ensure all tools for use in aerial cable installation are in good working order. Improperly functioning tools may injure personnel or damage cables.
4. Types of Aerial Plant

There are three main types of aerial plant. Let’s have a look.
Aerial Cable Lashed to a Messenger Strand
Lash the aerial cable with steel or aluminum wire to a separate and pre-installed messenger wire. You can place the cables using either the moving reel or stationary reel techniques. Choice of method will depend.
Moving Reel Method
In this method, pay off the cable from its reel and raise it until it is at messenger strand level. Thereafter, lash it to the strand as the placement vehicle arrives at the next pole. The moving reel method requires vehicle access on the pole line’s placement side. Ensure the cable route is away from guy wires, tree limbs, and other obstructions.
The moving reel method offers better productivity than the stationary reel technique. It is a simpler procedure and less costly. You need fewer technicians to complete the process. On the other hand, right-of-way problems could slow progress. In addition, alignment of the cable reel and cable chute must be maintained at all times.
Stationary Reel Method
You are more likely to use the stationary reel technique where there are obstructions on the planned cable route. For example, existing cables and wires crossing the planned path. It requires the installation of temporary cable blocks on the messenger wire.
There are two separate operations that constitute the stationary reel method. First, pull the cable into place under the messenger strand for the cable run. Support it with the cable blocks that hang off the messenger strand. Second, lash the cable to the messenger strand starting at the cable end. Move along the opposite direction of cable placements before terminating at the stationary reel location.
Self-Supporting Cable
Self-supporting cables do not require a messenger strand during aerial installation. Instead, strength members built into their cable sheaths as part of their factory design provide support. The two most common self-supporting cables are:
- ADSS cables have extra yarn of aramid on their outer jacket to provide their own support thus negating the need for a messenger strand. You are more likely to use ADSS if you are planning to span cables over large distances.
- Figure-eight cables get their name from the shape of their cross-section. The messenger strand is in the cable’s upper portion and joined by a thin plastic web.
You can place self-supporting cables using either the moving reel or stationary reel technique. While there are differences in placement design, the installation method for both ADSS and Figure-eight cables is similar. For example, both can use dead-ends.
Dead-end poles form the anchor points for a messenger strand at the beginning and endpoints of a fiber optic cable. They also act as supports. Fit the messenger strand to dead-end poles using dead-end fittings that maintain the span’s tensile loading.
There are two main types of dead-end fittings–strandvises and wrapped strand grips. Strandvises grip the messenger strand via a compressed sleeve cartridge. Strand grips have spirally formed high-strength steel wires wrapped around the messenger strand.
Microduct Cable Used in Aerial Plant
The micro-duct concept allows the placing of small diameter and very compact fiber cables. It uses modern, inexpensive procedures in protective, small diameter micro-ducts. You place these in sub-ducts and lash to aerial messenger wires.
When a new service emerges, you may install the new micro-duct cables in previously used spare micro-ducts. Empty micro-ducts add minimal infrastructure cost during construction yet provide savings and flexibility.
Conclusion
Overall, this is the work that culminates in the aerial cables you see. Also, the methods described are guidelines. They are therefore subordinate to relevant federal, state, local, manufacturer, and industry rules and regulations. We do provide help with cable assemblies. Get in touch with us.