
Best Way to Splice Speaker Wire, Over the years, there has been a debate on whether or not splicing is necessary for speaker wires. With new technological advancements like a wireless sound system, it may not be an immediate concern. Nonetheless, learning how to lengthen your wires through splicing is a skill that will pay off in the long run.
Today’s article will show you the best way to splice speaker wire, including the steps and effectiveness.
Table of Contents
- Preparation work before splicing speaker wire
- Method 1: Twist and Use an Electrical Tape
- Method 4: Soldering the Wire
- Finally: Reconnect the Speakers
- Conclusion
Preparation work before splicing speaker wire
Required Tools
- Heat sources like a blow dryer
- Notepad (smartphone/digital or physical)
- Measuring tape
- Wire stripper
- Electrical crimp connector that matches the gauge of the existing wire
- Spool of speaker wire that matches the gauge of existing wire.
Set Up Your Equipment
The first thing to do before splicing your speaker wires is properly set up the equipment, including the speakers. Disconnect the power cords and remember to turn off the power source to the home stereo receiver.
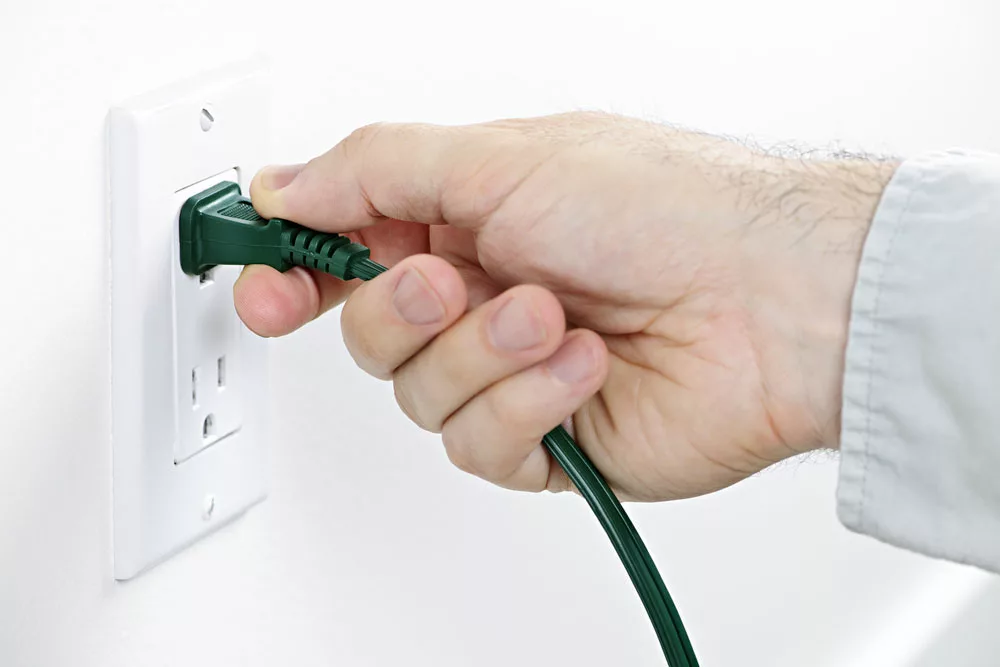
(Removing the plug from an outlet)
Next, examine all unplugged speaker wires. Keep the good ones for later use and discard the damaged ones. You can now move your speakers to a new spot in your house.
Measure the Distance and Cut the Wire
Begin your procedure by measuring the wire lengths depending on your device’s position in the room. Then, cut your recommended speaker wires.
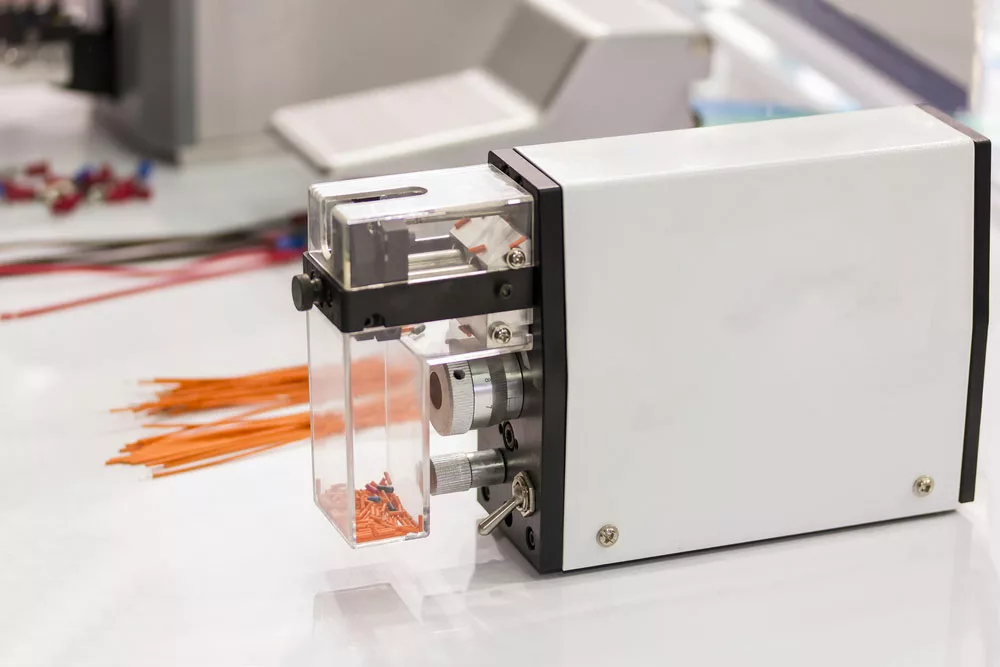
(Automatic cable measuring stripping crimping machine for high technology industrial work)
Strip the Wire
Remove the plastic coating surrounding the wire ends you want to connect using a wire stripper.
Method 1: Twist and Use an Electrical Tape
It is the most common and simplest method of connecting wires when working on a home audio system. Additionally, you can use it to fix your headphone wires.
The easy process comprises twisting and wrapping two spliced speaker wires in a joint using electrical tape.
Unfortunately, it is not ideal for electronic devices since the spliced and connected wires can unwind easily if you apply tension. The situation is more visible for large wires, which are harder to twist/wrap but easy to separate.
Additionally, the electrical tape will become loose with time when the adhesive ceases, especially in wet, hot, or dusty areas.
Luckily, despite the minor unreliability, always settle for a good set of wire twist pliers and quality electrical seal tapes.
Method 2: Use Crimp Connectors
- Crimping the Connector
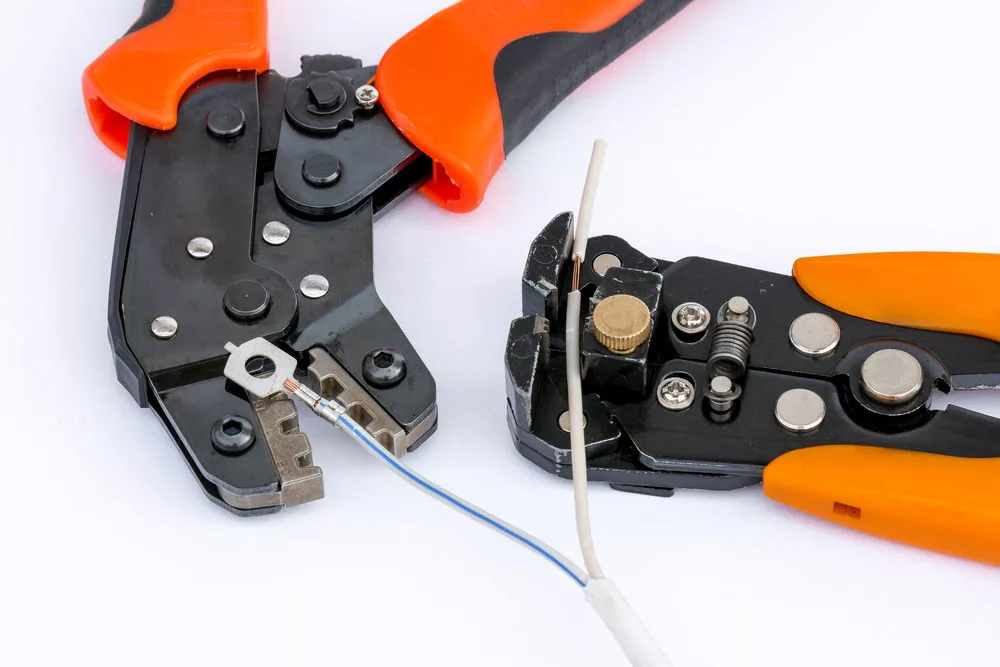
(The tool for crimping and stripping electrical wires)
- The first step is to twist the negative and positive ends of the wire using your hands.
- Next up, determine where the negative and positive end is. Criteria you can use are the color (e.g., red for positive), stamp, print, etc. Knowing the correct terminals will help you avoid short circuits on your speaker system.
- Thirdly, position the speaker wire’s negative end in the first crimp connector to its furthest point. Similarly, insert the negative end of an extension wire into the connector’s opposite end. Repeat the same process for the positive end.
- Select a suitable crimp connector for the wire, such as a red for 18-22 AWG or 14-16 AWG.
- Now, use a crimp tool to crimp your connector to the speaker wire. The purpose of crimping is to aid in creating a permanent splice by locking the connector onto the speaker wire.
- When done, delicately pull the speaker wires to verify a stable connection. A loose connection will destabilize the connection and need another repeat. Also, you can use electrical tapes for added firmness.
Apply Heat to Shrink Connectors
Gently use a heat source to contract the connectors after connecting the crimp connectors to the negative and positive wire ends. A lighter (used carefully), blow dryer, or hot air gun set to high heat should suffice.
When applying heat, you must hold the speaker wires a few inches lower than the crimp connectors. Then, steadily turn the connectors/wires around to reach every side. As the crimp casings shrink, they will tightly bind to the wire as a waterproof and protective seal.
Even better, you can find some electrical crimp connectors with solder inside melting from the applied heat and making a stronger connection.
Only stop the step once you have spliced and extended all lengths of the stripped and attached wires plus crimp connectors.
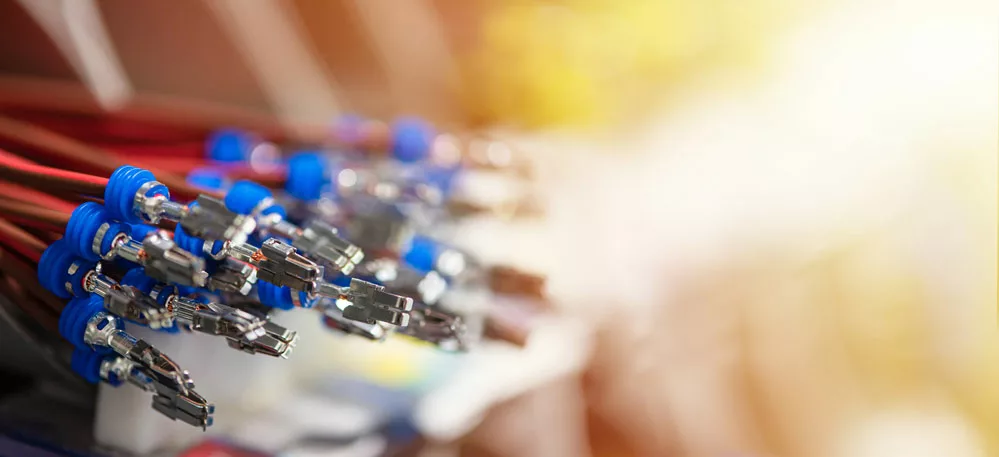
(Crimped cables)
Method 3: Using wire nuts
- Crimped closed-end caps or sleeves/ pig-tail sleeves
Crimped caps often need appropriate crimping tools. For the procedure, strip both wires and slide them inside the sleeve before crimping them together. While twisting the wires together is not a requirement, the wire will still function if you do.
The splicing technique is quite strong despite being bulky and unappealing. As such, the approach is best for out-of-sight home applications.
- Twist-on wire nuts
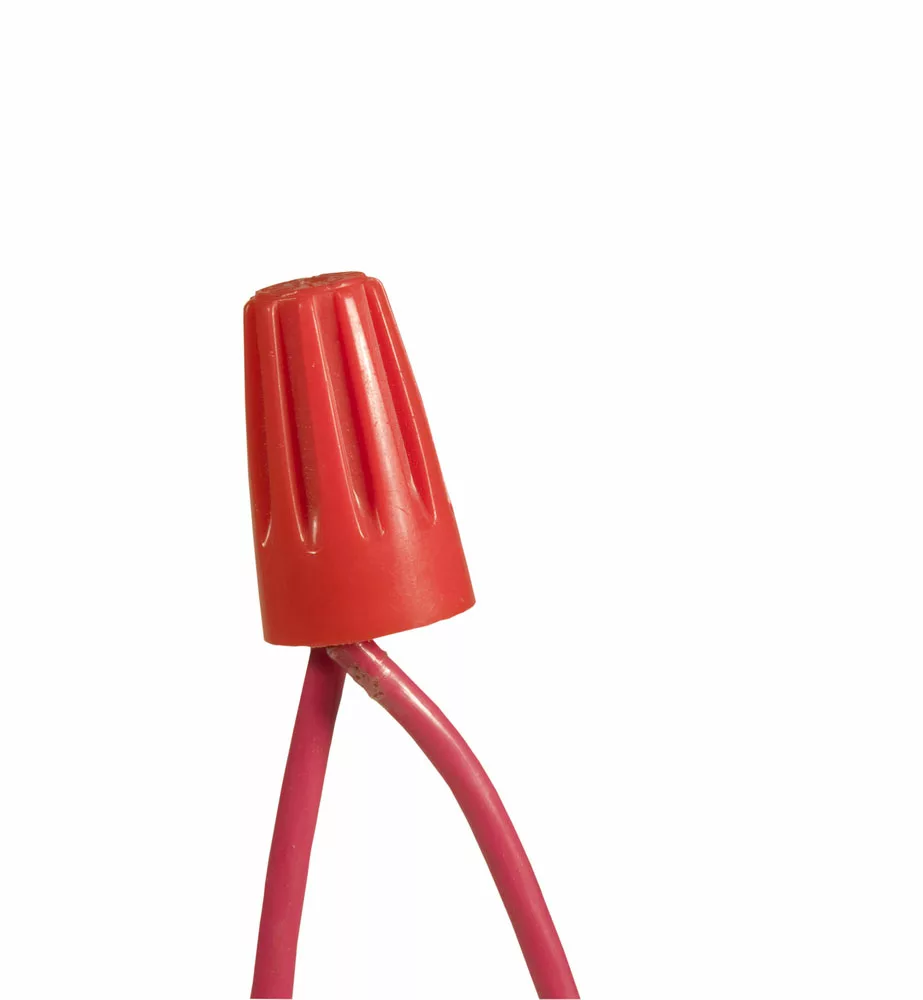
(Wire nut connecting wires)
- Strip about half of the speaker wire, coating off a single end of all wires, then twist the stripped ends together.
- Now, fit the twisted wires into a wire nut opening and twist the cap till you get secure wires.
- Finally, enclose the spliced speaker wire via electrical tapes for more protection.
Method 4: Soldering the Wire
Before you begin this method, use crimp connectors for stripping and wire cutting. So, here;
- Commence by cutting and stripping a ½” inch of bare speaker wire.
- Then, create an X shape while holding both ends and ensure the wire faces an opposite direction.
- Next, get hold of the two ends and start twisting their ends around each other to form a tight wrap.
- Heat a soldering iron, then use its hot tip on one side of the wire for a few seconds. Turn over the wire and employ the soldering iron till it gets full saturation.
- Let it cool down for seconds, then use electrical tape to secure the wires tightly.
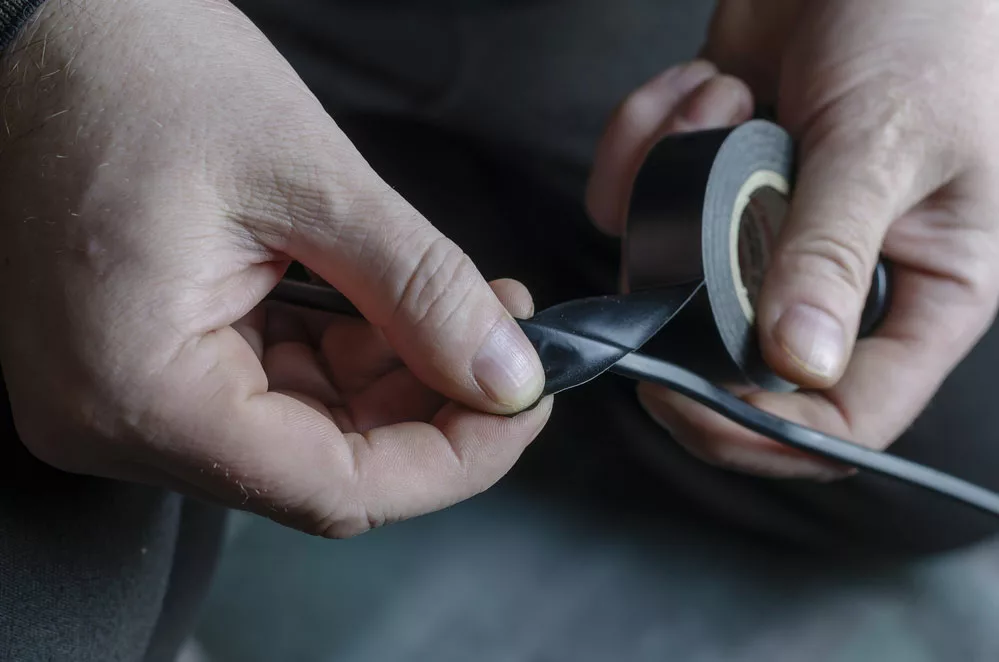
(Insulating a wire using electrical tape)
Finally: Reconnect the Speakers
Finally, you have spliced your speaker wire. How about we now connect the speaker wires to the home theater or stereo amplifier/receiver system? But first, ensure you install speaker wire connectors like banana plugs because they simplify plugging into binding posts or spring clips.
(Banana plug)
Does splicing speaker cables affect the overall sound quality?
Generally, splicing speaker cables will astonishingly extend the cable length. If you do it properly, there won’t be a contrast in the audio playback. Improper splicing can cause shorts and audio dropouts.
How do I check if a speaker wire is positive or negative?
There are several ways of telling a positive wire from the negative one. Some include;
- Manufacturers make a molded or imprint stripe in the insulation of a positive wire.
- The wire could have a + sign with information on the wire gauge printed on it.
- One wire has a silver finish, and the other has a copper color.
- Often, the insulation of a positive wire is red or a distinct color from the one used in negative wires.
- Lastly, a positive wire has a series of lines/dashes or a printed line.
Among the methods described above, which one is suitable for novices? Which is the most stable?
An in-line electrical crimping or wire nut method is one of the easiest splice methods. However, if you need a stable, long-lasting option, soldering the speaker wires will do. In all methods we have mentioned, ensure the connections are weatherproof when installing your wire outside.
Conclusion
Briefly, splicing speaker wires help you retain already used but in good condition wires that you would have otherwise discarded. When done properly, the now long wire will improve your sound quality.
We still have tons of wiring information for you on our website. We would be delighted if you left a comment or a question.