
Wiring your own house may seem hard as the best way to wire a house, but it is a hundred percent doable if you follow the correct measures and procedures.
Additionally, having the necessary electrical tools makes the work easier, faster, and more enjoyable.
The DIY can also be cost-effective for a homeowner and save money hiring an electrician.
Our article will show you the type of recommended tools, then outline eleven sure steps for wiring the house.
Do not fret if you’ve never held a tool since birth because our guide is comprehensive for beginners and professionals.
Table of Contents
- Tools You’ll Need to Wire a House
- Disconnect power
- Locate and Mark Box Locations
- Place Box on Your Frame
- Drill Bore Holes for Running Your Cables
- Thread the Cable Through the Holes
- Cut the Cable at the Box
- Run Cables to Your Main Circuit Panel
- Run and Strip the Wires and Cover the Ends
- Group and Label Your Wires
- Install Outlets, Switches, and Fixtures
- Check Your Work
- Conclusion
Tools You’ll Need to Wire a House
Even though wiring a house is uncomplicated, some tools might ease your work.
- Wire Strippers; A quality pair should be enough for the cables and wires.
IRWIN Vise-Grip Wire Stripping Tool
- Cable Tester will help test cables and then give information on the perfect attachment or problems related to the connections.
Multi-Function Network Cable Tester
- Cables and Cable Boxes; The cable lengths often determine the number and sizes of cable boxes you’ll need for the whole house. Remember, using more cables in some cable boxes might overload the socket, so read the instructions carefully.
- Wire Connectors; They provide safety by going over the hot wire ends until you finish the wiring and outlets process.
Kuject 120PCS Solder Seal Wire Connectors
- Cordless Drill (flexible); Using a battery- and electric-powered drill is better than a drill for plugins. Settle for a cordless drill that can bend and get to odd angles.
WORKSITE Cordless Drill
- Hammer; A hammer will suffice as a nail puller, help install cable staples, and drive wires into the positions.
Amazon Basics 8-Ounce Hammer
- Tape Measure; Your choice of tape measure should be able to keep still when marking a length and be accurate, sturdy, and of quality. Additionally, it should cover a distance of approximately 30 feet.
LICHAMP tape measure 30-foot
- Masking Tape + Sharpie; The tools will help you mark your cables for better labeling after threading them through the wall.
Sharpie permanent markers
Disconnect power
First and foremost, ensure total power disconnection in your house before attempting any electric wiring.
You can do this by switching it off from the power meter.
Alternatively, contact a power company and request they disconnect your home’s service.
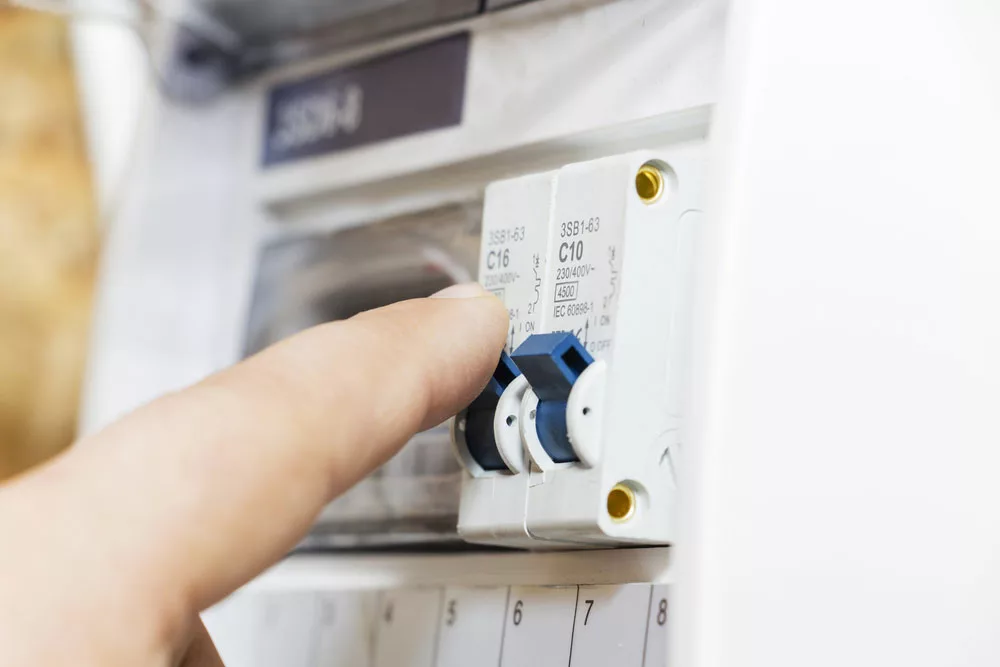
(A fuse power meter)
Locate and Mark Box Locations
Next, find and use a pencil to place marks on spots with electrical outlets or cable boxes in the house.
If you don’t have drywall, directly write (with electrician symbols or initials) on the wall.
Then, mark the boxes as either; a light fixture, three-way switch, single switch, or dual outlet (duplex receptacle).
Place Box on Your Frame
The frame will help you know how low or high the cable boxes will be or their location.
You can use a level for evenness or a tape measure, then mark each wall using a pencil.
Normally, 48 inches is ideal for light switches, while 12 inches will work perfectly for outlets.
Then, drill the cable boxes in your desired spots with an open wood frame. Ensure it’s 2 × 4 blocks behind the spot to leave room for window frames and drywall.
Drill Bore Holes for Running Your Cables
Proceed by making holes in the wall studs to enable you to thread electrical lines through and distribute them evenly around the space.
It maintains a tidy and orderly appearance while preventing them from sitting on the ground behind the wall.
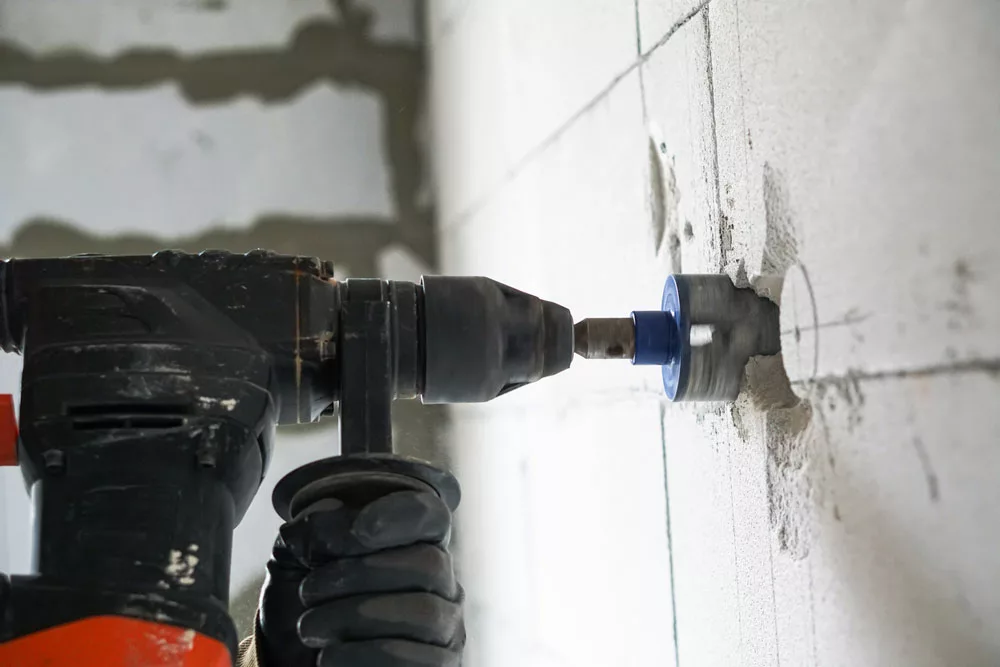
(Drilling hole outlets using an electric drill)
The drilled holes should have a diameter of three-quarters inch (minimum).
Furthermore, it would help if you located them at least one and a quarter inches from the back of the wall stud.
It guarantees that you have routed the cables straight down the center of the room and aren’t touching any walls on either side.
Thread the Cable Through the Holes
Begin this step by threading your cables through the hole present in every stud.
It might take a while since several cables run through the stud holes.
Ensure you thread them evenly and smoothly to avoid kinks or bulges.
While you can complete the threading task by hand, a needle-nose plier will be useful if there are more cables.
The tool helps in pushing and pulling cables through holes.
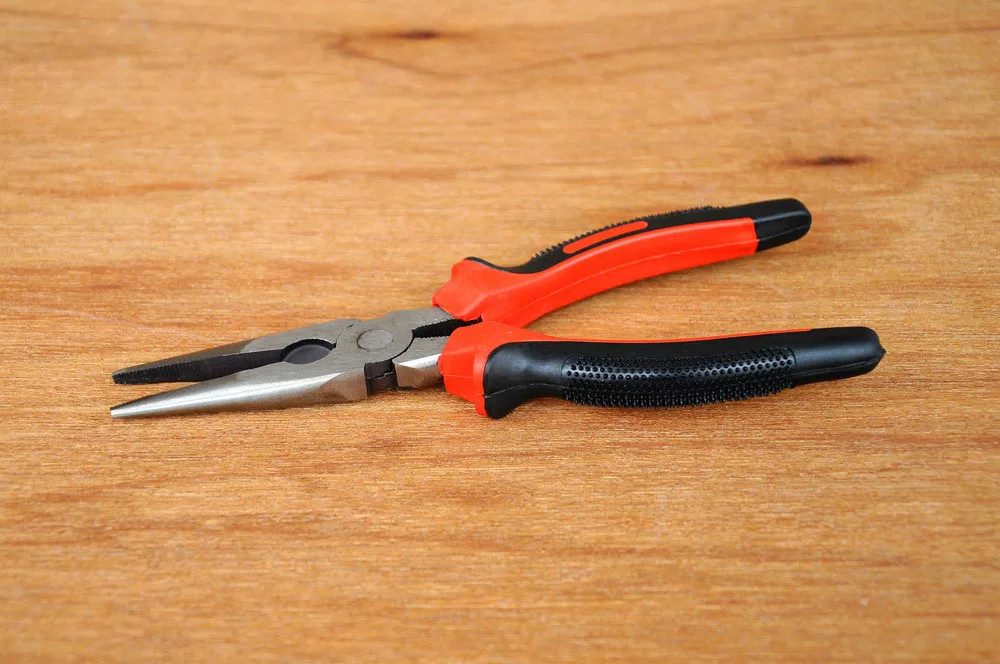
(Needle-nose plier)
Cut the Cable at the Box
After reaching the point on the cable whereby it can connect to an intended switch box or circuit, cut it to a favorable size, and ensure you leave at least twelve inches of excess at the beginning.
Lastly, bring the cable down to an appropriate length.
Then, remove all the sheathing from the final part, leaving only one to two inches to help expose the wires.
Run Cables to Your Main Circuit Panel
Run your exposed cables to the main service panel from the completed circuits, though you can spare some 4ft for an electrician.
It can occur on a low shelf in a garage, utility room, unfinished basement, or ground level.
Then, use a sharpie to label the cables and the circuit location and signal the electrician to attach the circuits.
Run and Strip the Wires and Cover the Ends
Usually, each box will already have holes punched into them.
Therefore, you will need a screwdriver to punch out the holes. Your cables must go through these holes to reach the box casing.
After successfully inserting the cables through the holes, staple them between eight to ten inches from the box against the wall studs.
Because of this, they will remain secure and snug, with little or no loose ends dangling everywhere.
Later, strip the attached wires to make them free to connect to a switch or circuit.
Then, cover each end of the wires with a wire cover, so they are secure until done with installation.
Group and Label Your Wires
You can use zip ties, electrical tapes, or markers (depending on the available tool) to label your wires.
When done with remodeling, distinguish the groups that go to your light switch, outlets, and overhead lighting.
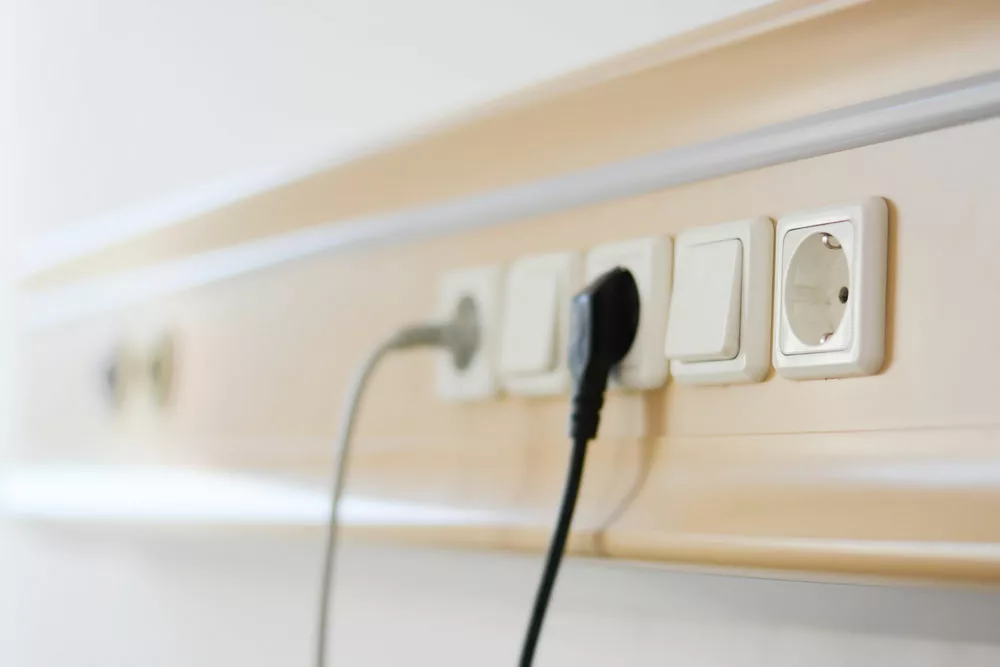
(Electrical outlet)
After carefully grouping and labeling your wires, you can fold and neatly pack them into a box. It’ll help you reduce pressure on connections and preserve space.
Install Outlets, Switches, and Fixtures
We can now install our light fixtures, switches, and outlets to finish the wiring process.
Further on, ascertain that the circuits match the intended use of the outlet plus the wire amperage.
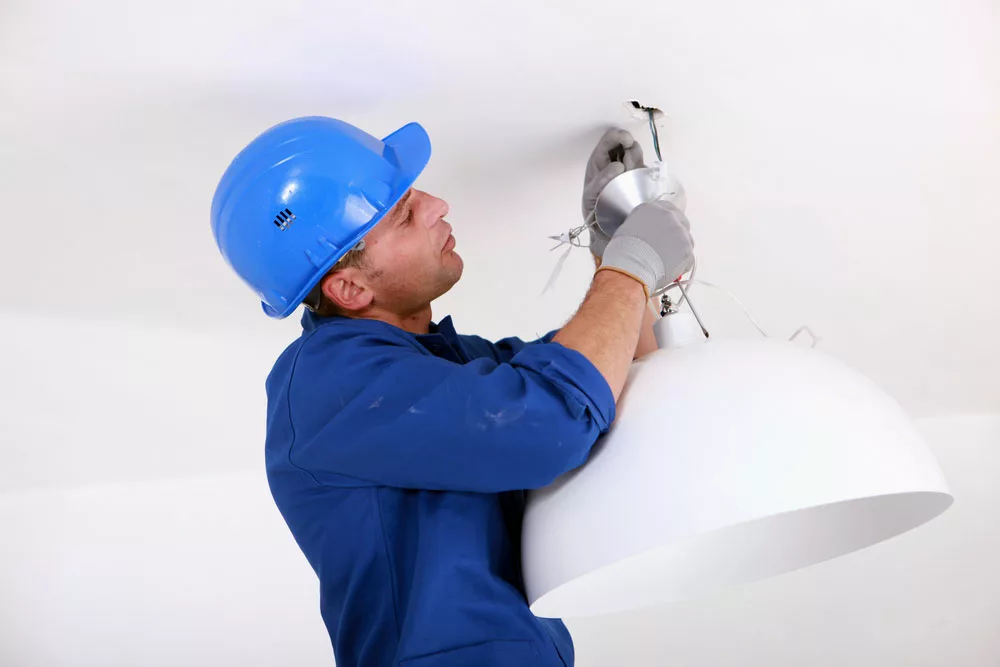
(Electrician fitting a ceiling light)
Check Your Work
Finally, we are almost there. The very last step will require you to check your work. Switch the power back on to confirm safety and zero damages.
Furthermore, use a voltage tester to examine the casings to verify non-verification.
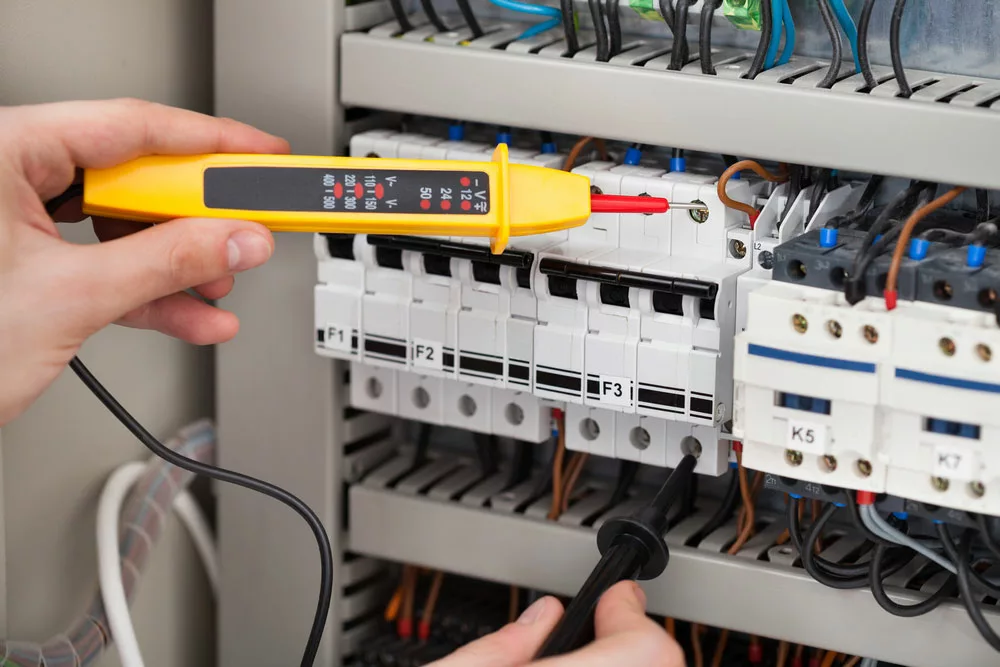
(An electrician examining a fuse box using a voltage tester)
Conclusion
In conclusion, wiring a house is a straightforward process you can comfortably achieve.
However, involving a partner or consulting a professional for better guidance is advisable if this is a first-time project.
For more DIY tips and tricks, step-by-step wiring/ cabling processes, and the best products in the market, kindly contact us.
Our team of professionals is always at your service.