
If you’ve needed to grab something from your cart in the dark, then you’re aware of the convenience a dome light presents. Replacing your dome light with a door switch will increase your car’s comfort. However, dome light wiring to the car switch is challenging but not impossible. First, ensuring you have the proper tools and equipment to do the job correctly is essential.
Table of Contents
- Dome Light Wiring
- Why Won’t the Dome Light Turn Off When the Door Is Closed?
- Why Won’t My Dome Light Turn on When I Open the Door?
- How to Wire a Dome Light to a Door Switch
- Precautions to Take When Wiring a Dome Light
- Conclusion
Dome Light Wiring
Dome lights brighten a vehicle’s interior when it’s dark outside. They’re typically placed right at the end of the windshield.
Opening the door breaks the ground wire connection, causing the light to turn off. However, when the doors are closed, a path is created for the current to flow and turn on the light.
You can see some essential components in the dome light wiring circuit. Once there is something wrong, you can check them first.
The Fuse
Most cars have the fuse box next to or in the glove compartment, under the dashboard, or in the engine compartment. If you have trouble locating the fuse since some vehicles have more than one, refer to your vehicle’s manual.
Upon finding the fuse, you’ll need to determine if it’s blown or not. A blown-out fuse is usually clearly visible, although it’s not always the case.
For a proper fuse check, you’ll need a multimeter or a test light. However, a multimeter will record no continuity between the terminals. Therefore, it’s best to use a test light to check a fuse because it’s simpler.
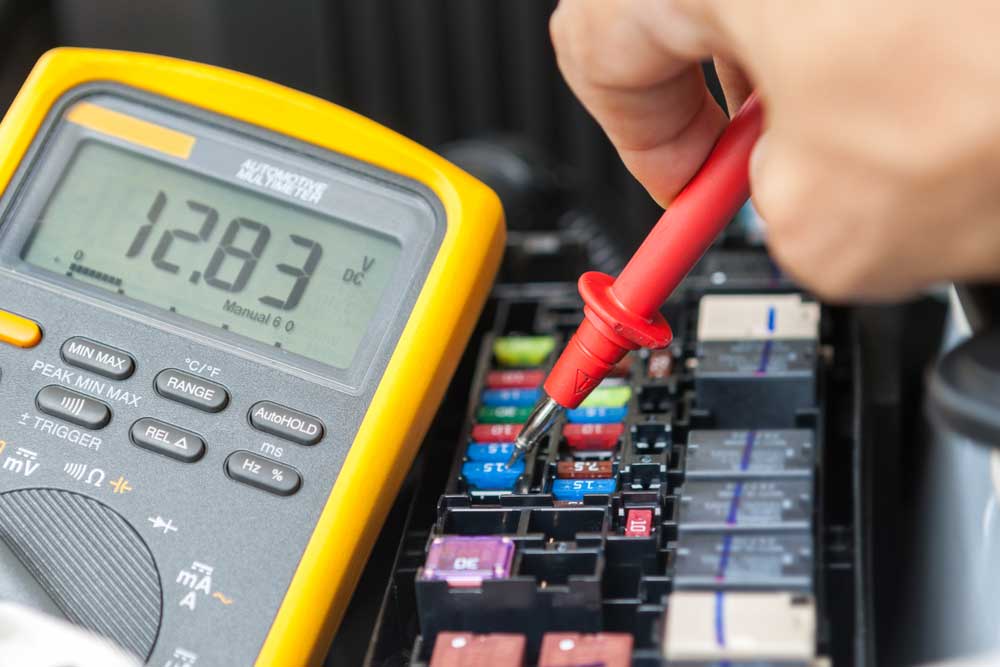
Caption: Multimeter performing a fuse check
The Dome Lights
A dome light comprises a bulb and cone to diffuse the light emitted.
There are different bulb types, and it’s essential to get the right one by referring to the manual. The most widely used bulb ranges are the 15-watt and the 25-watt. The 15-watt bulbs are usually found in smaller cars, while the 25-watt ones are in larger vehicles.
Caption: Dome Light Types
Most cars have an automatic on/off switch that turns off the light when the door is closed and on when the door is opened.
Often dome lights are preset to dim to allow your eyes to adjust. If you prefer, you could have your dome lights in different colors.
The Door Jamb Switch
This device, generally located on the door, activates when the door is opened and closed. Jamb switches are also found in refrigerators. These switches instantly activate a light for increased convenience.
You can also use a jamb switch to control the brightness settings of your dome light. Jamb switches are small enough to fit in a compact space. You can control the morning with the controller or a manual switch option for settings if you prefer more control.

Caption: Dome Light Wiring
Source: https://www.homemade-circuits.com/car-interior-light-fader-circuit/

Caption: door jamb switch wiring diagram
Source: https://www.route66hotrodhigh.com/Relays.html
Why Won’t the Dome Light Turn Off When the Door Is Closed?
If you face any challenges mentioned above, there’s no need to panic, as there are ways to diagnose and fix the issue. Some of the methods include:
1. Check the Dimmer Switch
If your car has a dimmer switch, the first step should be to check if the button is on. It could be that all you need to do is adjust your car’s dimmer settings.
2. Test the Dome Light Switch
Examine along the door for a dome light switch. You’ll need to locate a switch button around the doorframe or door jamb for this step. If you find one, it means your vehicle has a button switch, which not all cars have.
If you find that your car doesn’t have a switch button, pull the door latch to see if it turns the dome light on and off. You get positive results; it means you have a latching switch.
The switch doesn’t turn off the dome light; it doesn’t necessarily mean the wiring is faulty. The issue could be with the interrupter, part of the switch. But what if you find that the button is fully functional, but the dome lights won’t turn off when the door is closed? The problem could be the door.
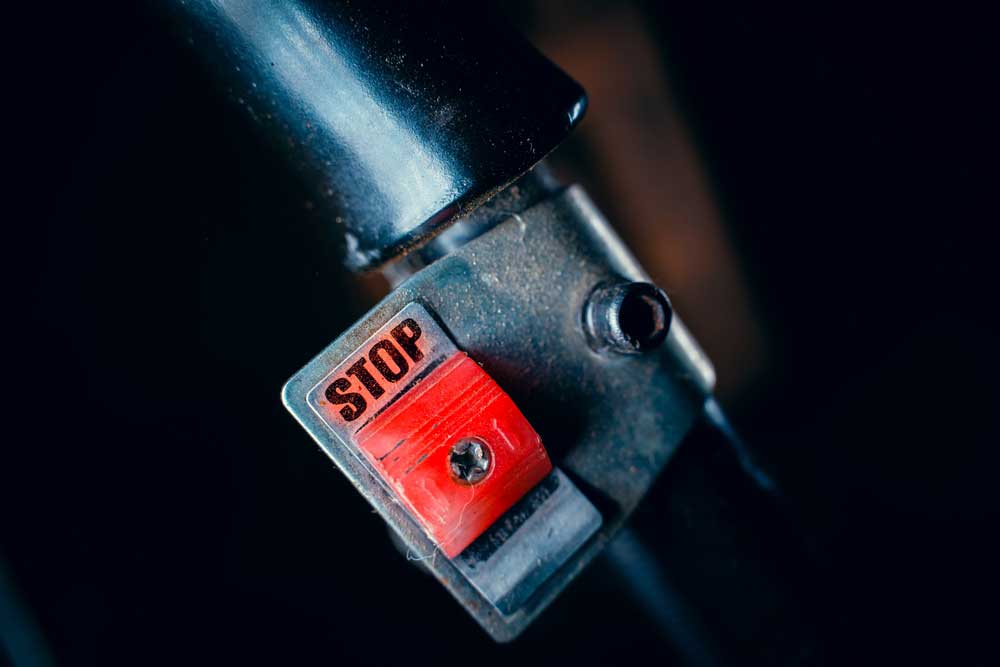
Caption: Circuit Interrupter
3. Check the Door and Hinges
If your door hinges are misaligned or uneven, it could hinder your car door from fully closing. Your door might fully close while driving, but it doesn’t latch, leaving the light on. This will prevent the latch from interrupting the circuit, and the light won’t turn off.
If you find that to close your car door, you have to slam it; it could indicate something’s wrong with the alignment. Remember, examining the door hinges is a job requiring two people, one lifting the door and the other checking the hinges to see if they’re loose or if there’s any damage.
4. Check if the Dome Light was Left On
Depending on the dome light installed in your car, check if the light was left on. Some dome lights have a switch that allows you to change the settings.
Why Won’t My Dome Light Turn on When I Open the Door?
Often when your dome light fails to turn on when you open the door, it’s because of an electrical problem. You can determine what the issue is by performing the following tests.
1. Check the Connect and Dome Light Bulb
Remove the dome light lens and examine the bulb for any burnt-out filament or discolored glass. These are the hallmarks of a faulty bulb that needs replacing.
2. Test for Power at the Dome Light
If your dome light doesn’t work after replacing the bulb, you’ll need to test the morning with a power probe. Test the circuit for power. If the test provides positive results and there’s power, the problem could still be with the bulb and connector.
3. Check the Fuse or Relay
If the power test proves damaging, there’s no power in the dome light. At this stage, the most likely issue is the fuse or relay. Check the fuse to see if it’s burnt.
How to Wire a Dome Light to a Door Switch
A dome light is essential in increasing your car’s comfort. Wiring your dome light to a door switch is not hard, especially if you have the proper wiring harness. However, if done wrongly due to a faulty wiring harness, it will cause significant stress sooner or later.
Below are the steps to follow when wiring your dome light to a door switch.
1. Turn Off Power
The first step is to turn off the power from your battery to ensure your safety. After that, you can disassemble the cover from the dome. If you’re unsure where the dome light is located, a quick scan of your car’s manual should guide you. A flat head screwdriver should do the job when removing the dome light housing cover.
The next step is to take off the existing bulb carefully. Sometimes, the bulb won’t come off quickly, and you must use force. Just be careful not to break any bulb parts as they could cost you.
Removing the bulb should give you access to both ends of the wires.
2. Locate the Door Switch
To locate the door switch, follow the wires from the dome light. You’ll find that the cables will lead to a black box found above the glove compartment or near the fuse. Also, each terminal should only be connected to one wire.
You can easily purchase a circuit tester online to help determine which wire goes into a specific terminal. The switches are typically designed to facilitate simple testing using a multimeter or a cellphone with access to an analog meter app.
3. Identify the Wires That Require Splicing
Cut the existing wires as close as possible to where they connect to the terminals to create bare and exposed ends ready for splicing. Your car and dome light type will determine the number of wires you’ll need to split.
Some cars use a single or two-wire system that allows you to switch one of the wires simultaneously. You can change any dome light wires if your vehicle uses a three-wire system. This step is crucial; therefore, pay special attention.
4. Splice Wires Together
For the next step, you’ll need wire strippers to remove insulation from the wires. Twist the wires with your fingers until they fit tightly. To prevent short circuits, you’ll need to solder the twisted ends and insulate them using electrical tape or heat-shrinking tubing. Another option is to wire nuts if they’re readily available.
For the dome light to work efficiently, you’ll need to ensure that the negative and positive polarity are wired correctly.
The negative pole usually is black or brownish wire, while the lively bar is red. Again, if you face any challenges, refer to your car’s manual to determine the correct polarity. Most manuals have a schematic wiring diagram that provides a clearer picture of what goes where.
5. Button Up
Once you’ve correctly made all the proper connections, replace the cover of your dome house lighting. Ensure you avoid breaking any components or scratching around with the screwdriver. Finish off by turning the power back on and testing the door switch.
The dome light turns on when selected by the door switch and should go off when the door switch is turned off. If you encounter any problems, you might have to go through the work again to check for any errors in the wiring.
If you use a three-wire system, you could also opt for multiple switches. The three-wire system allows you to turn the switch from more than one location. This provision could prove helpful, especially if you park in a dark room, such as the garage or the street.
Precautions to Take When Wiring a Dome Light
The following are some measures to take when wiring a dome light:
- Ensure you disconnect your battery before performing any electrical work. Hold down the power button for 15 seconds to properly disconnect your battery to avoid any surprises from residual charges.
- Always use cutters or strippers with cable clamps that make it easier to strip the insulation off without damaging or cutting the wire strands underneath.
- Avoid relying on wiring colors or test bulbs to ensure the wiring is done correctly. It’s best to use a voltmeter to test wire voltages. Note that test bulbs could tamper with the fuse leading to severe damage.
- If your single circuit is a bit short, you can extend it with two different color wires. Ensure you label the wire to allow identification when reassembling the car’s electrical system.
- Check for any corrosion inside your terminal connector, and be sure to make any necessary replacements.
- Before turning on the power, ensure you insulate all bare wire ends. Instead of using electrical tape that will shrink and loosen over time, causing failure, you’re better off using PTFE or Teflon as it lasts longer.
- After putting back the components, now test fit all the connections. Sometimes a relationship might be too tight or loose, causing a poor connection. If you find any such cases, you could remove the part or trim off some for more insulation.
- Before use, ensure your crimp connectors are in good condition. Corroded or damaged connectors could later come to cause issues.
- Use quality connectors that won’t easily corrode or oxidize. For permanent and temporary connections, it’s best to use ring terminals, spade terminals, or solderless crimp-style connectors. Also, for heavy wiring, avoid using wire nuts.
Conclusion
Now you know how to wire a dome light in your car and diagnose and fix any issues. Granted, it’s DIY, but a lot could go wrong. If you face any problems or are not confident enough to do it yourself, feel free to contact us for professional help with cable assemblies.