
About Ethernet Cable For MacBook, Are you looking for a way to improve the internet connection on your MacBook?
You should know that a wired connection is always faster and more reliable compared to a wireless connection.
Therefore, in order to set up a wired connection, you need an ethernet cable for your MacBook.
Table of Contents
- 3 Methods To Connect A MacBook To an Ethernet Cable
- What is the Best Ethernet Cable for MacBook?
- Does Ethernet Connect Automatically To Mac?
- Why is Ethernet Not Working on My Mac?
- Conclusion
3 Methods To Connect A MacBook To an Ethernet Cable
If you have a newer model MacBook, it’s likely an ethernet port is not present.
However, you need not worry because, with the right equipment, you can easily connect an ethernet cable.
Below are the three methods you can apply.
1. Connect Your Ethernet Cable
While newer model Macs don’t have ethernet ports, the older versions are likely to have one.
With an ethernet port present, the process is very simple and straightforward.
- If you aren’t sure your Mac has an ethernet port, check the sides to confirm.
- Plug one end of your ethernet cable into a router and the opposite end to your device if an ethernet port is present.
2. Use an Ethernet Adapter
If your device doesn’t have an ethernet port, you can use the Thunderbolt to ethernet adapter to create a connection from your ethernet cable to your Mac.
- You simply need to plug the thunderbolt end of your adapter into your Mac and your ethernet cable on the other end.
- Plug the other end of your ethernet cable into a router.
Also, you can opt to use a USB-C to ethernet adapter to connect an ethernet cable to your device.
- Follow the same procedure as with the Thunderbolt to ethernet adapter.
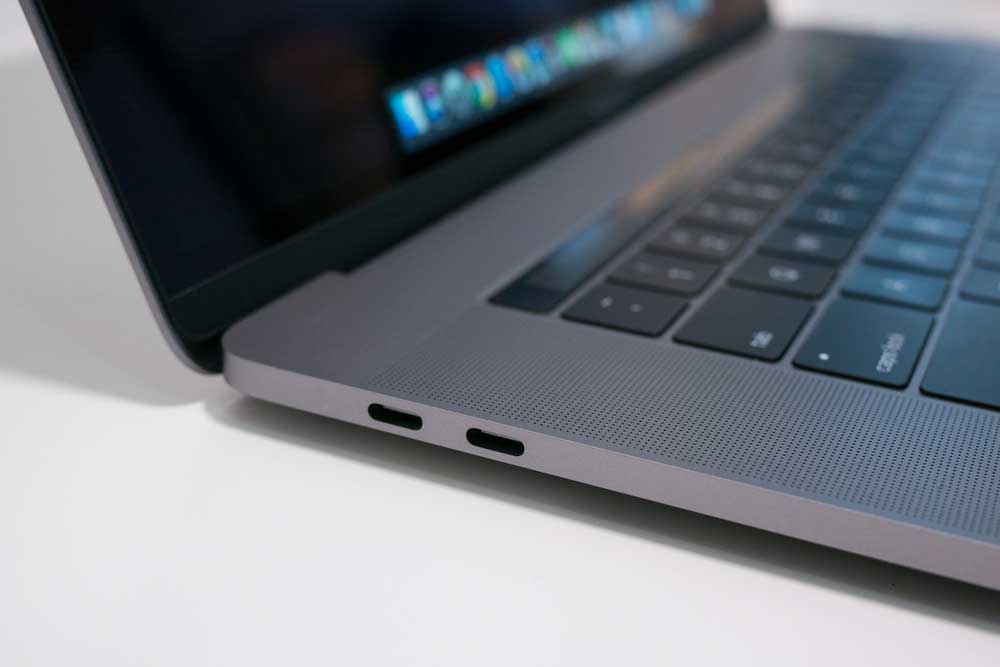
Caption: MacBook With Thunderbolt and USB-C port
3. Use a USB Docking Station
Often USB-C docking stations are equipped with ethernet ports.
- Similar to using a USB-C to ethernet adapter, all you have to do is plug your ethernet cable into the docking station.
- Then connect the docking station to your device via the USB-C connector.
- Finally, plug the other end of your ethernet cable into a router.
The main advantage of using a USB-C docking station is having the option to connect multiple other devices. For example, you can use the docking station to run an ethernet, backup SSD and pass two displays all at once via a single connection.
What is the Best Ethernet Cable for MacBook?
In order to get a lag-free Mac experience, you’ll be pleased with the high-end ethernet cable.
What are the Required Speeds For MacBook?
You’ll need an internet connection to enjoy using various features such as video streaming, Gmail, gaming and various other features.
Below is a list of the speeds you’ll need.
- 80 Kbps – VoIP calling
- 150 Kbps – screen sharing
- 0.5 Mbps – live streaming
- 1.5 Mbps – broadband
- 3 Mbps – 720p video calling, for example, Microsoft Teams or Zoom
- 5 Mbps – 1080p streaming on YouTube and Netflix
- 25 Mbps – 4K Ultra, HD streaming on YouTube and Netflix
The speeds mentioned above will serve as a reference for you when choosing your internet plan and ethernet cable.
Best MacBook ethernet cable
There are a few options to choose from, with our favorite as the Cat 6 patch cable.
This cable offers speeds of up to 1000 Mbps that cover all standard MacBook user speed requirements.
Furthermore, its patented RJ45 connector minimizes crosstalk to provide a lag-free online meeting experience.
Regardless of your type of laptop or computer, the Cat 6 patch cable will easily connect to the ethernet port.
Does Ethernet Connect Automatically To Mac?
Often you‘re not likely to encounter any issues while trying to automatically connect ethernet to your MacBook.
If you’re plugging the ethernet cable into an existing port, you rarely need any extra equipment.
However, if you plan on using a hub or ethernet adapter to connect your ethernet to your MacBook, you might need to change a few settings. Follow the steps below.
- Connect the adapter to your Mac via the corresponding port, for example, thunderbolt or USB.
- Plug your ethernet cable to an internet connection, then plug it into the ethernet adapter on your Mac.
- Click on the Apple icon on the top left of your screen.
- Choose System Preferences, then proceed to the Network option.
- Click on the plus icon to search for the interface or click OK next to the new interface detected if it appears.
- Create a name for the device and click apply.
Why is Ethernet Not Working on My Mac?
There are a couple of reasons your ethernet might not be working on a Mac. Below are some of the common problems and how you can fix them.
- Your ethernet adapter isn’t functional – if you have already tried various settings or the ethernet was previously functioning but suddenly it doesn’t, this is a sign you might need to replace your adapter.
- Your Mac doesn’t have an ethernet port – this a common problem, especially with newer model MacBooks that don’t have an ethernet port.
- You have the wrong ethernet settings – confirm you have the correct ethernet settings by selecting System Preferences, then Network, then Device name, then Advanced.
- Your internet connection is down – ensure that the internet is active on the other end. The problem could be with your internet connection and not the ethernet port or cable.
- Your ethernet cable is faulty – try using a different ethernet cable if your current cable isn’t working or has suddenly failed.
Conclusion
There you have it, and now you know how to connect a MacBook to the internet via an ethernet cable.
Furthermore, in case you encounter any problems with the connection, you are now more prepared on how to handle it.
For all your ethernet cables for MacBook needs, feel free to contact Cloom Tech.