
A fiber optic cable is an excellent solution for various network applications. It can transfer large amounts at long distances and impressive speeds.
But if you want to use the full potential of optical fiber, it’s essential to connect everything properly. Generally speaking, there are three ways to connect fiber optic cables.
Our guide will cover them so you can choose the most suitable option. Now, start reading the article and become an expert!
Table of Contents
- 1. How to Connect Fiber Optic Cables–Connectors
- 2. How to Connect Fiber Optic Cables–Splices
- 3. How to Connect Fiber Optic Cables–Pre-Terminated Fiber
- Conclusion
1. How to Connect Fiber Optic Cables—Connectors
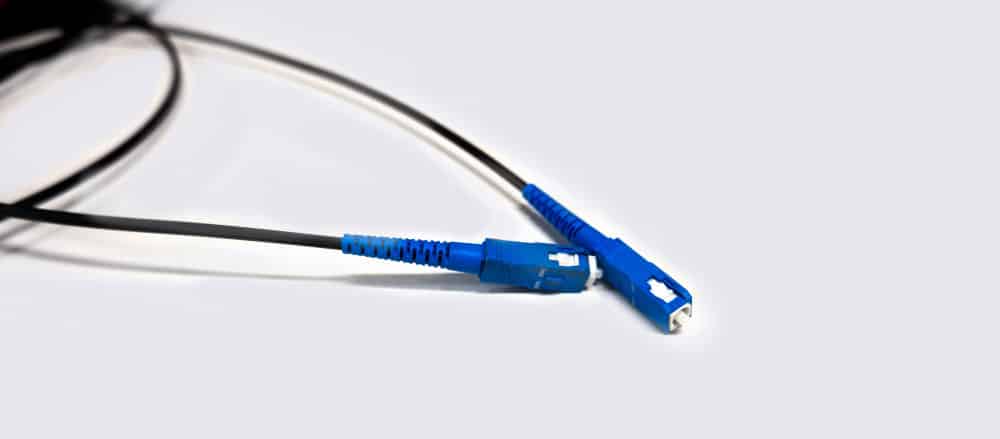
Caption: Fiber optic with SC connectors
These units connect the cable to another component in the network setup. Alternatively, you can use connectors to make a joint that connects two fibers.
You’ll find many connector types in the market. However, they differ in back reflection and light loss. Therefore, you should pick an optimal option for your application.
Commonly, ST connectors are on campuses and office buildings.
Furthermore, you find them in other facilities that use multimode networks. On the other hand, FC and SC units are suitable for single-mode systems.
If you are ready to select the desired connectors, check out the table below to discover their specifics!
| Type | Connection | Common Applications |
| SC | Snap | Cable TV |
| FC | Screw | Telecommunicating apps |
| ST | Twist | Local area networks |
| MU | Push | Military and medical |
| LC | Snap-on | Multimedia, Ethernet |
| MTP (MPO) | Push | Connecting O/E modules, device transceivers |
| MT-RJ | Snap-on | ATM, Ethernet |
2. How to Connect Fiber Optic Cables–Splices
You can use the splicing method to connect two cables. Furthermore, this technique is an excellent way to connect fiber optics.
That’s because it minimizes back reflection and light loss. Therefore, it’s a suitable choice to join two cable types or if a single cable stretches too long.
Check out the main fiber splice types below!
Mechanical Splicing
Caption: A mechanical splice tool for fiber optic cables
This technique uses an alignment sleeve. So, your goal is to position the sleeve between the endings of two fiber cables.
Therefore, this device holds the ends in the chosen position while ensuring the light passes between the cables. The experts estimate you could expect a 0.3dB loss with this method.
The main advantage of this method is its affordability. On the other hand, while the initial investment is low, each mechanical splice will cost more than the fusion type.
That makes the mechanical option less suitable for large projects. Furthermore, you also don’t want them in applications where you want to achieve the least possible light loss.
Fusion Splicing
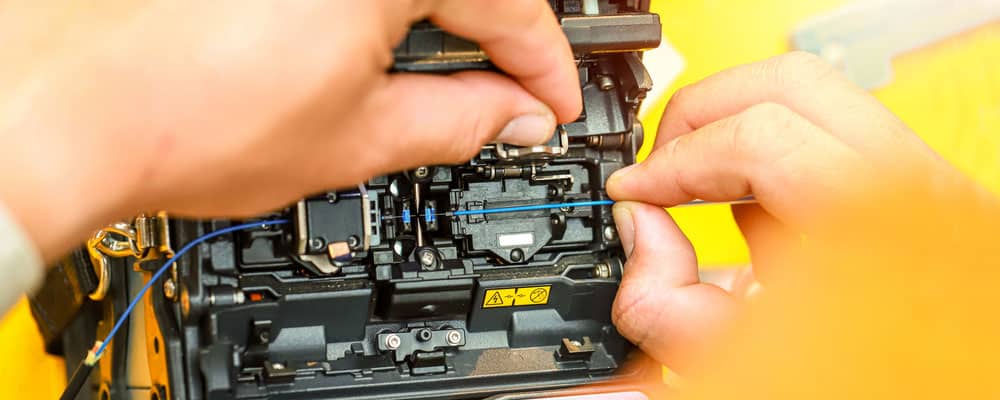
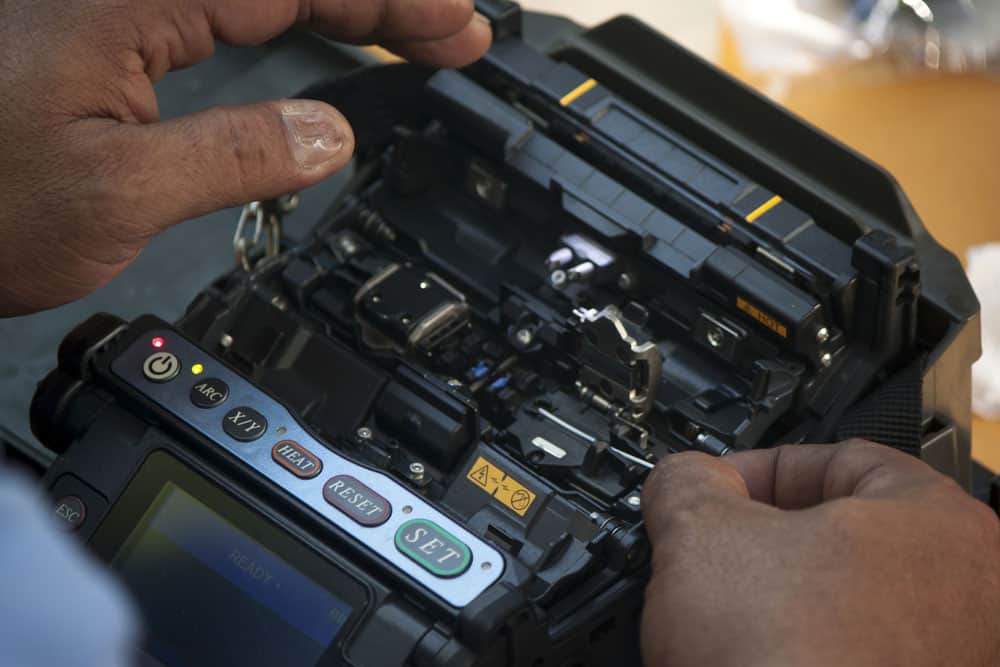
Caption: A worker operating a fusion splicing machine
The fusion technique consists of two steps:
- Use a device to find the perfect alignment between the endings of two cables.
- Grab an electric arc or a heat technique to join the ends.
This method is excellent for maintaining a constant connection between the two cables. Therefore, the estimated loss is only 0.1dB.
That ensures better performance than mechanical splices. However, the initial investment into fusion splicing is higher. So, the setup can cost you three times more money.
On the other hand, a single splice can be up to 20 times cheaper. Therefore, fusion splicing is a smart choice for large-scale and long-term projects.
3. How to Connect Fiber Optic Cables–Pre-Terminated Fiber
A pre-terminated fiber implies that the manufacturer treated it before sending it to the destination. Depending on your preferences, there are two termination approaches available!
Pre-Connectorization and Field-Fit/Splicing
The first option is a so-called 50/50 approach. So, you get a cable that has a single end with a pre-terminated connector. On the other hand, there is an end that you need to terminate while in the field.
This approach ensures that you can always use an optimal cable length. So you don’t have to worry. There’ll be the excessive cable that’s sore for the eyes.
On the other hand, the problem is that you’ll need a qualified technician to handle the field termination. Consequently, the installation will last longer, and the labor costs will increase.
Pre-Connectorized or Factory-Terminated
To simplify things, you can go for factory-terminated fiber optic assemblies. So, this method implies that the manufacturer handled the termination before they shipped the cables.
Fortunately, most brands do this in a premium facility to ensure no debris or other problems.
So, the staff ensures the cables feature a smooth termination to ensure optimal performance. Furthermore, they usually test cables before sending them to the destination.
The main advantage of factory termination is there’s no need to do anything on the job site. Therefore, that speeds up the overall installation time and increases efficiency.
Furthermore, it lowers labor costs and allows you to offer a better price to the customer.
On the other hand, the problem with factory-terminated cables is their length.
Therefore, you need to pick the desired distance carefully. Otherwise, you could end up with excessive length, which doesn’t add to aesthetics.
Furthermore, if the cable is too short, it might be unusable for that project.
Conclusion
Did you find your preferred way of connecting optic cables? So, it depends on the application, budget, and other specifics.
If you need help identifying the best solution for your project, don’t hesitate to contact us.
Our skilled team is ready to ensure you use the most suitable cable assembly for your needs!