
If you enjoy movies with sound quality, the world of cables matters to you. Optical cables have redefined this sector. These wires transmit excellent sound signals through fiber optic communication, reducing the interferences common with traditional cables. So, if you’re looking forward to learning how to install optical audio cables, here’s a guide on how to install optical audio cables.
Table of Contents
- Application of Optical Audio Cables
- What You Need to Install Optical Audio Cable
- Steps to Follow to Install Optical Audio Cable
- Conclusion
Application of Optical Audio Cables
Optical audio cables have several applications, including:
- Connecting to Converter
With an HDMI to the optical converter, you can connect your digital HDMI-enabled device to an older analog audio or video system. In other words, it works as an analog audio cable. Plug the digital optical audio cable into the converter, transferring signals from an HDMI cable to an analog-based source.
- Hooking a Soundbar
An optical cable is helpful, primarily when your current gear doesn’t support HDMI. That’s because it can pass multi-channel digital audio from one device to another.
- Connecting to TV
Technological innovations have seen the production of optical cable-compatible TVs. So you can plug the optical cable into your TV’s inbuilt optical input and connect it to the receiver.
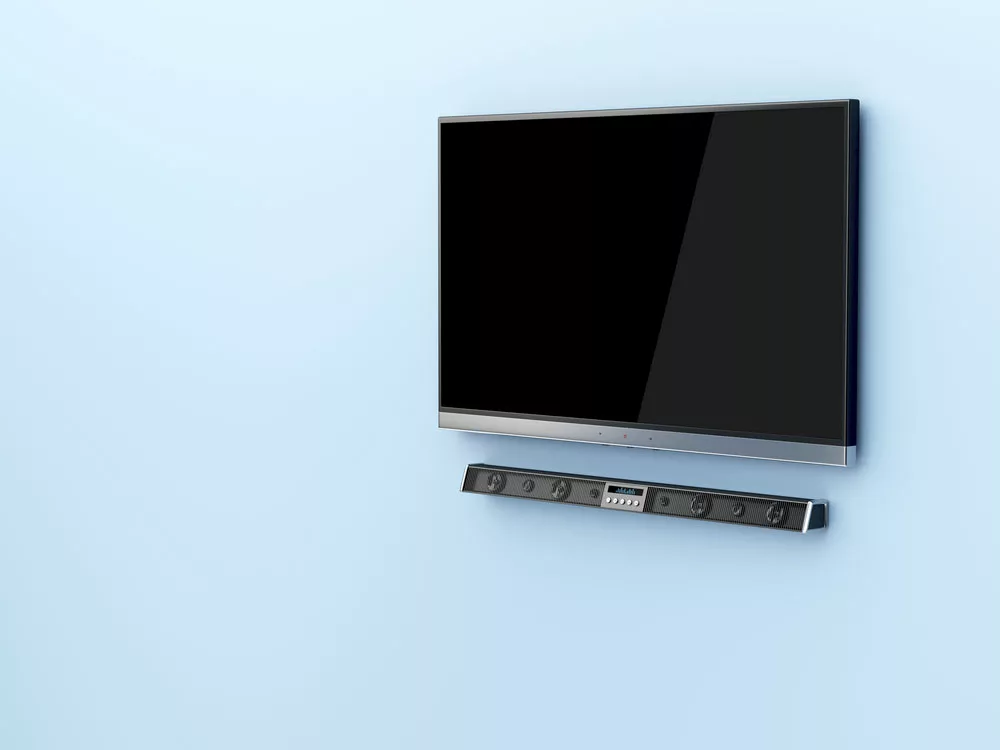
Caption: Image of the soundbar
What You Need to Install Optical Audio Cable
Installing the optical cable is a simple process and does not require a lot of equipment. But the devices you wish to connect should have an optical cable port. Or you will need a converter to connect the source and output receiver.
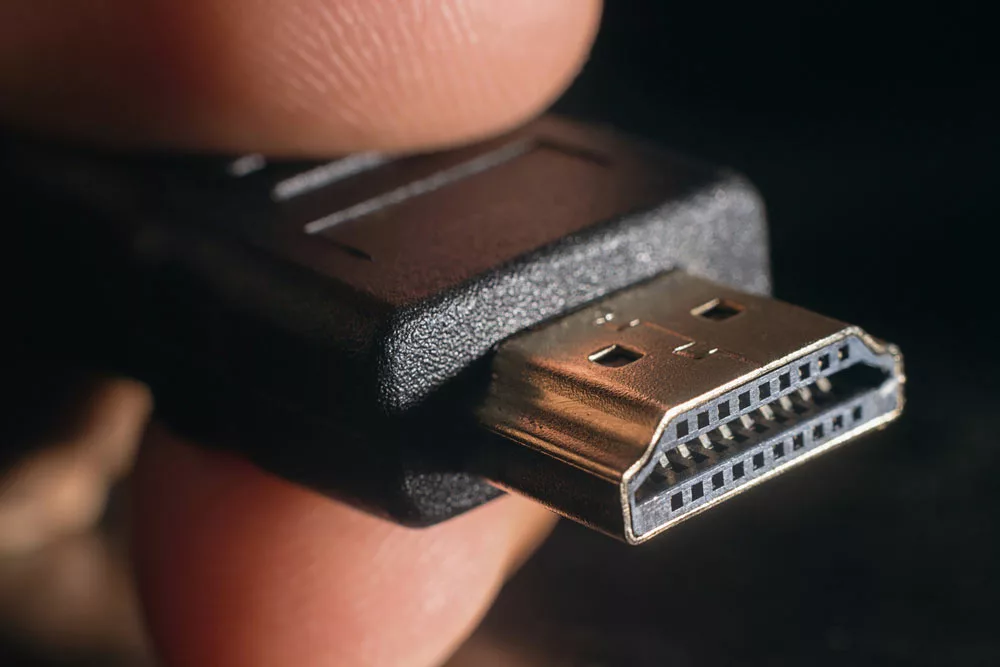
(Caption: Image of HDMI port)
Steps to Follow to Install Optical Audio Cable
After preparing everything you need, let’s get started with the different types of connections in the steps to follow below:
- Make the First Connection
Plug one end of your optical cable into the “optical in” port at the back of your receiver device. You need not force it in, as the connection should match the shape of your cable’s connector. You will know you’re doing it right, and the optical cable is securely fastened when it snaps in, and you hear a click sound.
- Make the Second Connection
Now plug the other end of the optical cable into your source device (amplifier, Blu-Ray player, or sound bar) into the Optical Out port. Note there may be more than one port so take note if it’s AV1 or AV4 so that later you can select the correct audio source. And like the first optical connection, ensure the cable matches the port’s shape so it slides right in and you hear a click sound.
- Confirm Installation Success
You’ve completed your connection. So now it’s time to turn the system on to check if you made the connection correctly. If the system does not work, check if you’ve installed suitable software. Also, you should set the audio output to Digital Out. Note that some models don’t require setting the optical output. However, you must go to the audio menu and disable the speaker. And for external devices with the optical port already enabled, you might still have to go to the audio menu and check if you need to turn on the digital output.
Should Optical Cable Click In?
Yes, the optical cable should click in when you insert it into the port. The click signifies it’s connected correctly. Note that digital audio cables fit one way only because one side has a square shape while the other has angled corners that fit in without requiring you to apply force.
Users often need help to plug their cables into the ports of blu-ray players or other devices after some time of usage. The problem arises if you fail to replace the plastic covers on the cable’s end after use. These covers keep the ends of the digital cable firm.
However, the issue may also emanate from using incorrect ports on your device or a broken cable tip. You can address these issues by inserting the cable into the correct port or bending it carefully to fit into the port.
Why Is There No Output Sound?
If you fail to hear anything, you should check the following.
Broken Cable
Cables are sensitive, and applying too much force during installation may damage or break them, preventing a secure connection. Always be cautious when inserting the cable into the port, as they break easily.
Incorrect Settings
Incorrect audio settings can prevent stereo audio output even when you’ve connected your devices perfectly. Always verify that the audio source is set to OPT, Optical In, or in the case of some soundbars, Digital In on the receiver.
Unstable Connection
Because cables are highly sensitive, it’s easy to mess up the connection when installing. You could also damage the surface underneath the protective coating, causing the cable to malfunction.
You need to install the cables correctly in the designated ports. Check to ensure you follow the correct process and avoid applying too much pressure. Plug the cable firmly into the right port for a correct connection. If you forcefully plug the cable into the wrong port, you risk damaging the cable’s tip.
So ensure the Digital OUT or Optical OUT TV port connects to the soundbar’s Digital or Optical IN port. You will know you got it right if there’s a red light from both connectors.
Other Reasons
Besides the three primary reasons you’re hearing no sound, other reasons include:
- Your TV’s Digital Audio OUT volume is turned too low
- Your TV’s firmware needs updating
- Your TV is incompatible with the audio system you have connected to
- Your TV speakers are set as the default audio source.
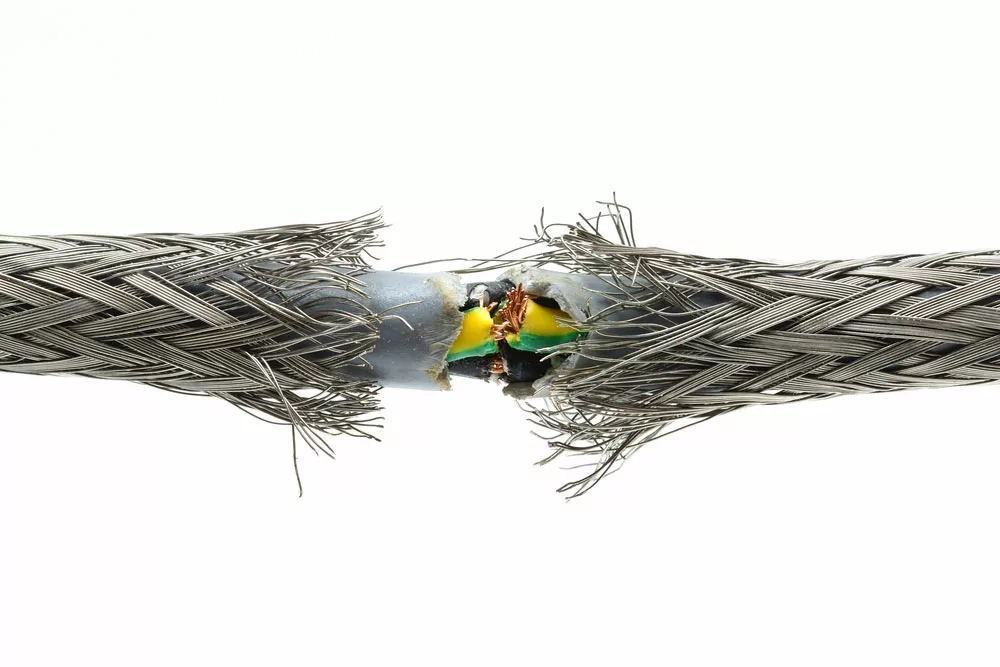
(Caption: Image of broken cable)
Conclusion
Optical cable installation is a straightforward process that shouldn’t crack your head. All you need to do is get the suitable cable and follow the above procedures to insert it into the correct portal. Moreover, practice all the precautionary measures to avoid damaging the cable as it affects entertainment devices’ sound output.