
Today, you get a simple assembly and a higher transmission speed thanks to coaxial cables. Do you know the importance of connectors? Coaxial connectors put an insulation layer around the coaxial cable’s inner conductor. The crucial types of coaxial connectors include SMA and RP- SMA. Today, our guide focuses on learning about the SMA cable.
Table of Contents
- SMA Connector Basics
- SMA Connector Performance
- SMA Connector Power Rating
- SMA Connector Mechanical Details
- Reverse Polarity
- SMA Connector Formats
- SMA Cable Attachment Methods
- SMA Cable: SMA Solder Connector Installation
- SMA Cable: SMA Crimp Connector Installation
- Conclusion
SMA Connector Basics
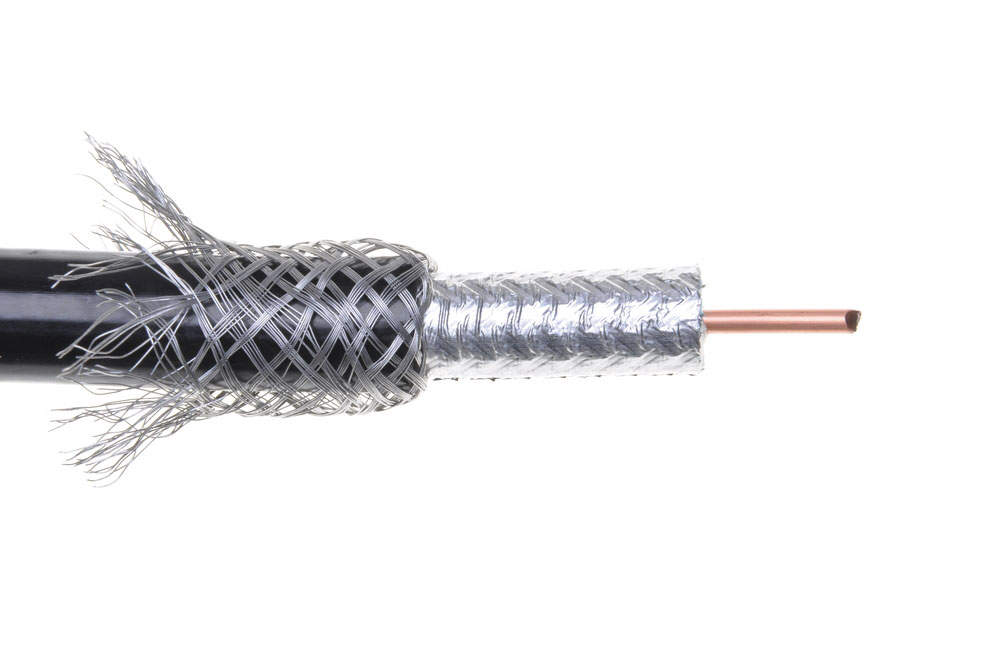
Caption: A coaxial cable with connectors
The abbreviation SMA stands for a Sub-Miniature A connector. These are coaxial connectors suitable for various uses. If you need an RF connector, you can count on SMA to ensure connectivity. Today, you can find this connector assembly in printed circuit boards and microwaves. Apart from that, an SMA RF connector can be in mixers, attenuators, filters, and oscillators.
SMA RF connector has a hexagonal shape on the coupling interface. If you look at this cable type, you’ll find threaded outer coupling. So, you can use a spanner to tighten it. Furthermore, go with special spanners for a coax connector to ensure the best results. According to experts, you need 8-inch pounds of torque.
SMA Connector Performance
If we refer to ohm impedance, it will always be 50ohms throughout the connector. The initial designs set the standard to be 18GHx for operation. While you could find some in ranges from 12.4GHz to 26GHz, those assemblies weren’t often. Beware of upper-frequency restrictions, whether an SMA male connector or its female version. If they are higher, you might face more return loss.
With so many options available, check with the manufacturer. It ensures you find the best option for your use. Cables will determine the limit for high-frequency applications. It’s because they have bigger losses than the actual connectors, especially at high frequencies.
SMA Connector Power Rating
If you want to assess power rating, check the connector specification. It should transfer a high current while keeping the heat acceptable. Now, the crucial heating factor is contact resistance. You need to form and mate center contacts well.
As the losses increase with the frequency, the power rating decreases. Depending on connector options, some have a power rating of 200W at 10GHz. On the other hand, some units could reach 500W at 1GHz.
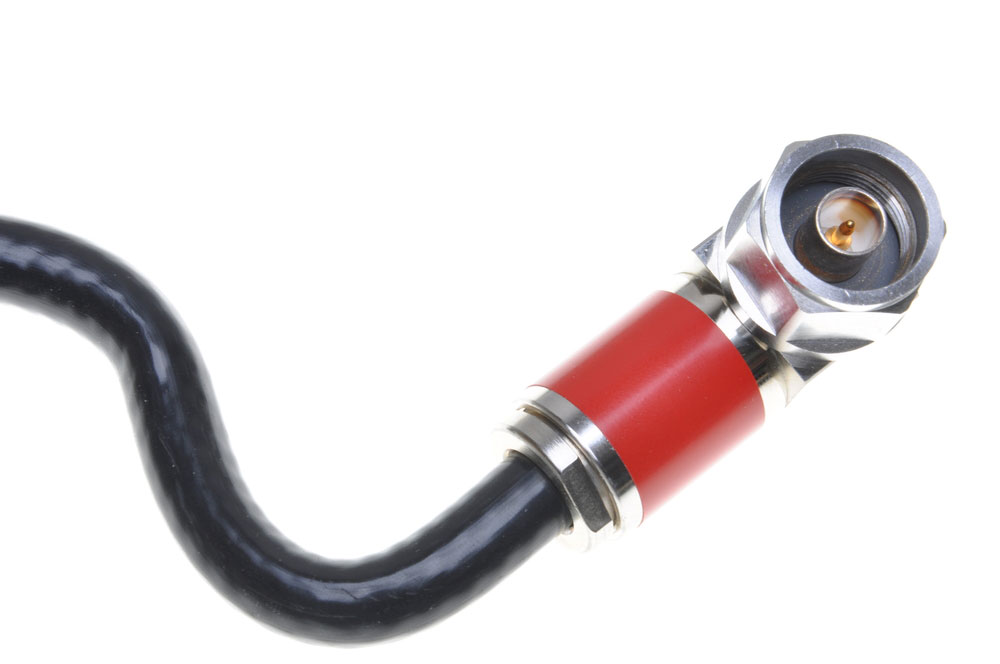
SMA Connector Mechanical Details
Caption: A coaxial cable on a white background
These coaxial connections usually have a 0.25-inch threaded barrel. Male versions feature a 5/16-inch hexagonal nut. You won’t find outer threads on the barrel if you have a female RP-SMA connector or one with standard polarity. Female connectors feature a center sleeve, while male units have pins for a central connection. PTFE dielectric supports these pins. YoIt would help if used torque to optimize the connector. If you do it right, you can achieve a maximum rating of 500 mating cycles.
Connectors should have clean internal surfaces for optimal performance and longevity. Dirt is a common problem in these designs. Use compressed air to get rid of any loose debris before mating.
Reverse Polarity
First, you’ll find these under the abbreviation RP-SMA. It’s possible to pick a “female” RP-SMA connector or go with its “male” version. Ultimately, it comes down to the type you pick.
Reverse polarity describes the contact pin’s gender. For example, a “male” RP-SMA has identical outer housing to standard connectors. The difference is that the male outer housing has a female pin inside and vice versa. Now, these connector designs can be useful for Wi-Fi gear. They ensure the equipment meets regulations in different areas.
SMA Connector Formats
You’ll find SMA connectors in different forms. For example, plugs come in right-angled and straight formats. As for sockets, you can pick a cable entry with a single nut to fix. Therefore, you use it for panel attachment. You’ll also find free connectors. The alternative is the center pin type. It comes with two or four holes for fixing the screws for panel attachment.
Cable Entry Type / Free Connector
- Straight formats. This connector type offers male and female versions. You can find plugs and jacks, and their species is the cable entry path vertical to the coupling.
- Right-angled formats. You can go with a male or SMA female connector body. The manufacturers put the entry path at 90 degrees against coupling.
Panel Mount Type
- Bulkhead formats. First, the description is a connector you can place on a panel or wall with a nut and washer. Next, this is a female gender connector. It’s longer than 4.5mm. Finally, you can go with rear and front-mount bulkhead options.
- 2-holes formats. The connector flange will feature two through holes. You’ll find it in RP-SMA male and female versions.
- 4-holes formats. Instead of two, you have four through holes and screws to insert. Furthermore, you can fix nuts from the enclosure’s inner part. You’ll notice the flange on the outside.
PCB Mount Type
- Straight formats. The leg length is from 2.9 to 3.9 millimeters. Furthermore, there’ll be four legs and a single conductor. It goes through the board vertically, and the soldering happens at the rear end.
- Straight edge formats. The difference here is the option to mount the connector from the PCBs edge. It can be a male or female SMA connector.
- SMT formats. You won’t find shorter legs than in these male and female connectors. The legs rarely go over 1.6mm, and you mount it on the PCBs surface.
SMA Cable Attachment Methods
Generally speaking, there are different attachment methods for different kinds of cable.
SMA Cable: Flexible Cable
- Non-captive crimp. The experts believe this method will ensure the best performance. Additionally, it’s easy to assemble. If you use a solder-type connector, you’ll notice a hole in the crimp sleeve’s side. You can use it to solder the braid to the connector. However, some experts don’t recommend using a flexible cable with solder-type connectors.
- Captive crimp. You captivate the center contact mechanically to ensure it’s tight. Even if you flex cable or put it under increased hit, there’s ll be no movement.
- Clamp. Clamps also offer a captive contact. It’s useful that you don’t need any special tool for the assembly.
Semi-Rigid Cable
- Direct solder. The contact is a cable center conductor. According to tests, you get the best electrical performance with this method. However, you should use it in cables that don’t require unmating and mating often. The conductor and cable jacket could lead to metal chips shedding when mating with SMA female connectors.
- Using contact and insulator for a direct solder. Here is an alternative cable attachment. It’s suitable for those who need a better VSWR. The outer conductor doesn’t leave the cable jacket vulnerable to mating. Therefore, you can secure many mating cycles with clean interfaces.
- A direct solder with captive contact. The main advantage is a simple assembly. Additionally, you get optimal electric performance.
First, you strip the cable and put it in the connectors. Next, you solder the jacket to the connector. There’s no need for contact soldering.
- Solder clamp. If you use bulkhead jacks and right-angle plugs, go with this option. First, you attach the cable jacket and the connector. You can reposition the connector if you loosen the clamp nut later.
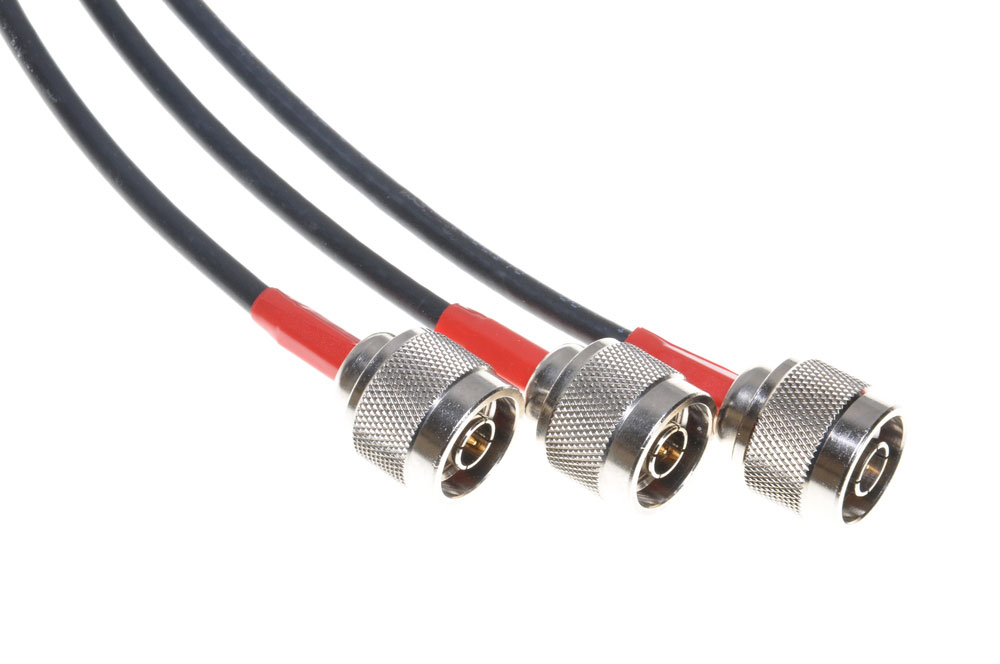
Caption: Coaxial cable with connectors
SMA Cable: SMA Solder Connector Installation
- First, cut the jacket for 10mm or the desired diameter. It’s best to choose cables with PVC jackets for simple cuts. On the other hand, LSZH and polyethylene might require additional central cutting. Those options also require two longitudinal cuts to make room for the next part.
- The next step is adjusting the central conductor to 5mm. You need a pin for stranded or solid conductors.
- Proceed to solder, but only do it for 3-4 seconds. Remember, it’s imperative to avoid overheating!
- Use a suitable wrench to finish the connector installation by tightening the outer shell.
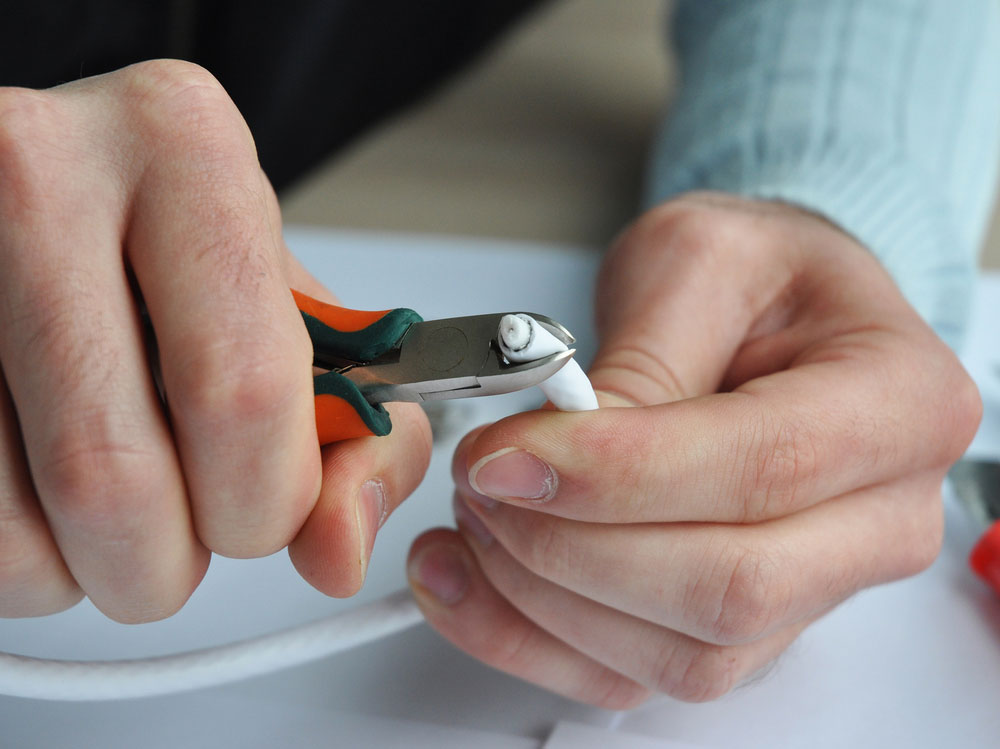
Caption: A handyman working on a coaxial cable
SMA Cable: SMA Crimp Connector Installation
- First, strip the cable with wire strippers. Remember, you shouldn’t notice the bare copper center.
- Attach the connector and slide the crimp ring. You will now need a crimping tool with a 1.09mm hole size.
- Now, remove any wires that seem loose. Pull the connector and cable to confirm the firmness.
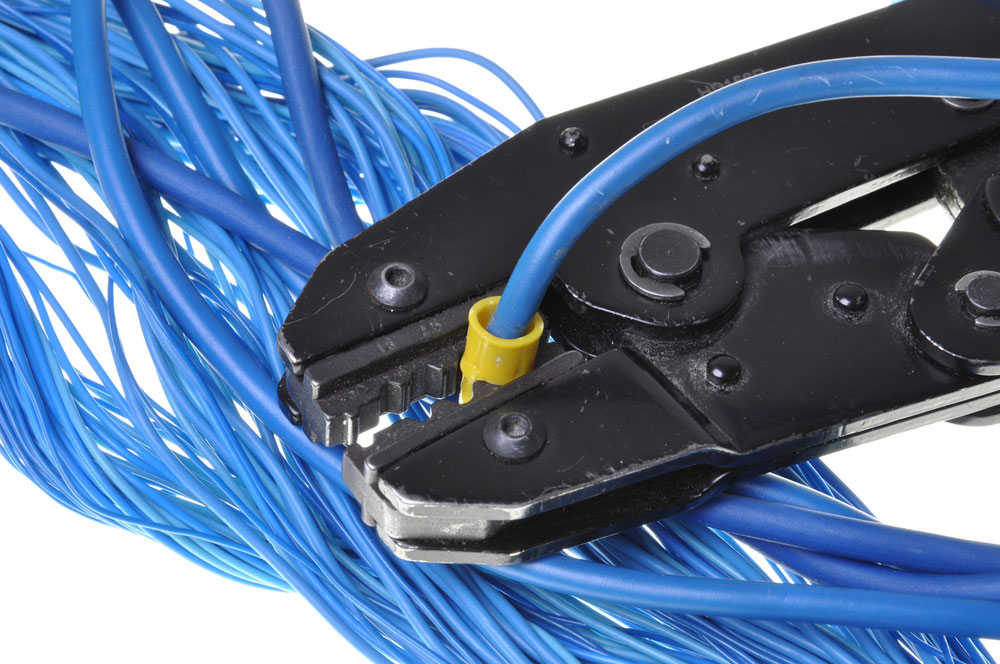
Caption: Crimping tool and cables on a white background
Conclusion
SMA cables have impressive versatility and different uses. The key to securing maximum performance and longevity is a high-quality cable. At Bloom, we have extensive experience in designing custom wire assemblies. Our SMA Cable Assemblies will meet most of your expectations, and we’ll impress you with quick delivery. Don’t hesitate to get in touch and place your order today!