
Properly installing connectors onto a coax cable is the best way to ensure the best performance. What’s worse incorrectly installed connectors can lead to a host of problems such as poor signal transmission or even complete signal loss. Besides they can also cause damage to the cable and devices connected to them since they aren’t water tight. This is where compression tool connectors come in.
Here’s everything you need to know about them. Let’s enjoy.
Table of Contents
- What is a compression connection?
- What are compression tools?
- Steps on how you can install a connector with a compression tool
- Other ways of installing coax cable connectors
- Conclusion
What is a compression connection?
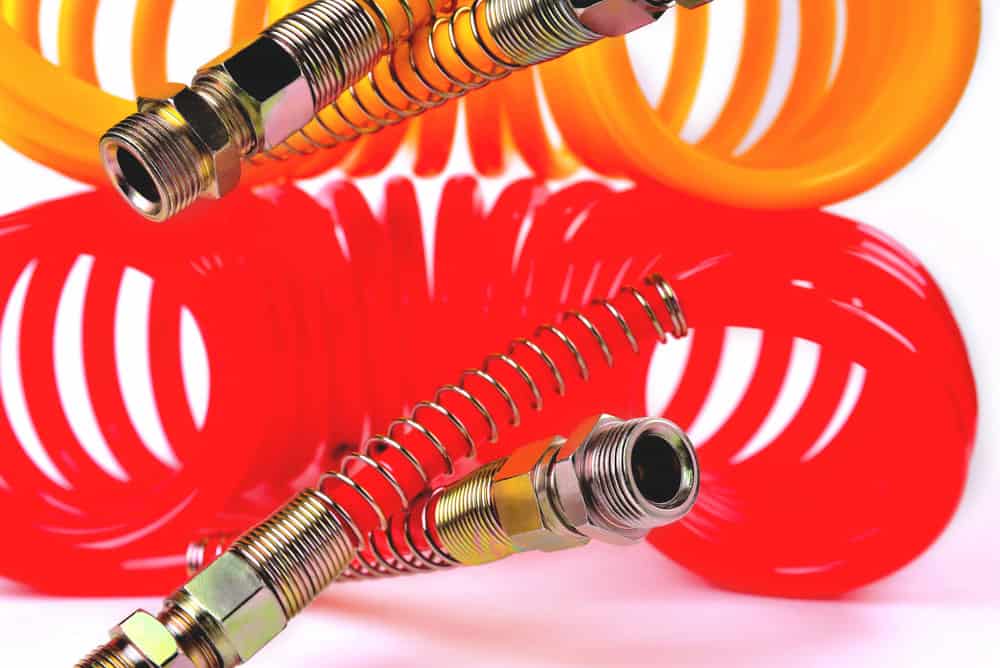
Compression connections are the latest method of connector attachments for coax cables. They have been in use by most cable TV providers as well as wireless internet connections. Aside from offering superior reliability, they also provide excellent seals from the elements. However, you will need special tools for cable preparation and connector attachments. Furthermore, they tend to be costly in comparison to other connection methods such as solder and crimp-on.
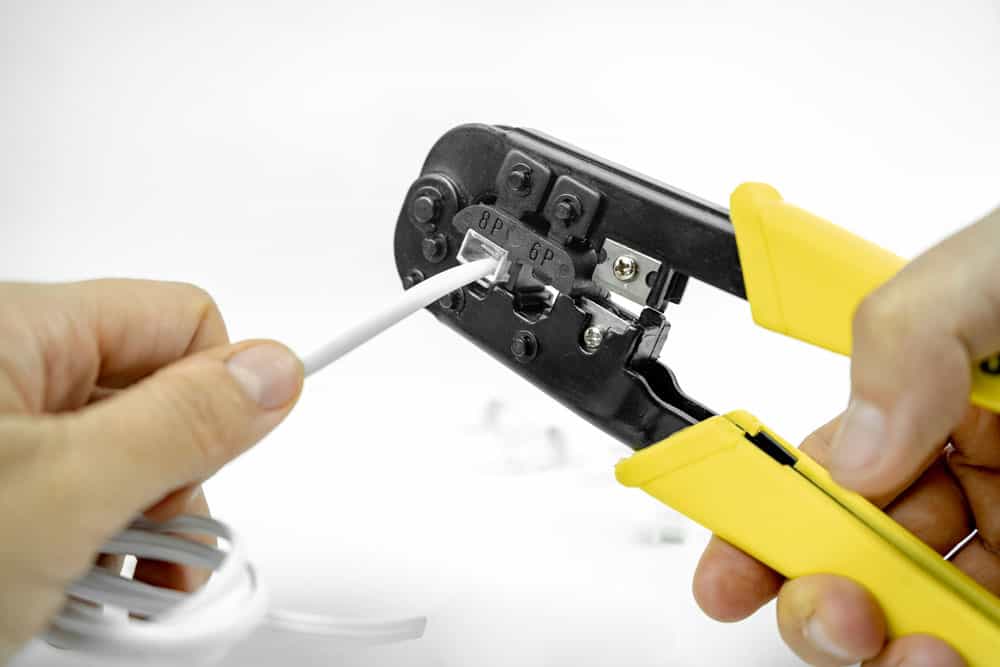
What are compression tools?
Compression tools are handheld devices that you use to install connectors to the coaxial cable. Initially, each type of connector needed a different type of tool. However, you can now get universal tools that accommodate all types of connectors. Additionally, you also need a cable stripper and cutter to use alongside the compression tool.
Steps on how you can install a connector with a compression tool
Installing coax cable connectors involves three steps. Here is a walkthrough of each step.
Cutting the cable
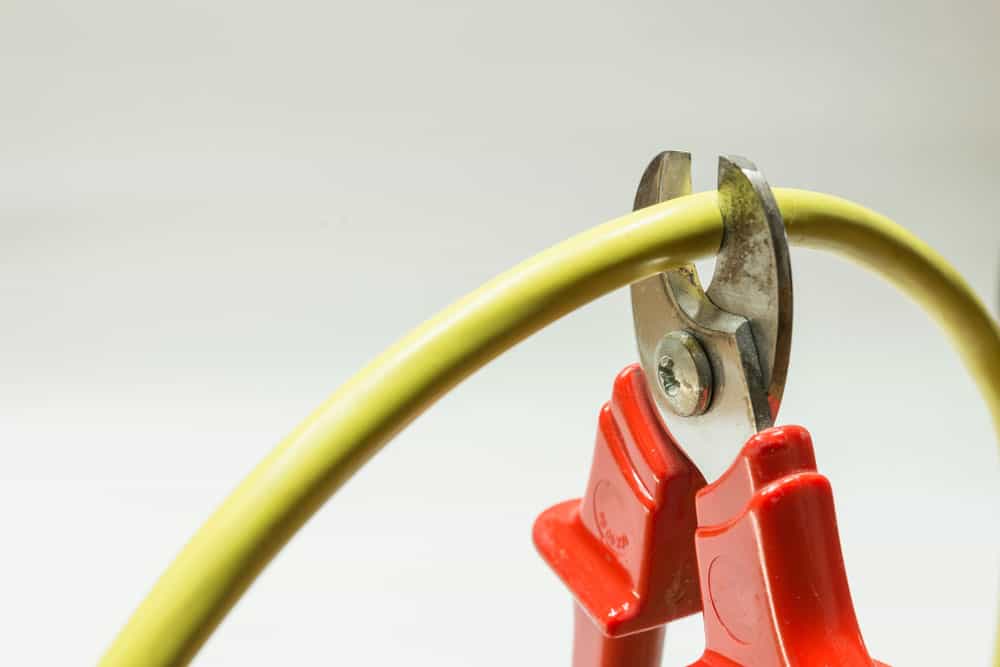
Use the wire cutters to trim the cable to size. The length of the cable is dependent on your application setting. For example, an internet connection will require a cable length of not less than three meters. This is enough to run from the fiber optic point to your in-house router. Additionally, you will need to trim the center copper wire to make it flush with your connector type.
Stripping the cable
Once you trim the cable to the ideal length, then comes the stripping stage. Firstly, you will have to strip the coax cable in two areas. Adjust the stripper such that it removes the plastic sheath to expose the center copper wire. Additionally, you will need to strip the cable a few inches back to expose the wire braid. You do this by adjusting the size of the cable stripper. Naturally, this removes the rubber that forms the outer coating of the cable. Thus, this will automatically remove the rubber that forms the outer coating of the cable.
There are several methods to strip the different types of cable. For example, quad shield cables have an extra outer layer of foil that covers the wire braid. Ensure you remove it and brush back the wire braid such that it is away from the dielectric and inner foil. Furthermore, the wire braid should not be touching the center conductor before attaching the compression connector.
Fitting the compression connector
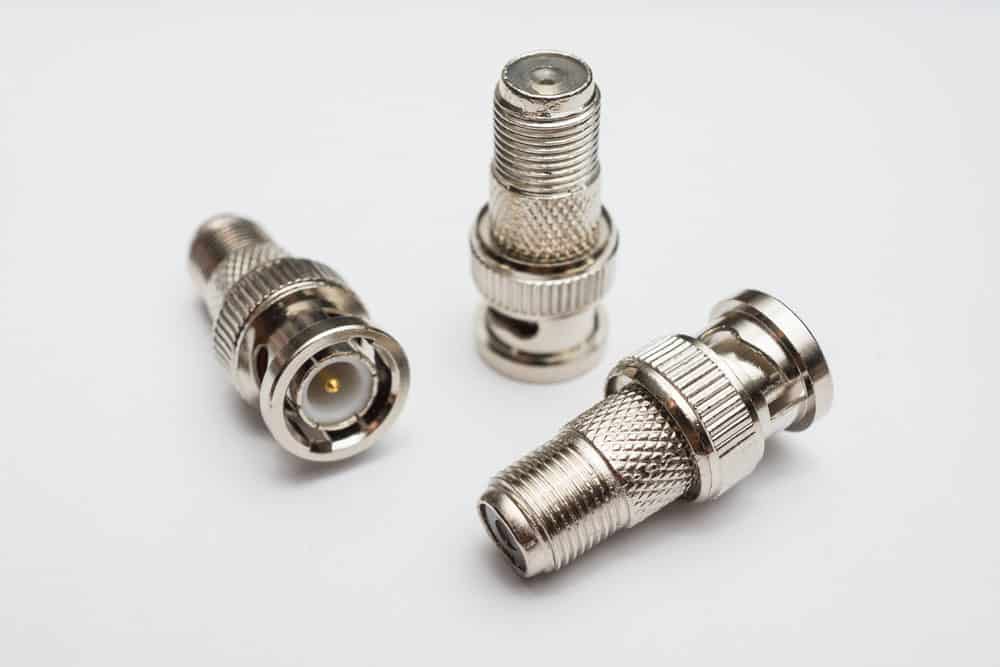
Finally, slide in the connector such that the center copper wire is flush with your compression connector’s threads. Once in alignment, insert the cable into the compression tool with the copper wire first. Squeeze the handle of the tool to compress the connector to the cable. You can trim down any excess copper wire that appears out of sync from the connector. You have different connector options depending on the application. For example, F connectors are best for cable TV and satellite connections.
Other ways of installing coax cable connectors
There are several factors to consider when establishing coax cable connectors. These may include:
- The cable’s voltage level.
- Your budget.
- The longevity of the cable.
- The operating environment. Will you use the cable in an outdoor setting or indoors?
Depending on the above, you may need to use an alternative connection method. Here are some of the other connection types to consider.
Solder connector
Soldering coax cable connectors is by far the most unreliable of all connections. You will find these in analog RF connections, such as those in analog TVs. However, ever since the emergence of digital connections, soldering has fallen out of favor. Some of the reasons for this are the level of skill you require to perform a successful connection. Additionally, some of the materials manufacturers use for the dielectric are not suitable for soldering. For example, a foam dielectric can easily burn and damage the entire setup if you are not proficient at soldering.
Crimp-on connectors
Crimp-on connectors are the next best alternative to compression connectors. A major difference between compression and crimping is the types of tools you use. Depending on the number of connections you need to make, the entire process can last a few seconds. However, some of the crimp connectors you can buy may require you to solder the center pin in place. Despite this, crimp connectors offer the industry’s hardiest joints that can withstand even the most extreme of pulls.
Push-on connectors
Push-on connectors work similarly to compression connectors. You will strip the cable to expose the wire braiding and then slip on the push connector. Additionally, the white dielectric needs to be flush with the connector’s small opening. Finally, push-on connectors are permanent additions in that you cannot remove them once they attach to the cable.
Twist-on connectors
Twist-on connectors offer you a less permanent option for coax cable connections. You will find these as temporary fixes in emergency repairs, as they are not conducive for long-term use. Additionally, they do not perform as well for signals above 1 GHz.
Conclusion
Now you know all there is concerning compression tools. And you can visit our blog for more information on coax cable connectors and assemblies. We have comprehensive how-to guides and all the latest buzz in coaxial cable solutions. Welcome!