
Working with fiber optic cables and installing them requires knowledge, skills, and a bit of common sense. So, knowing how deep to bury a wire and how to do it properly is crucial to avoid troubles in the future. Thankfully, microducting is one of the ways to do this safely because it provides a simple, less invasive, and effective way to install optic fiber in no time. If you are interested in learning all the basics of microducting to understand technical details, this article will come in handy.
Table of Contents
- 1. Microduct – What is it?
- 2. Microducting–All on micro cables
- 3. Airblown microducting Solves all Problems
- 4. Types of Microducting
- 5. How to Install a Microduct
- Conclusion
1. Microduct – What is it?
Micro ducts are more than just small conducts. They are perfect for housing optic fiber and micro cables, helping operators to speed up the installation process. Furthermore, they have a width of up to 16mm and house up to 144 fibers without a problem. Operators and contractors pre-install microducts in both new and pre-existent conduits. Nonetheless, they do this by pushing various micro ducts inside one another. This makes good use of space and provides room for future expansions.
In addition, using micro ducts makes fiber cable installations faster, cheaper, and less invasive. Operators can get them at high speeds, surpassing the 200-feet-per-minute mark, reducing installation costs. Also, micro ducts allow operators to insert the vents in smaller enclosures and pre-existent structures like pedestals, sidewalks, and vaults.
2. Microducting–All on micro cables

On the one hand, Micro cables are any and every smaller version of a line. They vary according to their use, design, and user choice. If one has a significantly reduced weight and diameter between two lines with the same function, that’s a micro cable.
For example, a standard optic fiber duct cable diameter is over 18mm wide. However, its micro cable counterpart is about 9 to 10.5mm wide in diameter, making suppliers and users love it. Besides, micro cables are not regular cables. They come with no metal shell and fit from one to 24 microtubes inside to carry the fibers. Micro cables have a central strength member, a micro loose tube with fibers, WS yarns, core wrapping, and outer sheath.
3. Airblown microducting Solves all Problems
Although cable pulling is the most used microducting method, air blowing is gentler with the ducts and cables inside. Also known as cable jetting, air blowing instead of pulling threads out of the vents allows lines to stay intact. Thus, extra friction and stretching won’t be problems. Also, air blowing helps operators to go long distances while reducing the installation time.
https://www.youtube.com/watch?v=WOMG-KKw8tY
4. Types of Microducting
There are many micro ducts, each depending on their use and installation mode. Knowing which one to use will make the microducting process easier and faster than others.
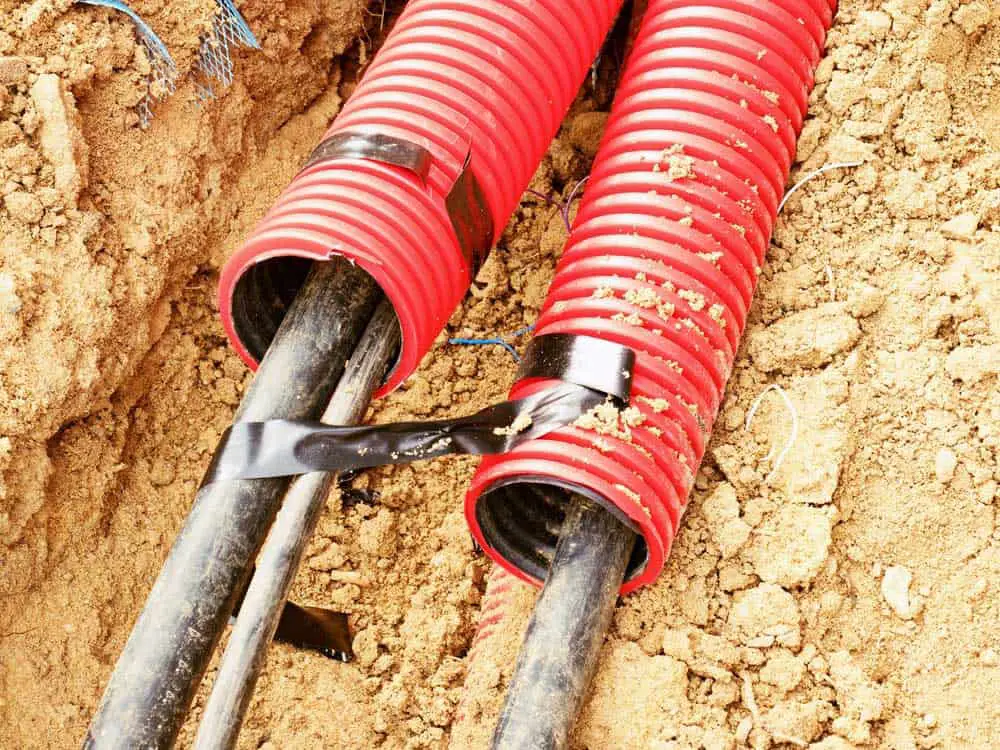
Microducting—DB (Direct Bury)
Direct Bury microducts have an HDPE outer sheath that protects the duct from the environment. Also, a non-metallic layer made of Aluminum provides extra strength. This translates into impact and crushes resistance. DB micro ducts come in widths ranging from 5 to 56.01mm. This measure will depend on the number of ways held inside, ranging from one to 24+1.
Microducting—DI (Direct Install)
Direct Install microducts have a black HDPE sheath that covers a non-metallic water-blocking tape. This extra protection from moisture makes DI microduct the go-to choice on sub-ducts or pre-installed pipes. DI micro ducts widths range from 5 to 51.01mm in diameter to fit from one to 24+1 ways inside.
TW (Thick Wall)
Thick Wall microducts are perfect for direct bury methods thanks to their silicone-coated outer sheath. Due to its comprehensive wall features, this micro duct doesn’t need extra external protection, making it a great microduct to use as a single duct. TW micro ducts come in widths that range from 7 to 52mm in diameter to hold up to 24+1 ways inside.
Microducting—Flat duct & Link duct
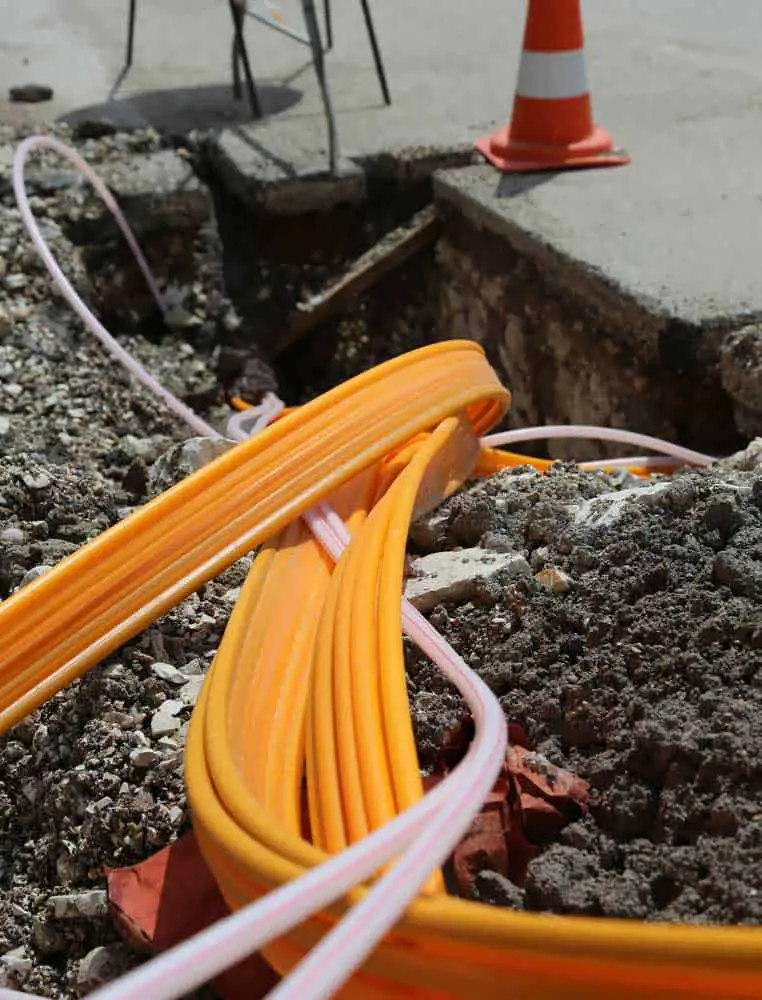
Flat and link ducts are sturdy and have a hard outer sheath, just like the TW ones. These features make them the go-to microduct for micro trenching, thanks to their narrow depth and width. Said features make them helpful to work in a shallow depth, translating into a faster and less invasive installation.
Flat and Link microducts can fit from one to seven ways inside, as their widths go from 7 to 20mm in diameter. Other configurations using this type of microduct are fully customizable.
Microducting—Indoor application
Indoor application microducts are perfect for use inside office buildings, living spaces, and infrastructure. And operators usually install this type of microduct without carving floors or breaking walls to hide them. Indoor application micro ducts hold up to 24+1 ways inside. These come in different widths, ranging from 5 to 49.61mm in diameter.
Aerial
Aerial microducts are new to the industry. However, this type of micro duct is perfect for installation outside. It also has high UV resistance to avoid problems and malfunctions. Furthermore, these microducts have a silicone coat protecting them from the outside and come with metal-free and metal-strength versions.
5. How to Install a Microduct
Microducting is relatively easy to do. However, it requires lots of tools and accessories to make it happen. In addition, there’s not only one way to do it, but each has its pros and cons.
Tools you need
It would help if you had many tools to start microducting; these are merely a few.
*Couplers
Couplers help joint pieces of micro ducts together. This makes the extension of micro ducts seamless and more accessible when installing them.
*Microducting–Cutters
Cutters help split things apart. Duct cutters split micro ducts apart, tube cutters split inner tubes, and slitters make long, narrow slits on vents.
*Pulling Eyes for Sub-Ducts
Commonly known as carrots, these pulling eyes help operators attach draw rope to cables. This allows operators to pass them through ducts by pulling the wires.
*Microducting–Duct Lubricant
This substance makes cable pulling and blowing easier by reducing friction inside the ducts.
*Figaro
The Figaro or cable fleeting machine helps the jetting process. It makes it easier and faster as it lays the cable softly to avoid tangles.
Microducting—Ways to do it
Microducting has 4 different ways to do it, depending on where and how you do it.
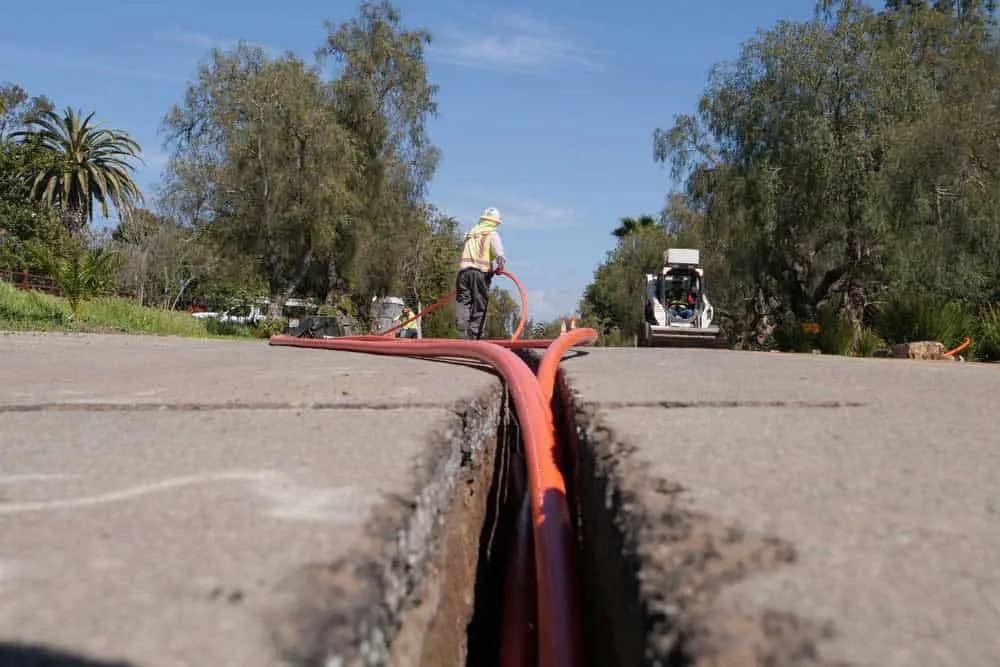
*Direct in-ground

To do this, excavate the soil to make a deep trench. Then place the microduct with the fiber inside, and cover it with the solid you took out. While it may sound simple, you should always consider having all the permits required to excavate public areas. Also, ensure the duct is deep enough to avoid tree roots, other utilities, rodents, and groundwater.
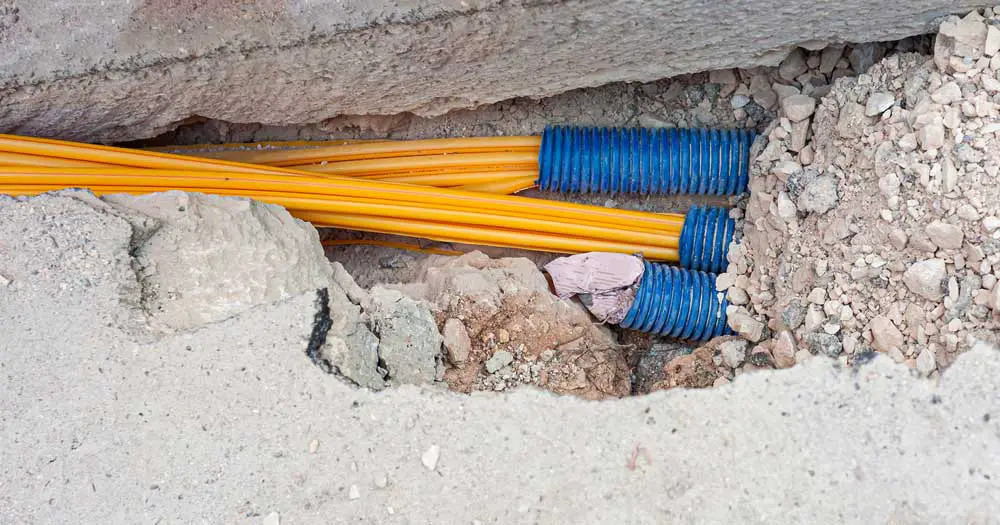
*Microducting–Micro trench

This method is less invasive. It only needs you to excavate a shallow, narrow trench of 70 to 300mm deep and 10 to 30mm wide using a micro trencher. These are perfect for microducting flat ducts and link ducts on sidewalks, vaults, and other hard surfaces. Once the trend is deep and wide enough, place the flat duct and cover it gently to avoid trouble.
*Microducting–Mole plow
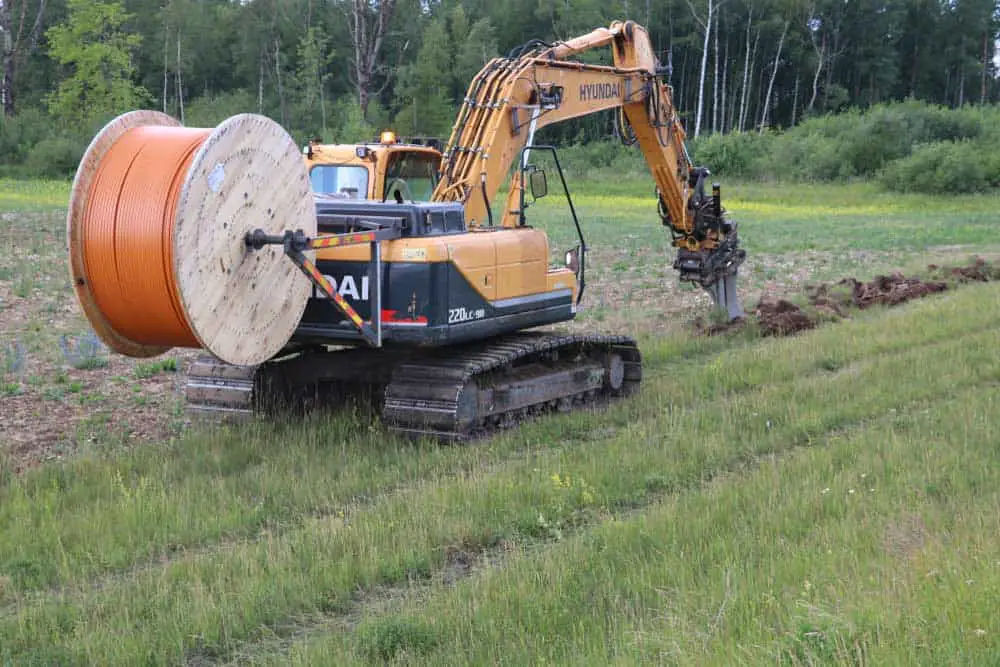
Mole plowing is best on flat ground, making the excavation and cable feeding more accessible and smooth. This method takes an excavator to plow the ground open while feds the duct simultaneously.
*Microducting—In-duct
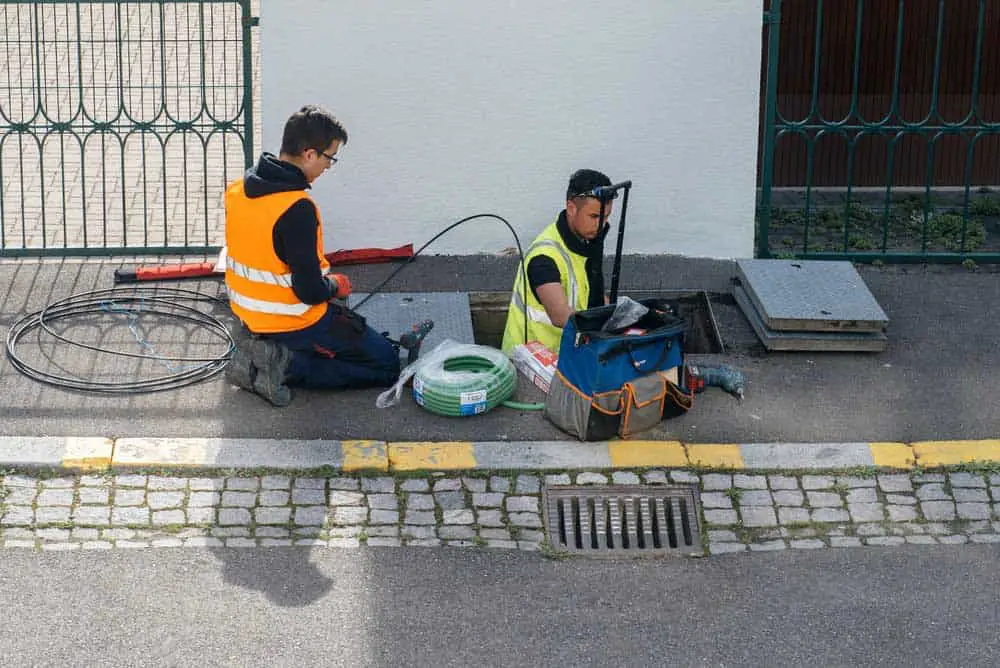
This one is tricky as it needs you to consider many things beforehand. Ensure the duct you’ll insert the cable has enough space to fit the microduct. Also, have an extra line to compensate for the stretching caused by all the cable pulling.
Conclusion
Microducting is easy when done in the right way using the right equipment. So, it provides plenty of benefits and allows you to try different applications, indoors or outdoors, while saving you time and money in the long run. If you want guidance on the topic, we provide cable assemblies of all kinds to fit your needs.