
How to crimp Ethernet Cables?
Pre-made Ethernet cables are often available in specific lengths, usually over 6 feet long. What if you need a shorter Ethernet cable?
This article provides detailed instructions on crimping an Ethernet cable to a custom length.
Table of Contents
- Crimping an Ethernet cable Understanding
- What is included in a crimping Kit?
- How to Crimp Ethernet Cables with the Crimping Kit?
- Attaching RJ-45 Connectors without a Crimping Tool
- Conclusion
Crimping an Ethernet cable Understanding
Crimping involves terminating a connection to the wires inside an Ethernet cable. These connectors, or RJ45s, connect an Ethernet cable to an Ethernet port.
You can use a crimping tool kit to press each wire, one at a time, into a V-shaped metal slot, creating a cable of any length.
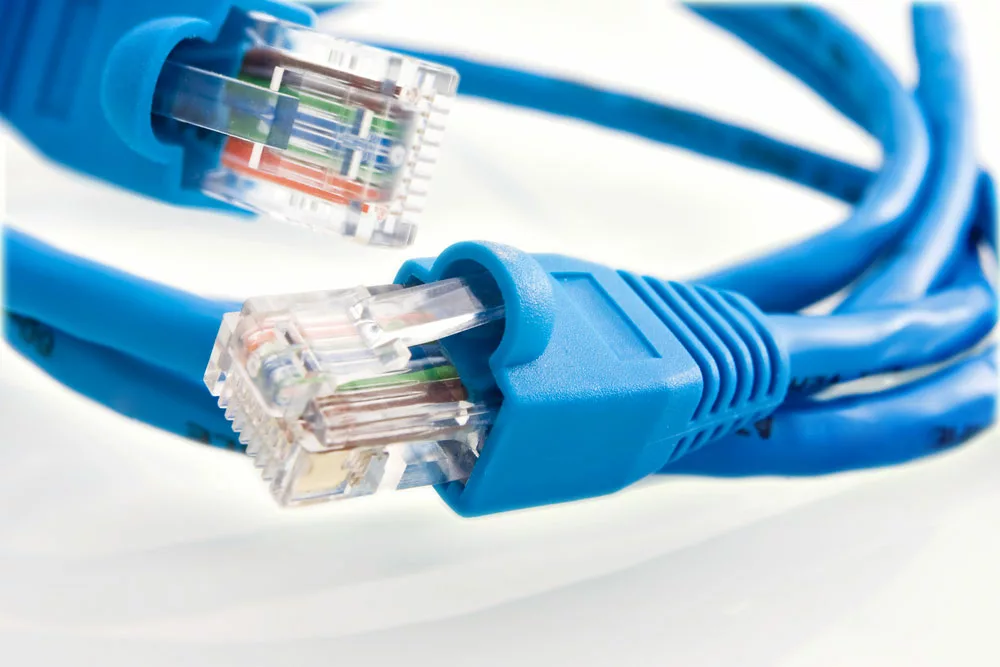
rj45 network cable
What is included in a crimping Kit?
You will need several items before crimping an Ethernet cable, including the following.
RJ45 Crimping Tool/Cable Stripper
It’s a unique tool for installing several cabling systems, helping crimp and terminate RJ45 plus.
RJ45 Cable strippers, available for different wire gauges, remove insulation from underlying conductors to prepare the cable for installation.
RJ45 Connectors
It is a standard interface used in several applications. For example, a computer connects to a local area network using an 8-pin RJ45 connector.
RJ45 Boots
The RJ45 boots compatible with Ethernet cables enhance the connection between the cable and connectors, offering additional strain relief.
RJ45 Cable Tester
This device can determine whether the wires are correctly linked or when the insulation is broken.
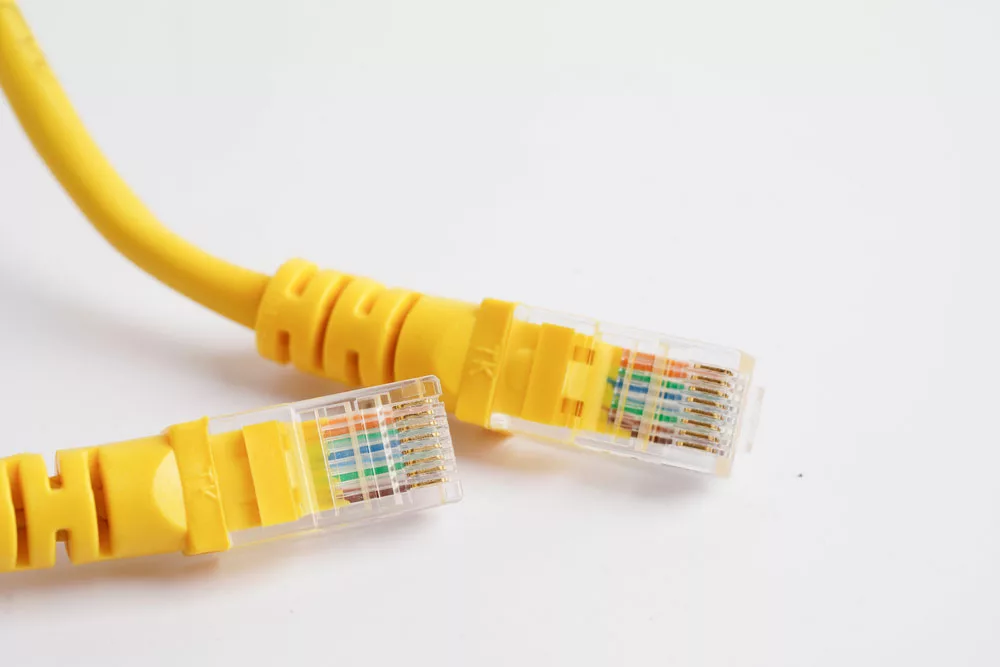
Lan cable internet connection
How to Crimp Ethernet Cables with the Crimping Kit?
While the definition may seem simple, the procedure requires careful attention to some details.
Prepare
Here’s an overall list of tools and materials you’ll need, none of which are expensive.
- Bulk Ethernet cable (confirm that it is made of bare copper rather than copper-clad aluminum)
- An RJ45 connector
- A Crimping Kit
Got everything? Let’s get started.
Measure the Length You Need
The longest distance you can run a single Ethernet cable is 300 feet. You will need to measure the length of your Ethernet cable and cut it to the desired length while leaving a little extra slack with a crimping tool.
You can measure the arm span, grab some cable and stretch it out across your chest hand to hand, which is possible if you need 60 ft of cable for a particular length. And You then calculate how many cable arm spans you need to reach 60 feet.
Don’t stress about achieving the precise cable length.
In most cases, you must leave a small amount of extra cable at the end, known as service loops, to make it easy to maintain the cable in the future.
They also account for any inaccuracies or mistakes.
Strip the Outer Jacket Off
Use your crimping tool to remove around 2 inches of the cable’s outer jacket from either end.
Put the cable in the slot, then slowly squeeze and rotate the crimping tool to cut around the jacket. You can then pull off the jacket to expose small wires inside.
Usually, the razor-blade part of the crimping tool has enough room to cut through the jacket without touching the interior wires.
There’s always the danger that you will nick the interior wires when using a crimping tool to cut away the outer jacket, weakening the wire and causing the cable to break.
Luckily you can eliminate the possibility of cable malfunction by pushing on the strands to remove more of the outer jacket. You then cut the inner wires immediately below the potential nick.
Untwist and Separate All the Wires
You can see several smaller wires twisted together inside the cable. You must untwist and separate the twisted wires correctly when looking to crimp Ethernet wires.
After exposing the inner wires, you see four pairs twisted together to create eight wires. One of these wires is a solid color, and the other is a white wire with a stripe that matches the solid color. Arrange the wires in the right sequence.
For instance, you can use the T568B Pinout Format (O/W,O,G/W,Bl,Bl/W,G, BR/W, BR).
Also, ensure the wires are as flat as possible because they will still be slightly wavy after being untwisted.
Prep the wires for Crimping.
To achieve this, grasp the ordered pairs between your thumb and index finger. Then, cut the wires to the length where the cable shield extends into the RJ45 connector. It allows the wires to bottom out inside the socket.
Crimp the Connector after Sliding It On
In this step, attach wires to the Ethernet plug connector, ensuring each wire fits into its slot with the clip side facing away.
None of the wires should jump out of order while you accomplish this.
If it jumps out of order, remove the connector, make the repairs, and try again.
All eight wires must touch the connector’s end as you insert the cable. You should jiggle the connector and apply a little force before pressing it.
After that, slide the connector as far as it will go into the crimping slot using your crimping tool.
If the connector doesn’t go in completely on one side, spin the tool around and re-insert the connector since the connector will only go in one direction and should fit inside the crimping tool.
After you insert the connector, squeeze down on the tool to crimp it. Put some force into the squeeze without too much force, which is possible if you practice more.
Remember to check the cable to ensure it functions well. Your end product should be a pointed crimp towards the connector’s back, pressing down on the outer jacket, not the inner wires.
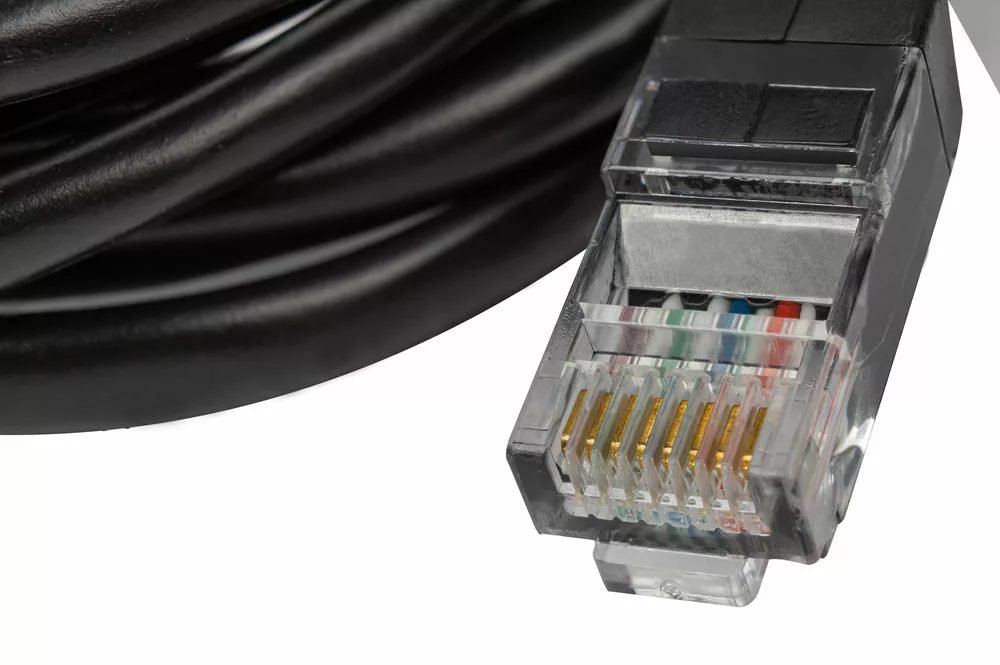
Patch cord isolated
Attaching RJ-45 Connectors without a Crimping Tool
Sometimes there is no crimping tool to attach RJ45 connectors. Don’t worry; you can achieve similar results with a utility knife or scissors.
Cut through the Cable’s Outer Sheath
Slice through the cable’s sheathing using scissors or a utility knife. Avoid cutting the internal wires, as it could affect the cable.
After cutting through the plastic sheath, rotate the cable and cut around it so you can tuck your fingers underneath and pull it off.
Separate and Straighten the Cable’s Small Wires
After removing the sheath, use your finger to untwist the exposed wire and straighten them in the proper sequence.
Arrange the Cables
Once you arrange the cables, insert them into the RJ45 connector. Place the wire in the right order from left to right, which is important when correctly crimping wires to the RJ45 connector.
Trim the Wires
Join the wires for easy trimming and make them uniform to ensure they fit into the connecter’s groove. If you cut the wires unevenly, go lower and cut them once more to straighten the ends.
Push Each of the Pins Down With a Small Flat-Head Screwdriver
Find the little metal pins at the connecter’s groove ends and push them down with a tiny flat-head screwdriver.
Press the pins into the wires without breaking or cracking the plastic connector. Place the pins firmly at the same height for uniformity.
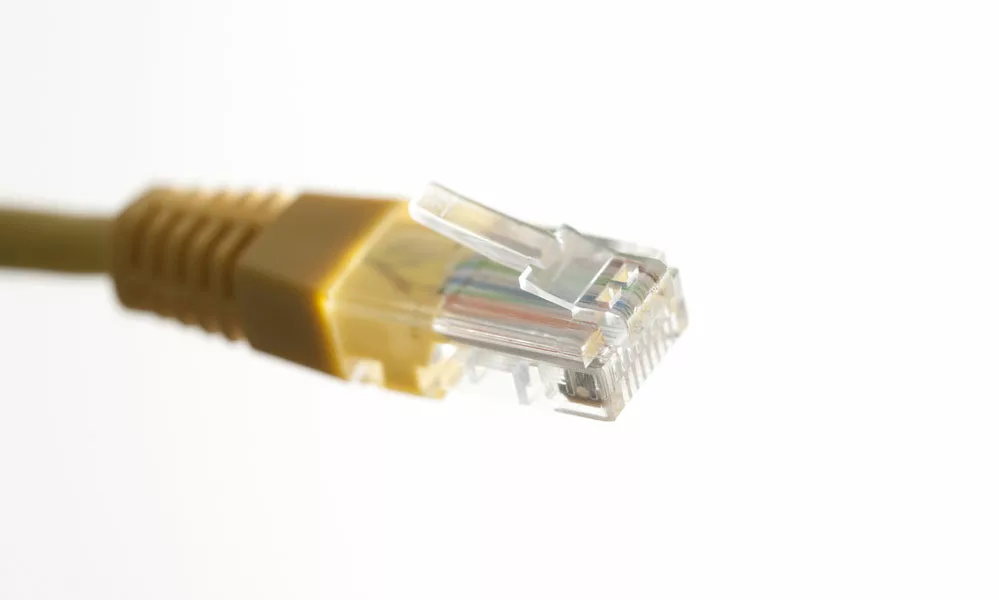
A network cable with rj45
Conclusion
With this guide, it should be possible to crimp your Ethernet cables to match your needs.
Anyone can efficiently attach an RJ45 connector to an Ethernet cable with or without using a crimping tool.
While you can crimp them to any length, keep them under the 300 feet limit.