
Do you have a harness with multiple wires that you need to connect? If yes, you can do that with a crimping process. Thanks to that, you can later connect it to another wire or component. Depending on the crimp tooling, the wire crimping process can be manual or automatic. Keep reading to discover a detailed step-by-step procedure!
Table of Contents
- Why Is Crimping Better Than Soldering?
- Crimping Process Precautions
- 5 Steps to Achieving the Wire Crimping Process
- Conclusion
Why Is Crimping Better Than Soldering?
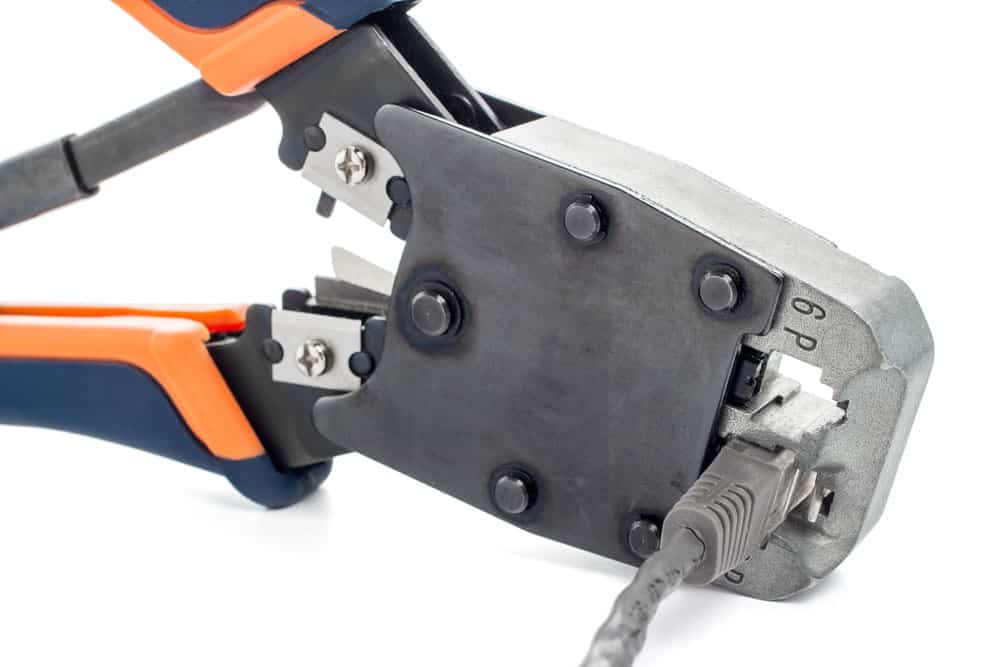
Caption: Crimping tool close-up
Your cable assemblies need to have an optimal attachment between the cable and the connector. That way, you ensure the assembly’s maximum performance. You have two ways of terminating the wires when attaching the cable connections – soldering and crimping.
Soldering is the conventional way of terminating wires, and it’s versatile, which is why you’ll often find it in industrial applications. On the other hand, soldering causes heat, which can cause problems in cable operation. If you aren’t careful during the process, the connection becomes prone to vibration and corrosion.
Crimping has many advantages compared to soldering. This process involves using pressure to connect the wire to the contact, and you use a tool to squeeze and create a solid connection.
Here is why crimping is better than soldering:
- Automatic or manual. Depending on your needs, you can automate the process or do it manually.
- Simple and fast. If you have the right tool, it ensures the crimping goes quickly and smoothly.
- Reliable connections. Crimping ensures a tight connection, which creates reliable connections. That way, your cable can perform well even in harsh environments with moisture or dirt.
Crimping Process Precautions
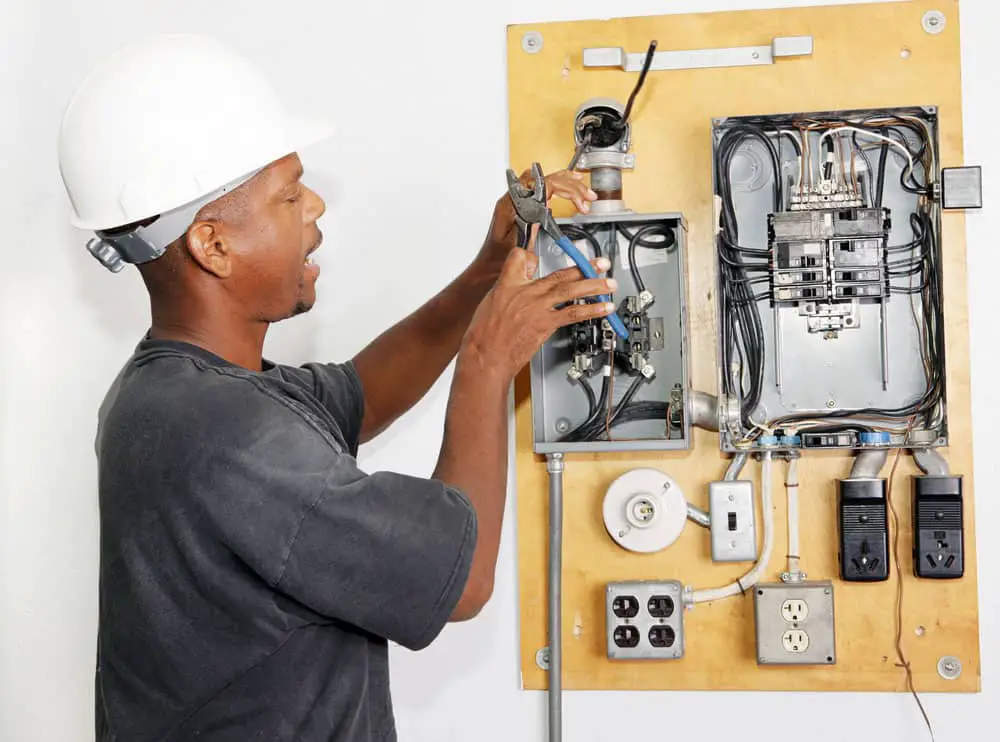
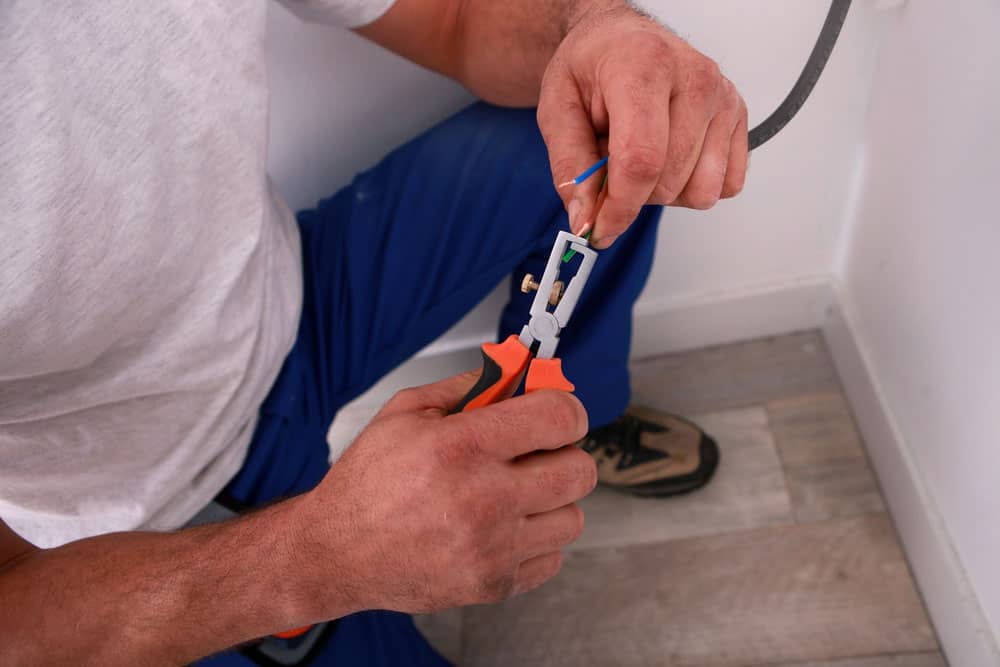
Caption: An electrician crimping the wire
Before we discuss the actual wire crimping process, it’s essential to get ready for it.
Crimping Tools and Materials
First, you’ll need the correct crimp tool. Check if your application requires using specific brands of crimp machines. If not, it’s enough to check if the device is working.
- Wire strippers. This handheld tool is essential to remove insulation from an electrical connection wire.
- Crimp terminals. You use this part for crimp terminations, which makes it vital for the process.
- Heat-shrink systems. Thanks to this part, you can place plastic insulation around the wires.
Applicable Wires
Did you pick a crimp terminal manufacturer and specifics? Each will have a specific range, and your wire sizes need to be within it. The standard choice includes copper wire strands, while a solid wire can be out of range. On the other hand, this is a general rule. Therefore, you can use other cables as long as they fit the terminal.
Crimping Operation: Control Points
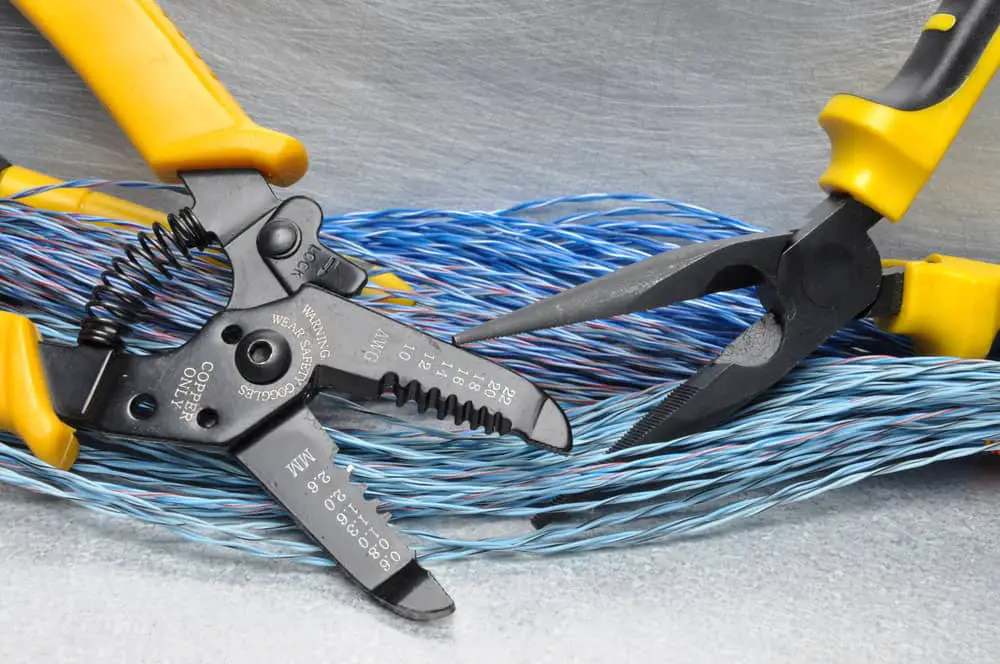
Caption: Crimping tool pliers and cables
First, you want to check if the tool works. Next, make sure you know how to use the items you got for the project. Once you confirm that, you can move to these control points.
Check the Wire Stripping
The length of the wire stripping depends on many factors, including the crimping method and wire style. Therefore, you need a size that fits the terminal. Once you choose it, use a stripper tool to remove wire insulation. There must be no wire conductor damage. You don’t want to twist the individual strands excessively because that could damage them.
Find the Crimping Height
Caption: Crimping tool isolated on a white background
Picking the wrong height can lead to poor conductivity. So, you need to check the size is correct throughout the process.
- First, use a crimp micrometer to check the terminal’s crimping height. You want to check it in the middle of wire and insulation barrels.
- Read the instructions to learn about a suitable range of crimping height at the wire’s center.
- Pick the barrel insulation’s crimping height based on the wire type and outer diameter. Make sure it’s not too loose.
Appearance
The crimping condition should have a correct appearance. Therefore, you should check the following things:
- How does the angle of bending look at the wire barrel?
- Is the angle of twist and rolling okay?
- Check the wire barrel for any un-crimped conductors. If you notice them, you need to remove them.
- Make sure the bell-mouth size is adequate. So, there should be a mouth, but it shouldn’t be too broad. Next, use the same rule to check the cut-off and wire conductor protruding lengths, and they should both be at optimal rates.
- The insulation barrel should hold the wire insulation. While checking, make sure the conductor “window” between the insulation barrel and the wire is about 50/50.
5 Steps to Achieving the Wire Crimping Process
Caption: An electrician working with the wire
It’s time to do some wire crimping.
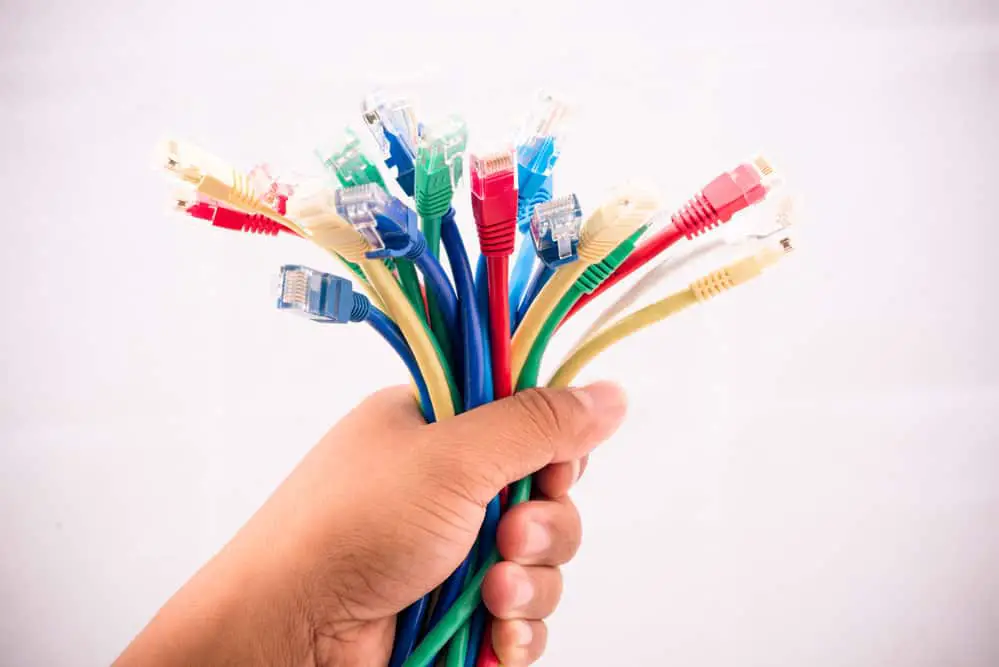
Pick the Wire

Caption: Cables in the hand of an electrician
First, you need the correct diameters for wires. The choice will depend on the device. So, you should check the application’s requirements first and pick accordingly. Additionally, the wire gauge should fit the harness you chose, which means it shouldn’t affect its functionality.
American Wire Gauge is a standard measurement system for wire sizes. You need to compare the wire size that works for your device and the wire you picked. If you don’t have a wire diameter, remove some insulation. Check the individual strand number and diameter. Now, multiply the single strand’s diameter with the total strand number.
Choose the Crimp Terminal
Now that you have a wire size, you can pick from many crimp terminals. Here is what to consider when choosing this unit:
- Do you need plating to keep the contact resistance low or ensure corrosion protection?
- Will you need to use a metal sleeve for wire gripping to pre-insulate the terminal?
- What’s the correct turn pin to secure the terminal supports connector creation?
The crimp joint depends on the device’s requirements, but also the chosen terminal.
Find a Suitable Crimping Tool
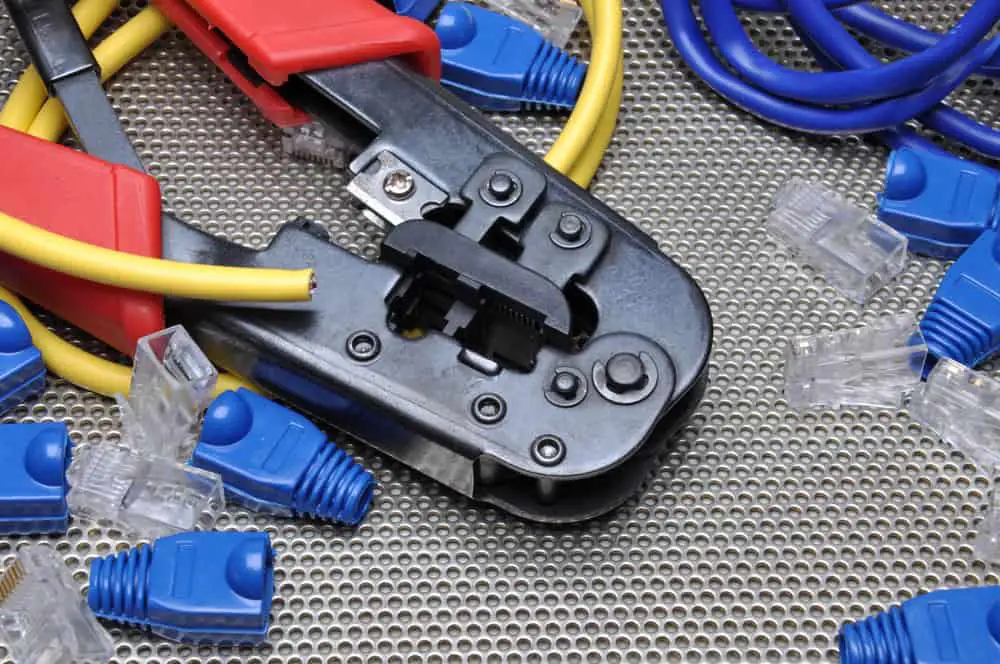
Caption: A crimping tool with network cable and connectors
First, there’s no one-size-fits-all crimping tool. You’ll find many designs on the market, so you want to ensure it fits your needs. Once you pick the terminal, you choose the tool that works with it. The manufacturer should provide details on the asset. If necessary, check with the company to confirm you have the right support.
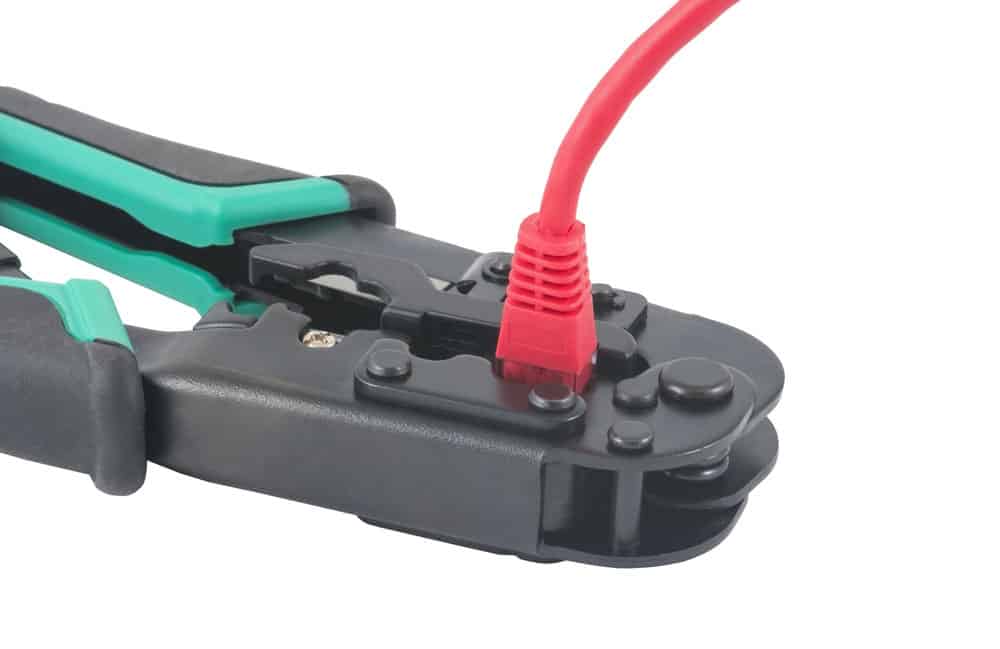
Make the Crimp
Caption: Internet cables close-up
Are you ready to make the crimp? If yes, these are the steps to follow:
- Pick the stranded wire’s length to your needs.
- Use a tool to strip the end. However, leave about 1-2mm (1/16”) protruding after putting the wire into the crimp.
- Remove insulation to expose the strands and put the wire inside the crimp. Next, insert every wire in the unit.
- Put the wire and crimp in the tool and turn until you see the crimp. Now, make sure the crimp is tight and in the right place.
What If You Need Heat-Shrinking?
Caption: A technician using a hot air gun for repairs
First, not all applications will require heat-shrinking. But if you plan on doing this, you will need a hot air gun. That way, you can shrink the tubing.
During the process, make sure to place the sleeve in the right place. It should be above the wire and crimp, but make sure it doesn’t cover the end of the crimp terminal.
Conclusion
Crimping is a great way to ensure secure and long-lasting cable connections. If you need any assistance with cable assemblies, don’t hesitate to contact Cloom. Our experts can help to find the right solution for any application!