
How To Fish An HDMI Cable Through The Wall? HDTVs lead to introducing of a completely new method of arranging your home theater gear.
As flat screens are becoming more lightweight and slimmer, their picture frame profiles make them ideal for wall mounting.
Also, HD home theater projectors have become more affordable for most homeowners who want to set up a state-of-the-art basement home theater.
To properly install such setups, you will need a bit of in-wall wiring, maybe even from an AV closet or one room to another.
Therefore, you must learn to fish an HDMI cable through the wall, into ceilings, under floors, and over doors.
Table of Contents
- Prepare the Materials You’ll Require to Run HDMI Cables Through a Wall
- Find the House Plans
- Find the Studs
- Determine the Position of Gang Boxes
- Cut into the Wall
- Insert the Gang Boxes
- Test the Cables
- Run the HDMI Cable
- Conclusion
Prepare the Materials You’ll Require to Run HDMI Cables Through a Wall
Below is a list of things you will need.
- Inwall HDMI cables
- Stud finder
- Electrical tape
- A marker
- Screwdrivers
- 2 wall plates
- Drywall hand saw
- Safety goggles
- Two gang boxes
- Chalk line or a laser level
- A set of spade bits from ¼” to 1½”
- Fish tape
- Dust mask
- Work gloves
Find the House Plans
If you don’t have access to the house plans, skip to the next step.
But if you have access to the plans, observe the wiring and structure of the house.
The plans should help determine which wall to tear down and run through your HDMI cable.
Ensure you don’t cut or drill any areas with dense piping or wiring to avoid accidentally damaging anything.
Also, remember that electrical wires might interfere with your HDMI cable signal.
Plus, avoid cutting weight-bearing spaces as you may weaken the integrity and structure of the house.
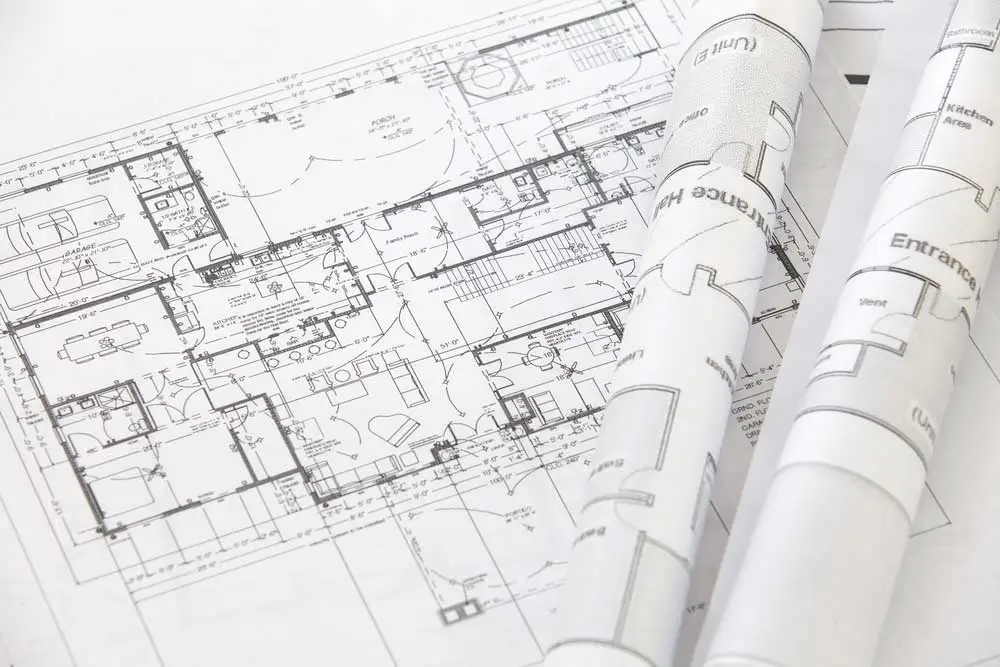
House plans
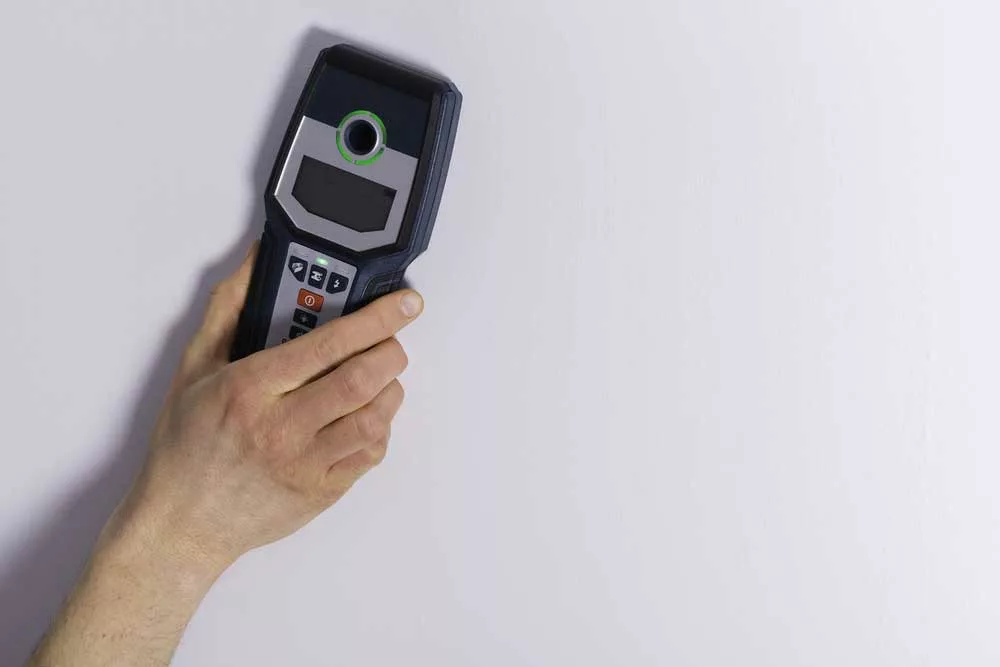
Find the Studs
Once you have chosen the position, use a stud finder on the intended wall.
Use your stud finder to note down the distance from different studs. It’s okay to use your pencil to mark the points and distance.
Also, remember to note down any different readings from the plain bit of the wall. Abnormal readings indicate wires or pipes that you need to avoid.

Caption: Stud Finder
Determine the Position of Gang Boxes
Once you determine where all the obstacles and studs are, the next thing is to determine where you’ll position the gang boxes.
That will significantly depend on the setup. However, if your TV is mounted to the wall, one gang box should be down by the wall mount bracket and the other by the dashboard.
Caption: Gang Wall Box
Cut into the Wall
For this next step, you might need to fold up your sleeves. However, before you begin, wear your work gloves, dust mask, and safety goggles.
You will work with various power tools to create a lot of dust, not forgetting the dust that will settle behind the walls.
Once you have your protective gear on, take your gang boxes and trace their shape on the wall using a marker.
Try keeping the outline level and in line with each other. You can use your laser level or draw a chalk line for this step.
Once you mark the boxes on your wall, use the drywall saw to create the holes.
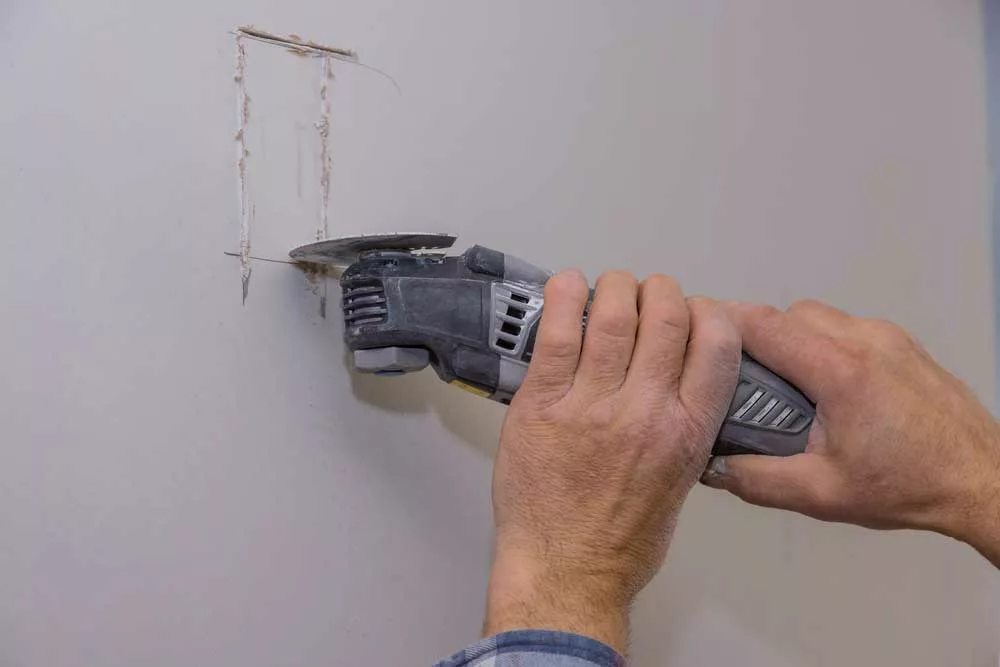
Caption: drywall saw
Insert the Gang Boxes
Now you’ll need to place the gang boxes inside the spaces you had previously cut in the wall.
If they can’t fit, you might need to create more on the wall using a drywall saw.
Remember that it’s better to cut some more room for your gang boxes to fit rather than have to fill up extra space once you fit in the gang box.
Test the Cables
Before you run your HDMI cable through a wall, it’s best to inspect the cables for any signs of damage.
For safety reasons, you don’t want to use an HDMI cable that is damaged or frayed.
The absence of insulation is especially dangerous if your HDMI cable runs close to an electric wire.
Besides, to save your effort and time, test the HDMI cable to ensure its property works before running it through a wall.
Also, ensure your setup is safe by confirming that your cable is in-wall rated. And if it’s wall rated, it should have the label CL3 or CL2.
Run the HDMI Cable
It’s finally time to run the HDMI cable through your wall. Depending on the scenario, you can run a single cable or several cables through the wall if you have multiple video devices.
However, if you plan on using an optical HDMI cable, you should first begin by finding the output and input cable ends.
Take the fish tape and hang it from the top gang box until it reaches the bottom.
Next, attach your cable to the fish tape. However, if you plan on running multiple cables, ensure they’re tightly bundled together so they don’t snag on anything in the wall.
Now pull the fish tape to where the cable or cables are through the top gang box.
Then use a screwdriver to tighten the bolts of the gang boxes.
Proceed to take your wall plate and then pull each end of the HDMI cable through the top and bottom wall plates.
Lastly, attach your wall plates to your gang boxes and use a screwdriver to tighten the screws, and you should be all set and done.
Conclusion
If you adhere to the necessary safety precautions, running an HDMI cable through the wall should be simple and safe.
Since HDMI cables are low voltage, placing them in small, explosive, and enclosed spaces, such as behind a wooden wall, is pretty safe.
The only way running an HDMI cable behind the wall can be dangerous is if there’s uninsulated contact between an electrical wire and the HDMI cable.
Keep in mind if the contact is volatile enough, it could spark a flame.
Therefore, to avoid such instances, it’s important to have a wall-insulated cable and maintain a distance of rough inches between any electrical wires and your HDMI cable.
If you have any questions or require any assistance feel free to contact Cloom Tech.