
The Broken HDMI Cable has significantly helped connect multiple devices more easily. The fine audio and sound relayed via these cables earn them the championship of the home sound system.
However, when a cable goes bad or gets damaged, it can result in the entire sound system coming to some screeching halt or paralyze the sound and audio of whatever device you are using.
As a result, you need to understand some of the elements surrounding a broken HDMI cable. But before we get into that, let us look at other crucial factors of an HDMI cable.
Table of Contents
- What Makes HDMI So Special?
- Why Do HDMI Cables Go Bad?
- 5 Signs of Broken HDMI Cables
- Before Getting Rid of your HDMI cable, Try Some Tips
- How to Repair a Broken HDMI Cable
What Makes HDMI So Special?
HDMI cables relay video and audio signals between connected devices with the assistance of computers and other devices. Therefore, people no longer need two separate cables for pictures and audio.
Also, HDMI cables relay ‘handshake’ information meaning they relay component types, copy protection data, restrictions, and capabilities between the connected devices.
HDMI ARC and HDMI also support CEC technology, allowing users to use a single remote to control the basic functions of up to 15 connected devices.
HDMI technology reduces your home theater’s system footprint, supports most platforms, and streamlines your capabilities. Many consider HDMI an asset to their entertainment system.
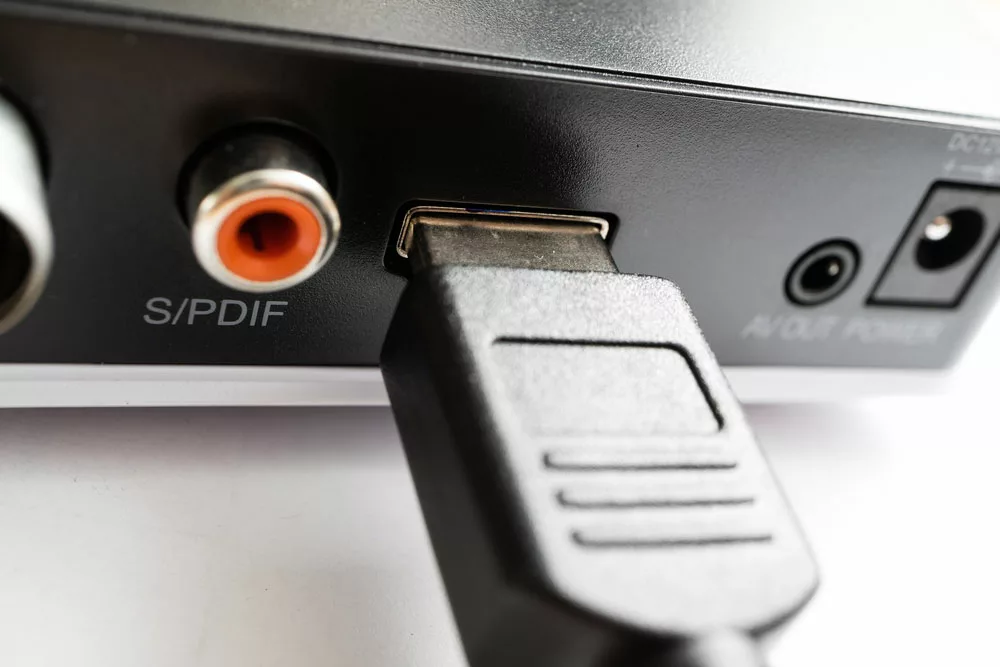
Caption: HDMI connection
Why Do HDMI Cables Go Bad?
Regardless of how you store it and whether you coil or bend it, the HDMI cable can get damaged over time.
In addition, plugging and roughly unplugging your HDMI cable can also damage it.
Another aspect you must be careful of is heavy usage because HDMI cables and the devices you connect them to can sometimes cause cable breakdowns.
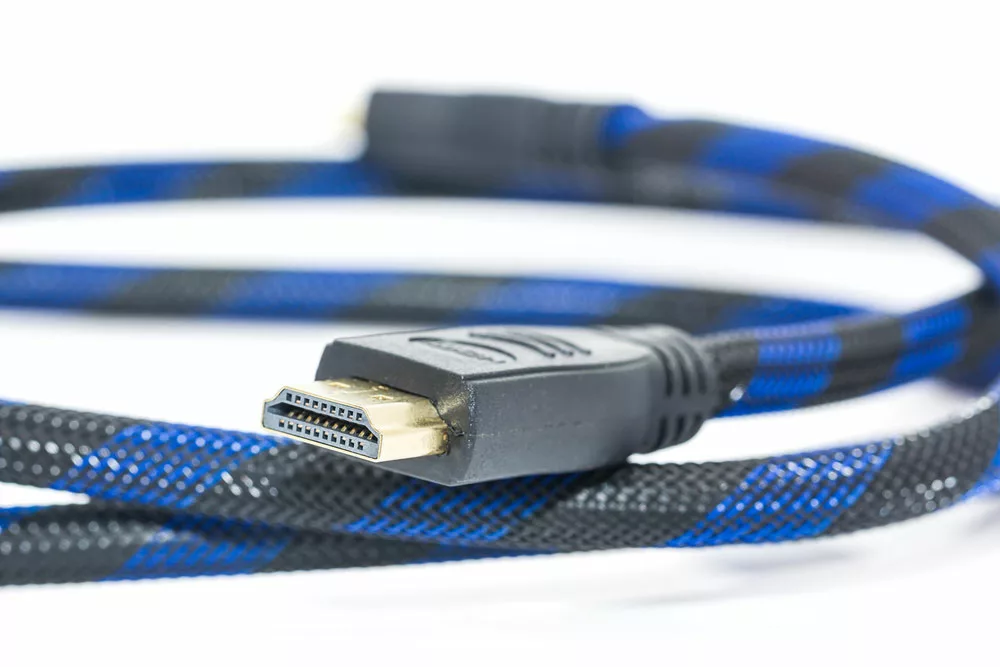
A braided HDMI cable
5 Signs of Broken HDMI Cables
The following signs often indicate you need to replace your HDMI cables.
1. Shooting Stars or Sparkling in Picture
One of the most obvious signs of a broken HDMI cable is the emergence of dazzling specks or sparks. These distortions are typically white and may sound like white noise or shooting stars. However, some sometimes confuse them for minimal interference.
2. Blurry or Fuzzy Image
If you see a blurry or fuzzy image, it’s probably time you replaced your HDMI cable. The images may appear faded, overexposed, or solarized in some situations.
3. No Image or Image Dropping
Visuals can get shut off because a bad card leads to no picture on display. In other situations, you may experience intermittent memory hits, whereby your screen may go black for some time before coming back on.
4. Loss of Sound
Whenever your HDMI cables get damaged, they stop delivering up to eight channels via their small, insulated wires, leading to intermittent sound or none coming through the cable. In some cases, the sound may fade in and out, fail to turn on, or muffle.
5. Poor Screen Resolution
If your HDMI cable is bad, the image it displays on your screen may look blurry or much smaller than it should. You can try altering the settings on your device, but if the problem persists, you will most likely need a new cable.

4K television display
Before Getting Rid of your HDMI cable, Try Some Tips
Sometimes, the signs above are not related to the HDMI cable,s and you should find out why. Explore the following tips to find out the cause.
- Check the HDMI Connections
Sometimes, the problem with your bad experience could be a loose connection. To remedy this, ensure you plug in both the display and source correctly. You can also disconnect and reconnect the cable at both ends if necessary.
However, before you do anything else, double-check to see if both devices you are connecting are switched on. For the cable, do not coil or leave it crunched up.
- Switch Between the HDMI Inputs
An HDMI cable has to complete a transmission between the relevant channels for the audio-video connection to work.
If any video signal fails to work, you can conclude that it is because of a bad HDMI connection. To sort out this issue, you need to switch between HDMI channels one and two until you get a clear image and audio.
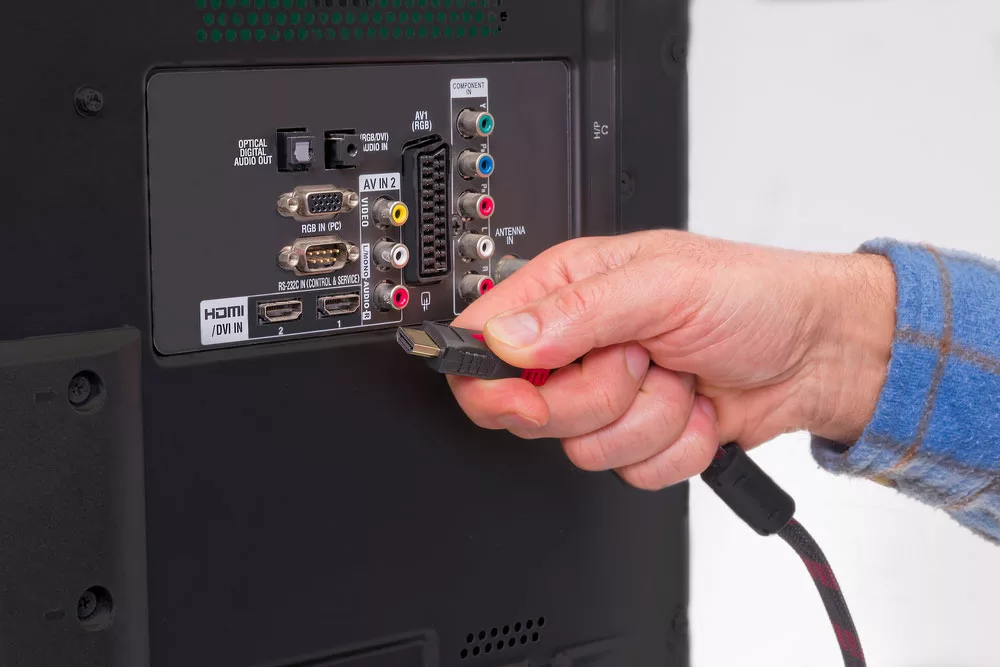
Hand-holding an HDMI cable
How to Repair a Broken HDMI Cable
Trying the solutions mentioned above won’t fix the problem in certain situations, and you may have to deal with the fact that your HDMI cable is damaged. Therefore, you only have two options: repair the cable or replace it with a new one.
Follow the steps below to guide you in repairing a faulty HDMI cable.
Step 1
The first step is all about acquiring the necessary tools, which are:
- Solder Iron
- Solder
- Desolder wire
- Second HDMI cable (optional)
- HDMI to HDMI connector (optional)
- HDMI connector
- Tyraps
- Scissors
- Extra power cables
- Multimeter
- Aluminum (optional)
- Crocodile clamp assist
Step 2
Once you have the right equipment, the next thing is to wire things up. You are supposed to know which connection goes where since all of the HDMI internal connections are the same. However, the pinout is very straightforward and can help guide you when wiring.
Once you cut the cable, you can’t determine which wire belongs to what pin. Therefore, you’ll need a little wire to connect with the end that is still good.
The front portion of an HDMI cable has small holes you can push your test wire into; that is how you will contact that end. Proceed to set up a multimeter if you do not have a beep mode.
Step 3
You should peel 2cm from the cable to get a room between the wires. Slide the first part from the connector and strip down the metal shields of the wire pairs to get them exposed.
Remove around 3mm of the inner wires to get this exposure. You can use scissors for the process.
Afterward, try to align the first pair of wires to the connector by measuring the one you want using a multimeter. You can then line them up to the connector.
Step 4
This step is all about soldering. You can start with contacts and on the alternate ends of the wires. A 25-watt soldering iron should be enough to do the job and ensure you work from left to right.
Failure to work systematically could result in excess soldiers, causing contacts next to each joining to form one big lump.
Once you’re done, you should remain with two ground wires you can cut off. Since the other end is still connected to the ground, it shouldn’t matter.
Step 5
Take extra precautions by testing all your connections one more time to ensure that you don’t have any twisted wires or wrong connections.
Step 6
Once you are through all the steps mentioned above, put the whole assembly into the wall without bending anything. If all is well, you will have a signal running through a 5 m-long cable with a self-soldered connector.
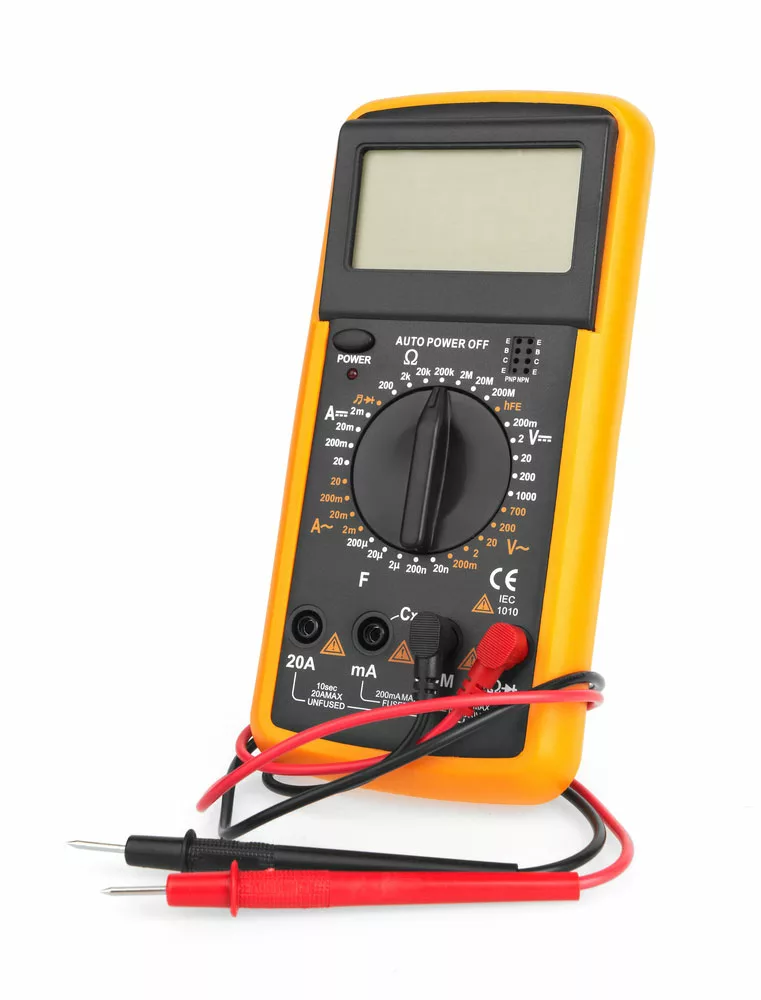
Caption: Multimeter
Conclusion
HDMI cables have become a staple in most homes and media rooms. Users rely on them to transmit high-definition digital audio and video, making them one of the most useful AV devices for commercial, residential, and educational settings.
However, like other good things, HDMI cables can break down, especially after constant wear and tear. If you need a new cable, visit Cloom Tech for all your cabling needs.