
About Ethernet Cable Jack, Are you tired of the slow and unstable connection on your computer with wifi?
And do you find it impossible to run ethernet from your router to the computer because it is too far?
Luckily, there’s a quick and simple solution to all your troubles, and all you need is an ethernet cable jack.
Read on to learn more about it and how to install an ethernet cable jack on the wall.
Table of Contents
- What Is An Ethernet Cable Jack?
- Why Do You Choose to Install an Ethernet Cable Jack in the Wall?
- How To Install An Ethernet Jack In The Wall
- Conclusion
What Is An Ethernet Cable Jack?
An ethernet jack (socket or port) is the opening on computer network equipment where you plug in the ethernet cable.
They function to connect wired network hardware in a WAN (wide network area), MAN (metropolitan network area), or LAN (local area network).
The alternative to using ethernet cables is WiFi, which eliminates the use of the port and ethernet cable.
Ethernet ports are usually found on the side of your laptop or at the back of the computer CPU.
To accommodate multiple devices at once, a router normally has a number of ports similar to other network hardware, such as modems and hubs.
In addition, an ethernet port in the wall, sometimes referred to as a network connection or LAN port, is the connector that enables electronic devices such as game consoles, PCs, and servers to link with each other and access the internet.
Ethernet ports are wider than the typical phone jack to accommodate a cable with an RJ45 connector.
As a result of its shape, you cannot neatly fit ethernet cables into a phone jack, making it way easier to plug in cables.
Why Do You Choose to Install an Ethernet Cable Jack in the Wall?
Today wireless connections have become standard, although wired ethernet connections are still used in certain situations.
Some of the situations are when there’s the presence of heavy radio interference, when the security of a wireless connection is deemed unfit for the network, or when a stable and fast connection is the main priority.
However, ethernet connections rely on a combination of patch cords, wall jacks and in-wall wiring to transmit info from the switch or router to multiple devices on the network.
Luckily, ethernet jacks use the same pin numbering as ethernet cords. Although in the jack, the pins are in a different order, they’re color-coded and numbered to make it easy to wire the jack.
How To Install An Ethernet Jack In The Wall
If you pride yourself in being a DIY person and are planning on installing an ethernet jack in the wall, you have come to the right place. Follow the steps below to simply and properly install an ethernet jack in the wall.
Creating an Outlet
Step 1
The first step is choosing the ideal position for the ethernet jack at some space low on the wall.
You can use an electronic stud locator to find the exact position of the stud that’s the nearest to an outlet.
Ensure the position you choose is free from any obstructions to ensure there’s a clear path for your cable to run.
Also, professionals advise people to place the jack next to an outlet to maintain symmetry and limit the number of unattractive wire fixtures on the wall.
Step 2
Next, carefully mark the position on the wall where you intend to place the jack.
You don’t need to focus too much on positioning, as you can make the necessary adjustments later on when marking the exact position of the mounting bracket.
Ensure the markings are visible so you don’t struggle to see them while doing other things.
Step 3
Now, place the mounting bracket on the marking and trace the inside. Try your best to place the mounting bracket evenly across the outlet.
Step 4
Now turn off the electricity to all circuits in the room by locating the control box or breaker panel and turning off the corresponding outlets.
Step 5
Finally, cut around the tracing of the mounting brace using a utility knife. Ensure the hole isn’t too big because if it’s too big, you can’t change it. If it were small, you could make some adjustments.
Running Cable To The Jack
Step 1
First, drill on the ceiling or wall behind the jack outlet if necessary. By where you place your equipment, you’ll need to run the cable down or up a level to the termination point.
The hole creates the route to run your cable from the networking hardware to the jack.
Often the networking hardware that provides access to the internet is in the basement, crawl space under your home, or the attic.
Step 2
Next, run the cable from the networking hardware to the jack. If you drilled a hole in the floor to create a route for your cable to reach the jack, you’d need to feed the cable through the opening and down into the lower level.
However, if you drilled a hole in the ceiling, it’s best to start feeding the cable through from the networking equipment and then down to the jack’s position.
To put it in simpler terms, it’s always best to begin your work from top to bottom. Also, avoid running the cable next to water pipes, under floors, behind walls, or next to electrical lines.
Step 3
Now secure your mounting bracket in the wall platel. Once you’ve inserted the slack end of the cable through the middle, insert a rectangular plastic bracket through the opening you made earlier.
Use the installation screws to fasten the bracket firmly on the drywall. Don’t over-tighten the screws to avoid making any cracks on the drywall.
Step 4
Lastly, use a wire cutter to cut the ethernet cable from the outlet at about 6 to 12 inches. Ensure the length you cut is hanging outside the outlet to prevent unnecessary pulling.
Cutting the cable too short will cause tension that could potentially damage wiring or cause the cable to hang loose from the jack from time to time.
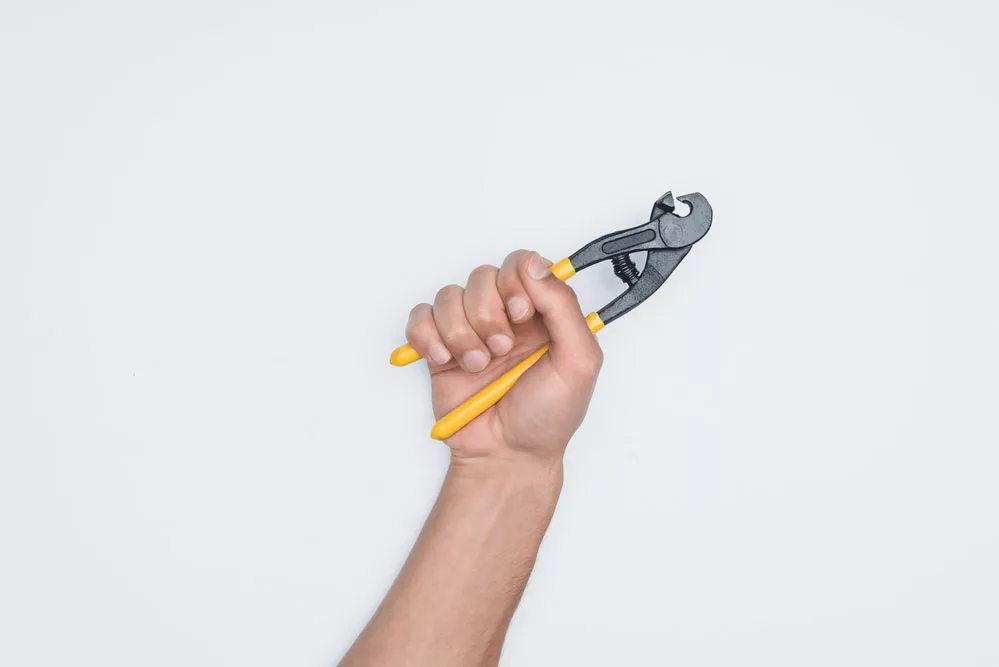
Caption: Wire Cutter
Wiring Your Ethernet Cable
Step 1
First, start by stripping the outer sheath back from about 2 inches to the tip of the cable.
Put the cable in a wire stripper and squeeze to clamp around the wire and cut through the shearing and slide off the cut sheathing while steadily holding on to the cable.
If you don’t have a wire stripper, you can use a utility knife or scissors to cut through the sheath. Be careful not to cut through the wires as well.
Step 2
Now insert the exposed wires into the slots that are color coded on the keystone connector.
A standard cable has four similar colored wires that you’ll need to untwist and fan to bring them closer to their respective slots.
Followed by slipping the wires into their respective slots. Remember, you’ll have to repeat this process on the other end of the cable you intend to connect to the modem.
Also, you can avoid this process by getting an ethernet cable with the keystone already connected.
Step 3
You’ll need to force down the wires into their corresponding slots using a 110 punch-down tool.
Place the pointed end of the tool on the first slot and push down to slice through the sheath and enable connectivity. Repeat the process for the remaining wires.

Caption: Pushing Down Wires Using a 110 Punch Down Tool
Next, plug the connected header into the back of the wall plate. If the keystone connector has protective cover plates, snap them into position on the bottom or top of the connector head.
Followed by placing the connector into the wall plate on the side facing the inside of the wall. A clicking sound should tell you that the connection is secure.
For extra measure, you can use a cable tester to ensure your keystone connector is properly connected before moving on to the next step.
Lastly, fasten the wall plate on the jack mounting bracket to complete the installation.
Attach the installation screws to the hole at the bottom and top of the wall plate. Finally, you can connect your computer and router to the internet.
Test The Connection At Both Ends
Use a cable tester to ensure you have properly wired the connections before using it.
However, you’ll need one or two patch leads to accomplishing the task if both ends of the cable run terminate to a wall socket.
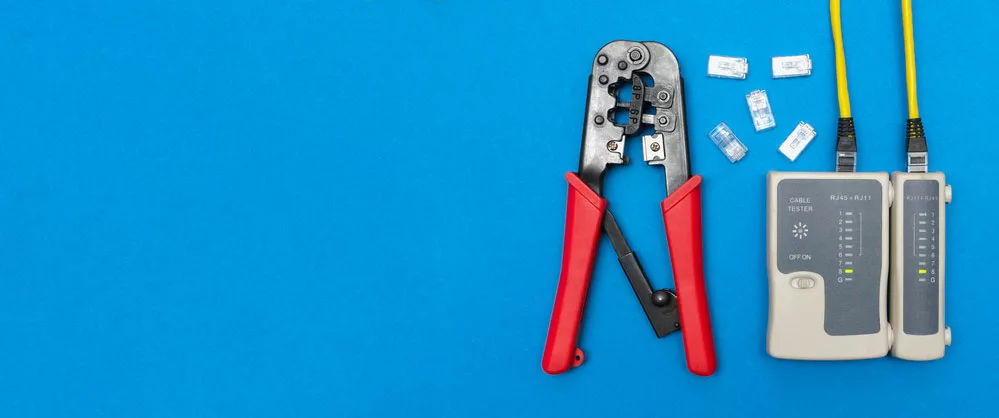
Caption: Cable Tester
Your cable tester functions to check all eight wires individually to determine that all eight connections are right on both ends and that it’s wired correctly on both ends in the correct order or at least in the same order at all ends.
The tester functions by sending a pulse to each wire from the Master to the Remote.
You’ll see a sequence repeatedly going from 1 to 8 with a pause in between at both ends of your cable to notify you that the cable is properly functioning.
If your cable is a bit longer (over 100 meters), you can separate the remote and master parts of the tester and place each at one end of the cable to run the test.
Conclusion
Now you can go ahead and perform your own cable jack installation with the help of the above-listed steps.
If you encounter any problems during ethernet cable installation or have any queries feel free to contact Cloom Tech.