
We recommend using an ethernet cable installation for any stationary device, such as video gaming consoles, desktop PC, smart TV, etc.
This is because ethernet cable connections do not suffer much from signal interference from other appliances or devices, random fluctuation, and other issues that make WiFi signals cut in and out.
This guide discusses everything you need to know about ethernet cable installation.
Table of Contents
- How do you install ethernet cables in your home?
- Ethernet cable installation cost
- Ethernet installation cost breakdown
- Ethernet cable installation steps
- Conclusion
How do you install ethernet cables in your home?
It is now common to get ethernet ports pre-installed in newer homes. You can connect ethernet-enabled devices to these ports on your wall by plugging an ethernet cable.
You can also connect ethernet cables in already-built homes before the standard. And when it comes to installing ethernet, you can either do it yourself or hire a professional.
For example, sometimes, people run ethernet cables in their homes behind furniture, under rugs, and along skirting boards. However, this can create trip hazards and appear ugly.
It may also mean that cables get twisted or bent over time, which degrades their usefulness and exposes the wiring.
You can also hire a professional ethernet cabler to install them on your ceiling, floors, and walls. The cabler should connect the ethernet cables to new ethernet ports in the walls.
This is ideal for long-term use, appearance, and safety. However, it can be expensive.
Engaging a professional cabler for ethernet cable installation services
Under the 1997 Act of Telecommunication, only registered cablers can install telecommunication cabling in concealed areas, such as through floor cavities, ceilings, and walls. This means that you can not Do It Yourself.
All registered telecommunication cablers have cards indicating their registration and any additional qualifications ( “CAT6 cabling” or “Structured cabling” ) to install ethernet cables.
When you engage a professional ethernet cabler, you should ask them about the quotation for the best ethernet cable standards.
There are three different ethernet cable standards (CAT5e, CAT6, CAT6a), each with costs and limitations.
When a professional cabler completes any ethernet cable installation work, they are needed by law to provide a compliance form known as the TCA1 (Telecommunication Cabling Advice Form 1).
The form shows details of the work done and has the following statement, “I hereby confirm the cabling work described in this TCAT1 complies with wiring regulations (AS/CA S009:2013 or its equivalent).”
Ethernet cable installation cost
If you decide to hire a professional cabler to do a new installation of a hardwired computer network, you can expect to spend an average price of $3.800.
This cost can also be as low as $2,500 and as high as $4,500 for a new 2,000ft CAT6 ethernet cable installation with a maximum of 8 connections.
However, you can save some coins if you can DIY the ethernet installation, as you can expect to spend between $187 and $667, with an average being $410. However, this depends on several factors, such as the following;
- The number of cables needed
- Existing parts or equipment
- Whether you need to buy a modem or computer
Ethernet installation cost breakdown
An ethernet network includes many parts, each contributing to the installation cost. Below we will break down the basic pricing estimates for some of the most common parts of an ethernet network;
Cables/Network size
Cabling is physically running cables from the connection point to every network access point.
It is the most expensive part when installing an ethernet network in your office or home.
That said, the average cost of cabling an ethernet network ranges between $2,000 and $3,000 and varies significantly based on whether you need less or more work done.
And the exact cost depends on the number of cables you require and the quality of the cable you select.
Wall-plates
Especially when installing ethernet in a new construction office or home, you must consider electrical outlets where they should be located.
Installing very few outlets can prove a costly error regarding productivity and money.
Therefore, we highly recommend mapping this beforehand. However, you can expect to spend between #10 and $25 on each network wallplate.
Network switch
A network switch gives you access to multiple devices connected to the same router.
It is a minor home ethernet network expense, ranging from $50 to $100.
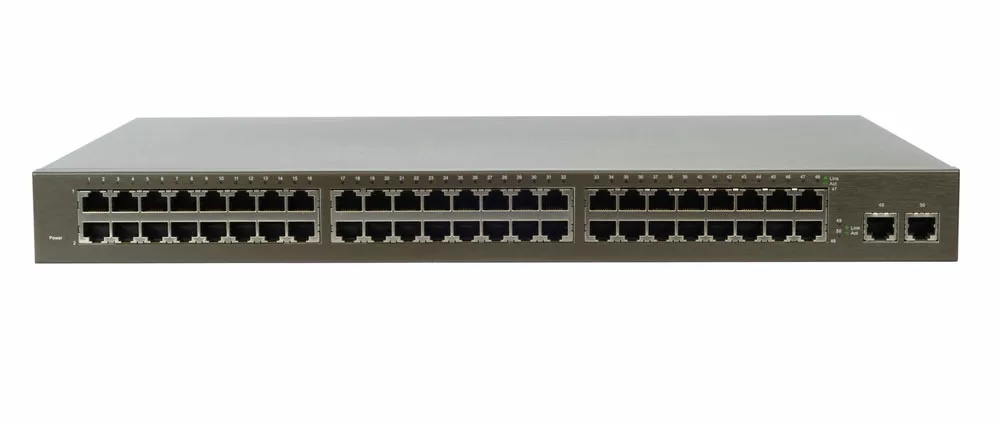
A network switch
Ethernet port
An ethernet port is a jack you will plug into your devices for a local ethernet network connection.
Each ethernet port costs between $10 to $25.
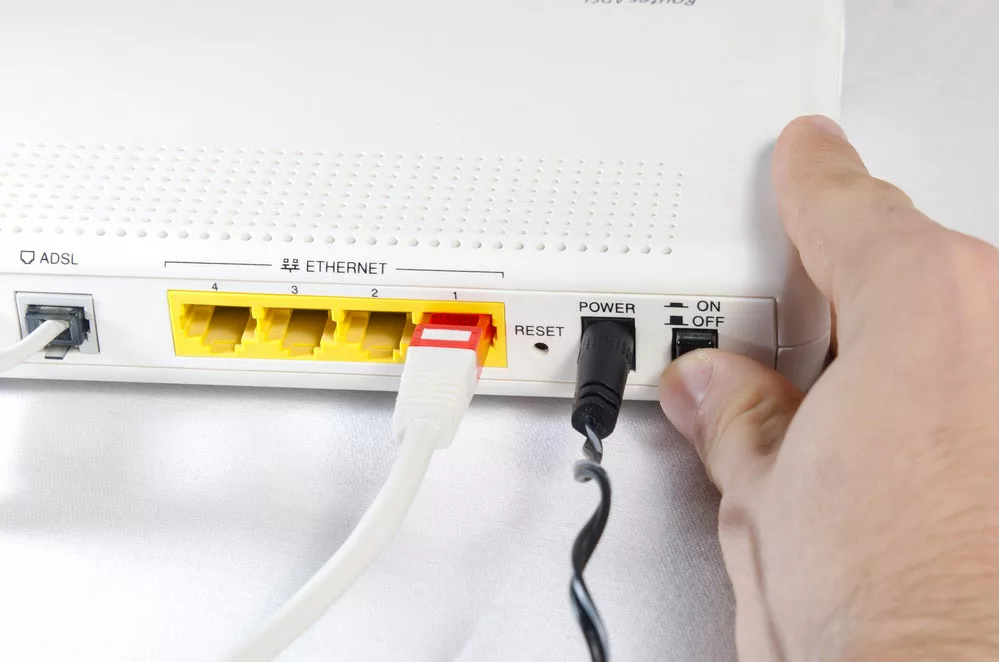
Modem
A modem connects the devices to the internet.
While you can rent modems, most people find it more cost-efficient to buy a high-quality modem for the fastest and best internet access.
The price of a modem ranges from $50 to $100.
Router
A router allows computers and devices to access the same internet connection.
While most of the current routers are wireless, you can get access to a wired router.
Similar to modems, you can also rent a router while you can buy one for $80-$200.
Router
Labor costs
Network installation professionals charge an average labor cost of between $50 to $100 per hour.
However, this can vary depending on even minor things like;
- The size of your network
- The company you choose to hire
- Your geographical location
Difficulty of installation
It is simpler to install an ethernet network in a new construction building than in an existing one, especially an older one.
For instance, older buildings often require you to run cables through existing walls, which leads to more extensive work and, resultantly, higher installation costs.
Pre-existing components
Parts of an ethernet network that already exist cuts down on the quality of work you need to do and the number of parts you need to purchase.
Ethernet cable installation steps
It is vital to understand specific considerations as they affect the materials, tools, and quantities required.
Initial consideration and planning
1. The room(s) you want to be wired
If you have a two-bedroom condo, you would want to wire both bedrooms.
And your television nook should be located near the cable television to be ideal for wiring devices such as the consoles.
2. The number of ports you need in every location
With multiple network-enabled Blu-Ray players and game consoles connected to your TV, you should have a minimum of three connections behind your television.
Wallplates come in 1/2/4/6-jack configurations, and we recommend going with 4.
Instead of varying the number of running one cable, it is easier to run four cables to each location.
This provides maximum flexibility without requiring in-room (local) switches.
Therefore, if you have 3 locations, each with four ports, you will have 12 ethernet ports.
3. What is the ideal distribution location?
We recommend the laundry room as the most logical location for distribution.
This is because most cables, such as the TV cables, run into this laundry room and split into other rooms.
It is also essential to note that the internet over the cable enters most houses through the laundry room.
So, moving your modem into the laundry room will provide internet access to the whole ethernet network.
However, you should consider the space you need to mount a shelf.
Your ideal location for distribution should be large enough to accommodate your network equipment.
4. The ethernet cable path
This is perhaps the hardest consideration. In my case, the condo has access to the attic and is on my second floor. And cable television is distributed via the attic. So, it would be an ideal option to run my home ethernet cables through there.
However, if you have a single-floor house, the basement should be an ideal path.
On the other hand, you may be required to think outside the box for multi-story homes.
However, together with the cable path, you may also need to consider the cable length.
The maximum length of cable for gigabit speeds over UTP copper ethernet cabling is approximately 300ft (100 meters).
This could give lots of adaptability for most home appliances.
5. The required network speed
This plays an essential role in the switch type to buy. 10 Mbps can be quicker than most home internet connections, even if you only surf a 10MB switch.
You can also consider 100 Mbps to share multimedia content over the ethernet network. However, while 100MB switches are easy to get, they are reasonably expensive.
Although gigabit can be overkill in some instances, you should go for it if you need the fastest speed. However, you must be aware that gigabit switches with more than eight ports rise in price very quickly.
Prepare the required materials and tools.
Tools
- Crimping tool. Needed if you are placing a plug at the end of the ethernet cable
- Drill. Used mainly to drill via wall top plates and fasten the screwing.
- Hole saw or paddle kit. They vary in size depending on the number of cables you are running.
- Pointed hand saw
- A fish tape or strong string
- Label maker
- Pencil
- Sharpie-type marker
- Ruler
- Stud finder
- Punchdown tool or a small screwdriver (optional)
- Cable tester or laptop
Materials
- 1000’ spool CAT6 or CAT5e. It can be less or more according to your needs
- Single gang retrofit boxes.
- RJ45 jacks and plates whose quantity depends on your needs
- Patch panel
- RJ45 plugs
- Firewall/router
- Plastic grommet
- Ethernet switch
- Short patch cables
- Velcro strips
Mounting your wall plates
First, locate your cable television jacks to begin.
The stud finder helps you find the stud’s location on the sides of your cable jack. For instance, studs are placed 16 inches apart in most homes, and you would want your ethernet to run in a similar wall cavity as your cable television.
Once you choose where to mount your box, draw lines on your wall to accommodate your new box and cut the hole using your pointed hand saw.
After cutting the hole in your wall, put your single gang box into the drilled hole.
Next, screw your clamps to the back of your drywall.
Do this for all the places you intend to run the ethernet cable. We also recommend cutting a hole in your distribution room’s wall, which is used for fitting in your plastic grommet.
Measure and run the ethernet cables.
To get the lengths needed for every run, we recommend running one cable from your distribution room to every room and pulling it out, then making three more like it.
Then, run all four together.
Also, label the two ends of every cable and port using a Sharpie.
Get an ideal location to drill a hole in your top plate. We recommend following the coax cable for cable television.
For instance, you need to trace the cable television down via the attic and drill holes in your plate next to your cable television holes.
Doing this requires a strong drill and a hole saw or paddle bit. While paddle bits are cheaper, hole saws are easier to use.
After drilling top holes, string out ethernet cables to measure every run’s cost.
Then, cut three additional equal lengths for all the runs and re-ren the ethernet cables. Ensure they are long enough to have some additional for stripping and crimping accidents. It is often easier to tuck additional length into your wall.
Connecting the ethernet wires to your patch panels and jacks
While patch panels are optional, you should mount them if you want a permanent installation.
Otherwise, you can run a raw cable out of your wall directly, place an RJ45 connector, and hook it to the switch.
After connecting all the cables to the patch panels and jacks, mount your patch panel to your wall and plug the RJ45 connector into their corresponding wall plates on your other end.
You may also want to screw the wall plates into your gang boxes.
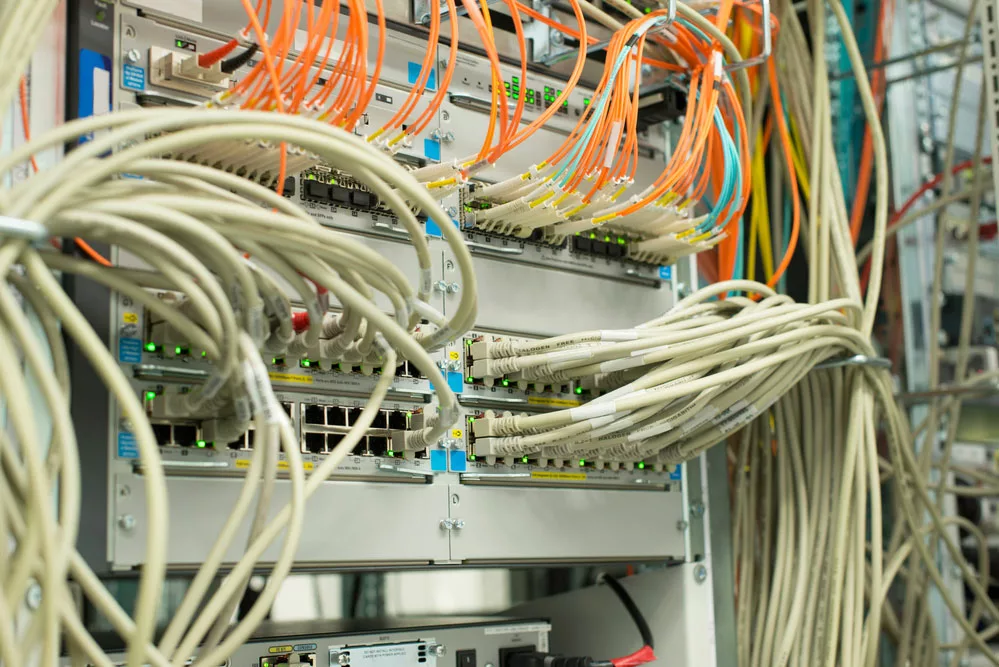
Wires connected to a patch panel
Test the connections
The most common method is using the network tester. However, you can also use a different method, as illustrated below;
You can plug one end of a patch cable into your patch panel, connect the other end to every port on the switch, and turn it on.
If your switch is managed, you should set every port to “auto-negotiate” and “up/up.” Unmanaged switches do not require any configuration.
Next, hook your laptop into the ethernet ports in your rooms.
You can then examine your switch and confirm that the “link” signal is “ON.”
The ability to initiate a link tests the datalink layer (such as negotiation between a switch port and a network card) and the physical layer (such as no crossed wires, no broken wires, etc.). You do not need an IP address or anything else for testing.
It is also vital to ensure your labeling is the same on the two ends. For instance, it is good to ensure that your “Bedroom port 2” on the patch panel is connected to port 2 in your main bedroom.
Connect the network to internet.
You must connect the “untrusted” port on your firewall/router to the cable modem port through an ethernet cable.
And connect the first port on your switch to the “trusted” port. If your switch features a port labeled “Uplink,” you should instead plug your ethernet cable into it.
You may require crossover ethernet cables based on the router, cable modem, and switch.
If your firewall/router is installed as a DHCP server, every port should be given access to the internet. Moreover, the firewall protects your whole network.
You may also plug a wireless access point into your switch to provide wireless access.
Concisely, your ISP (Internet Service Provider) cable modem will give your firewall one static IP.
It also functions as a router and assigns IP addresses (DHCP) to all hosts on your private network through the installed ethernet cabling and switch.
Conclusion
We hope this blog helped you with starting your home ethernet wiring project. However, you should purchase good-quality keystone jacks and ethernet cables.
Luckily, if you need assistance, Clooms Tech has you covered, as we deal in all wiring harnesses and cable assemblies.